Register an individual
Contents
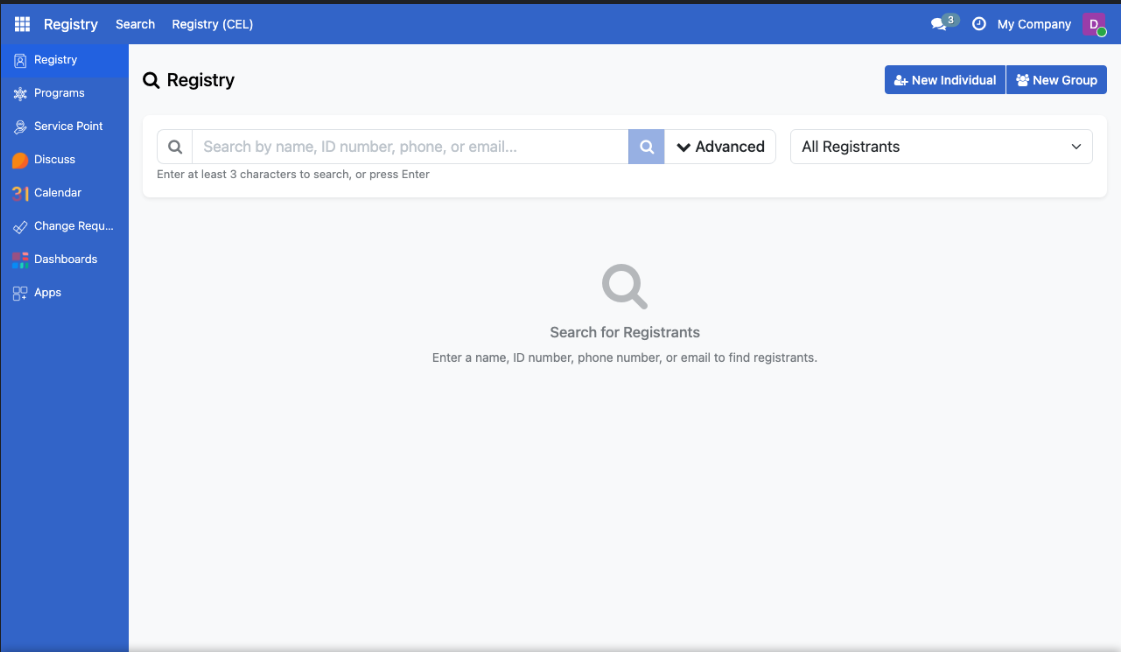
Register an individual#
Applies to: Social Registry, SP-MIS
What you will do#
Add a new person to the registry with their basic information, identity documents, and contact details.
Before you start#
You need Registry Officer or Administrator access
Have the person's information ready (name, date of birth, ID documents)
Steps#
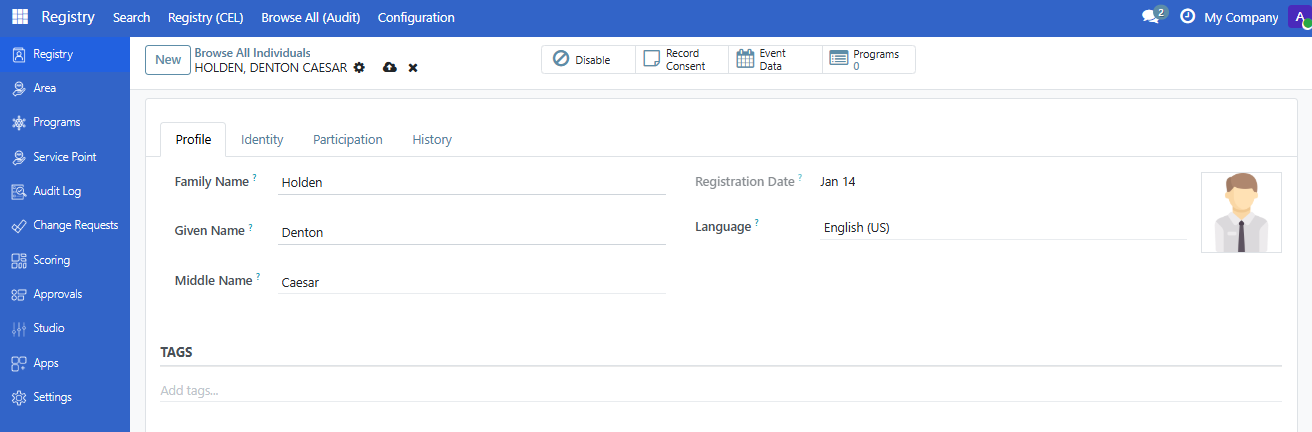
Step 3. Enter basic information#
Fill in the Profile tab with the person's basic information.
Field |
Required |
What to enter |
|---|---|---|
Family Name |
Yes |
Last name or surname |
Given Name |
Yes |
First name |
Middle Name |
No |
Additional name(s) |
Registration Date |
Auto |
Date of registration (defaults to today) |
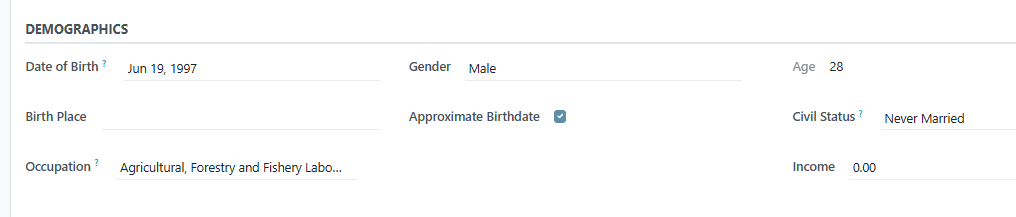
Step 4. Add demographics#
In the Demographics section, enter additional information.
Field |
Required |
What to enter |
|---|---|---|
Date of Birth |
No |
Birth date (use calendar picker or type YYYY-MM-DD) |
Gender |
No |
Select from dropdown |
Age |
Auto |
Calculated from date of birth |
Birth Place |
No |
Place of birth |
Approximate Birthdate |
No |
Check if birth date is estimated |
Civil Status |
No |
Marital status (single, married, etc.) |
Occupation |
No |
Select from list |
Income |
No |
Monthly income amount |
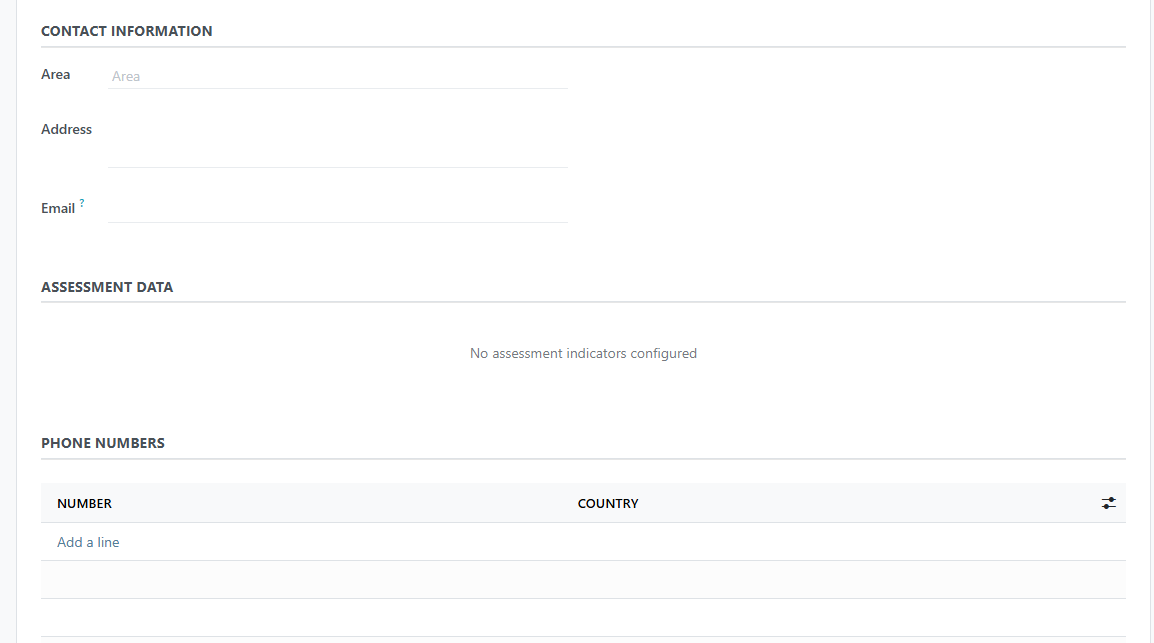
Step 5. Add contact information#
In the Contact Information section, enter address and phone details.
Field |
Required |
What to enter |
|---|---|---|
Address |
No |
Physical address |
No |
Email address |
Add phone numbers#
To add a phone number:
In the Phone Numbers section, click Add a line
Enter the phone number
Select the country (optional)
You can add multiple phone numbers.
Step 6. Add tags (optional)#
In the Tags section, add labels to categorize this individual.
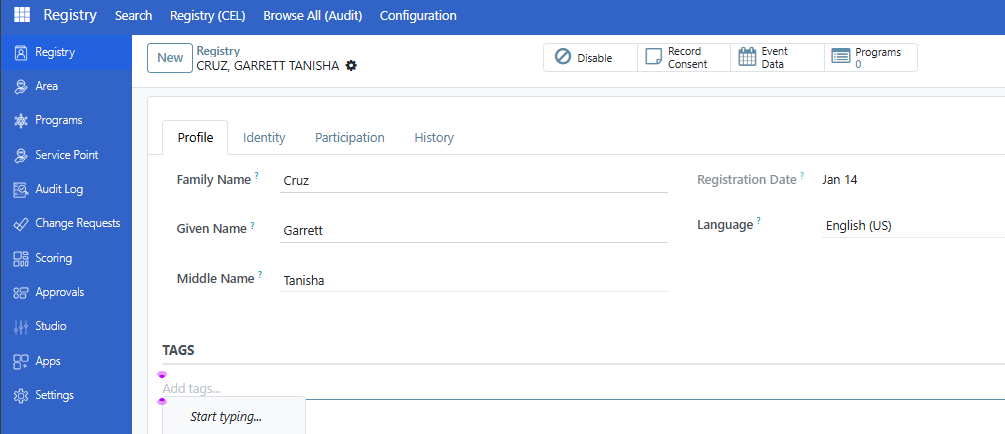
Click in the tags field and select from available tags, or type to search.
Step 8. Add identity documents (optional)#
After saving, you can add identity documents in the Identity tab.
Click the Identity tab
In the Identity Documents section, click Add a line
Select the ID type and enter the ID number

Field |
Required |
What to enter |
|---|---|---|
ID Type |
Yes |
Type of document (National ID, Passport, etc.) |
ID Number |
Yes |
The document number |
Expiry Date |
No |
When the document expires |
Click Save to save the identity document.
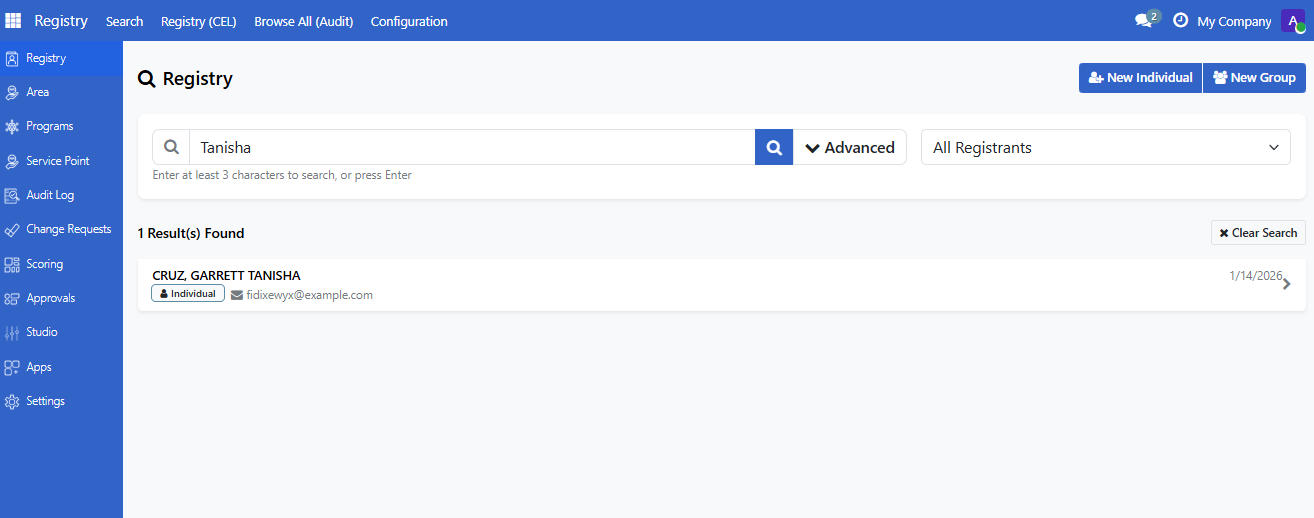
Step 9. Verify registration#
Search for the individual in the Registry Search Portal to confirm they were registered.
Form tabs overview#
The individual form has four tabs:
Tab |
Contents |
|---|---|
Profile |
Name, demographics, contact info, tags |
Identity |
ID documents, relationships to other registrants |
Participation |
Group memberships, program enrollments |
History |
Audit information, status changes |
Are you stuck?#
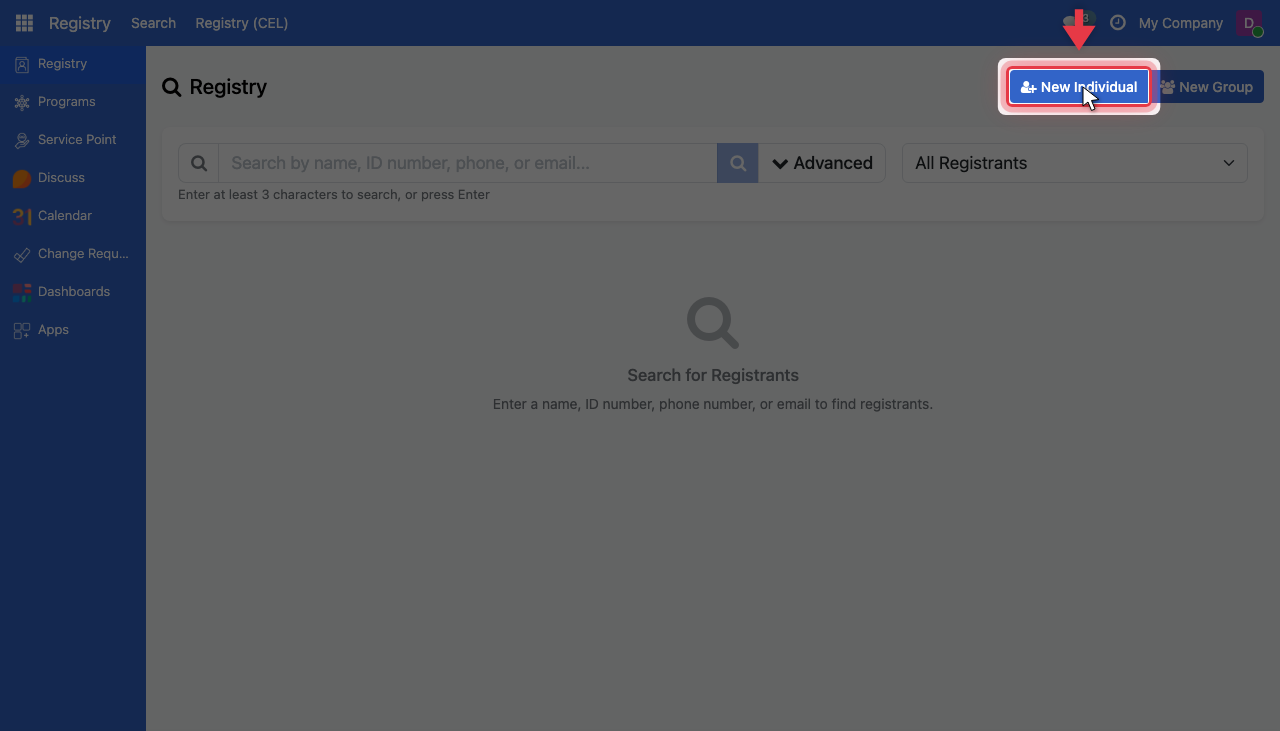
Cannot find the New Individual button?
Verify you have Registry Officer or Administrator access
Contact your administrator if you need access
Date picker not working?
Try typing the date as YYYY-MM-DD (for example, 1990-05-15)
Make sure the date is not in the future (for birth dates)
Cannot select a Gender or Civil Status option?
These options come from configured vocabularies
Contact your administrator if options are missing
Required field error when saving?
Family Name and Given Name are always required
Other required fields depend on your program's configuration
Look for fields marked with a red asterisk
Phone number not saving?
Enter the phone number without country code prefix if selecting a country
Check the format matches what is expected in your country
Next steps#
Register a group - Create a group and add this individual as a member
Search and filter registrants - Learn how to search for registrants