 openspp.org
Handle returns
Contents
Handle returns#
Applies to: DRIMS
This feature is available in OpenSPP deployments with the DRIMS module installed.
This guide is for warehouse officers who process items sent back from distribution points.
What you'll do#
Create a return record, confirm it, receive the physical items, record their condition and disposition, and restock them into the warehouse.
Before you start#
You need Warehouse Officer or Administrator access
The original dispatch must be recorded in DRIMS
Have documentation of why items are being returned
Why items are returned#
Items come back for different reasons. Use the return reason to document why items are coming back.
Reason |
When to use |
|---|---|
Excess Quantity |
More items delivered than needed |
Damaged in Transit |
Items damaged during shipping |
Wrong Item Delivered |
Incorrect items were sent |
No Longer Needed |
Distribution was cancelled or needs changed |
Expired / Near Expiry |
Items past or approaching their expiration date |
Creating a return#
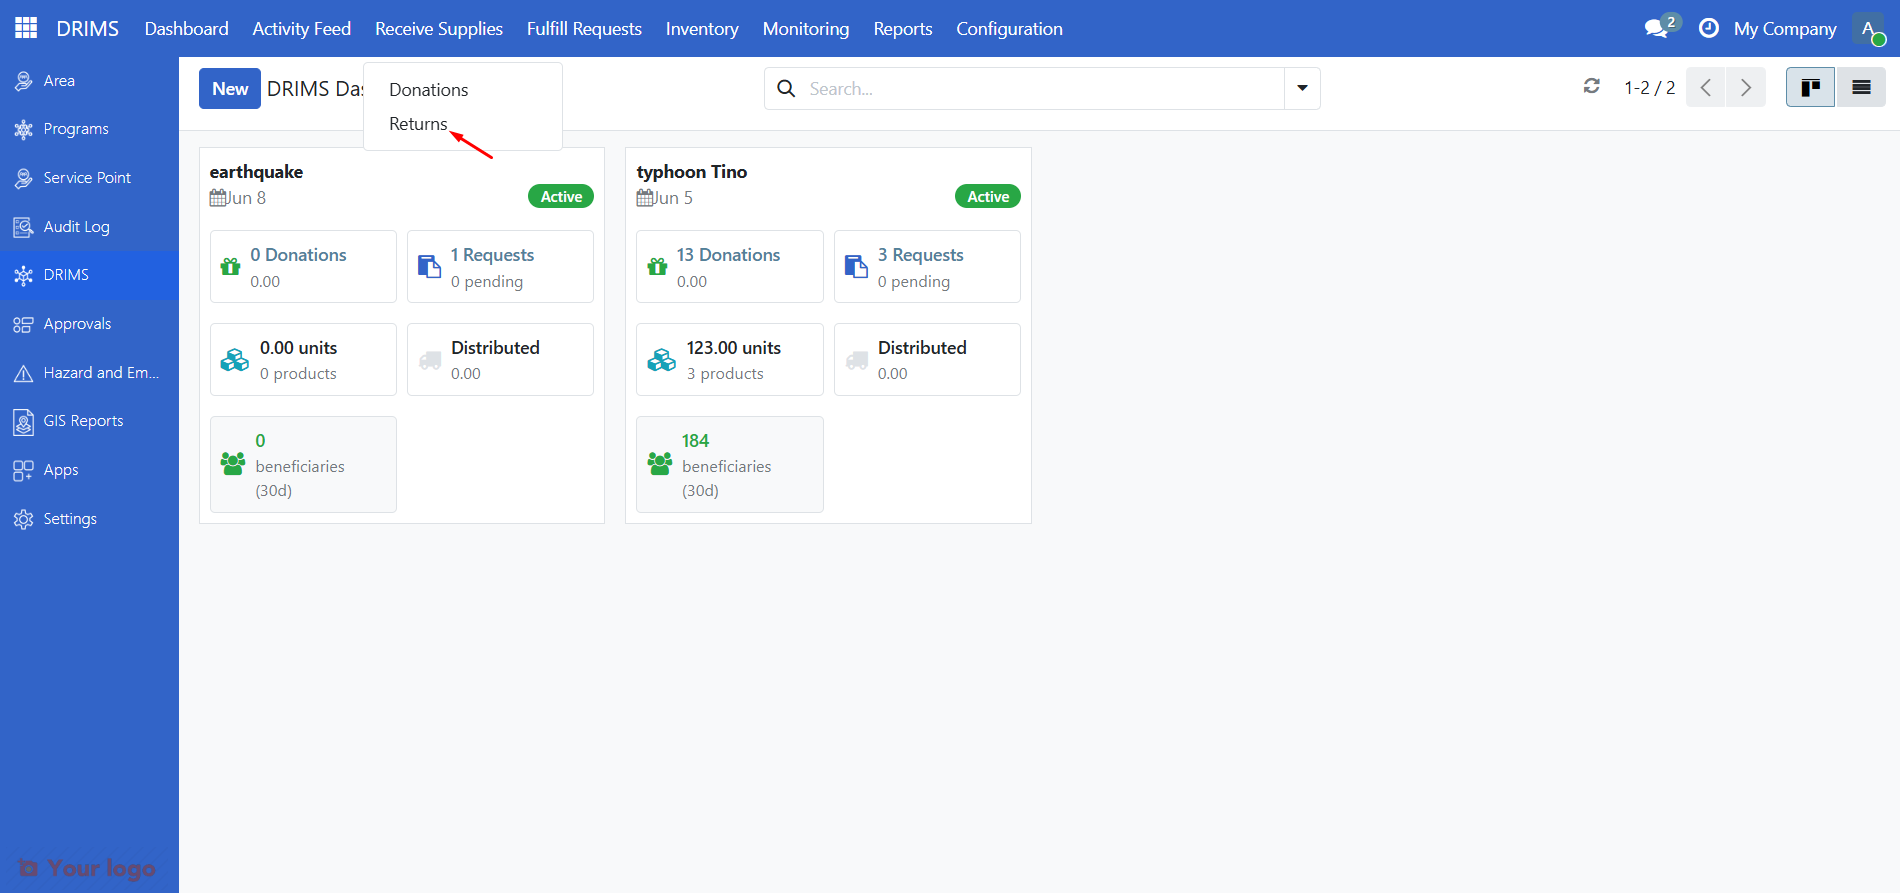
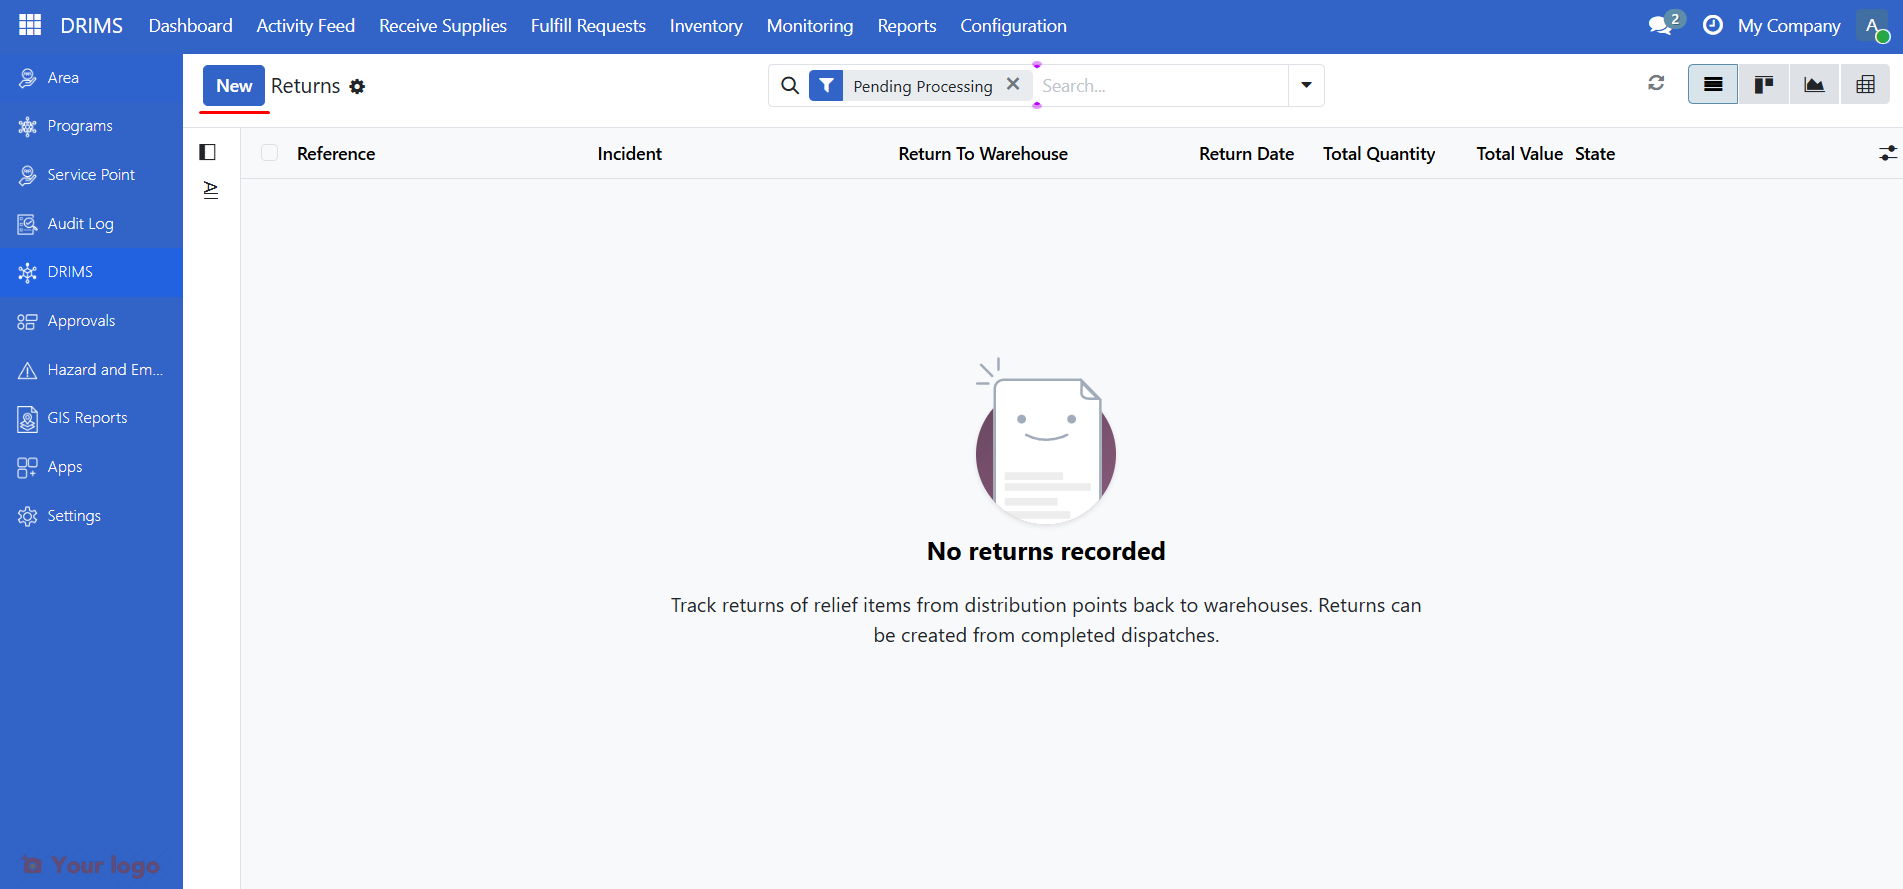
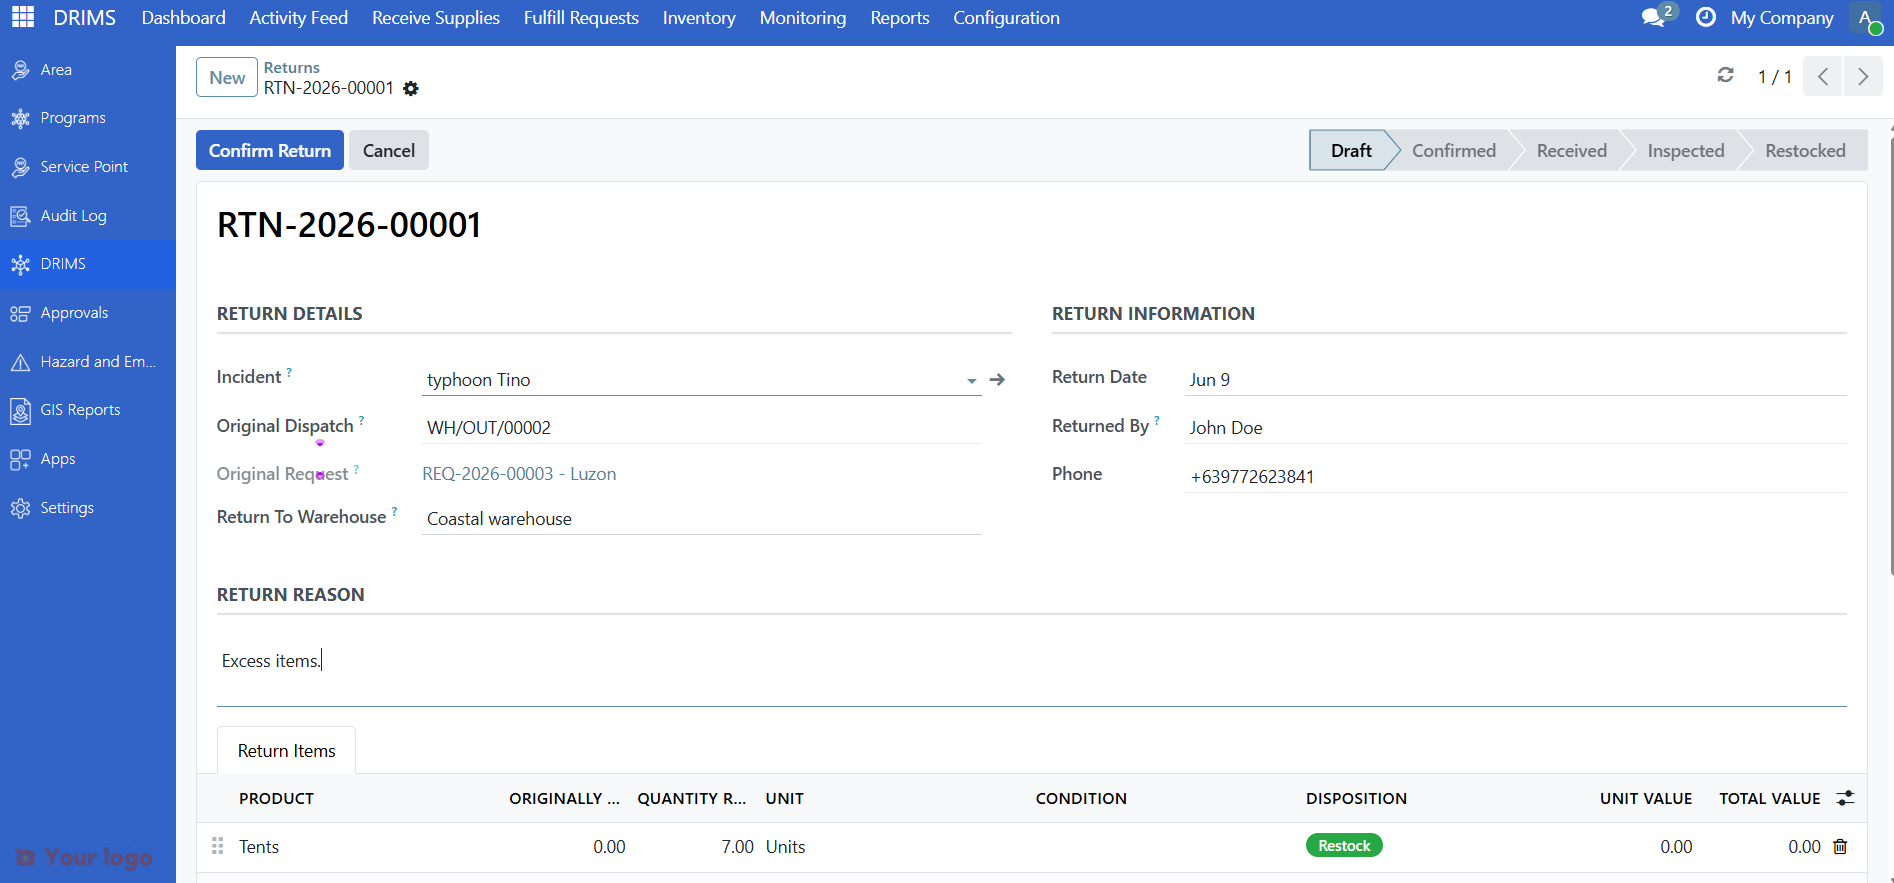
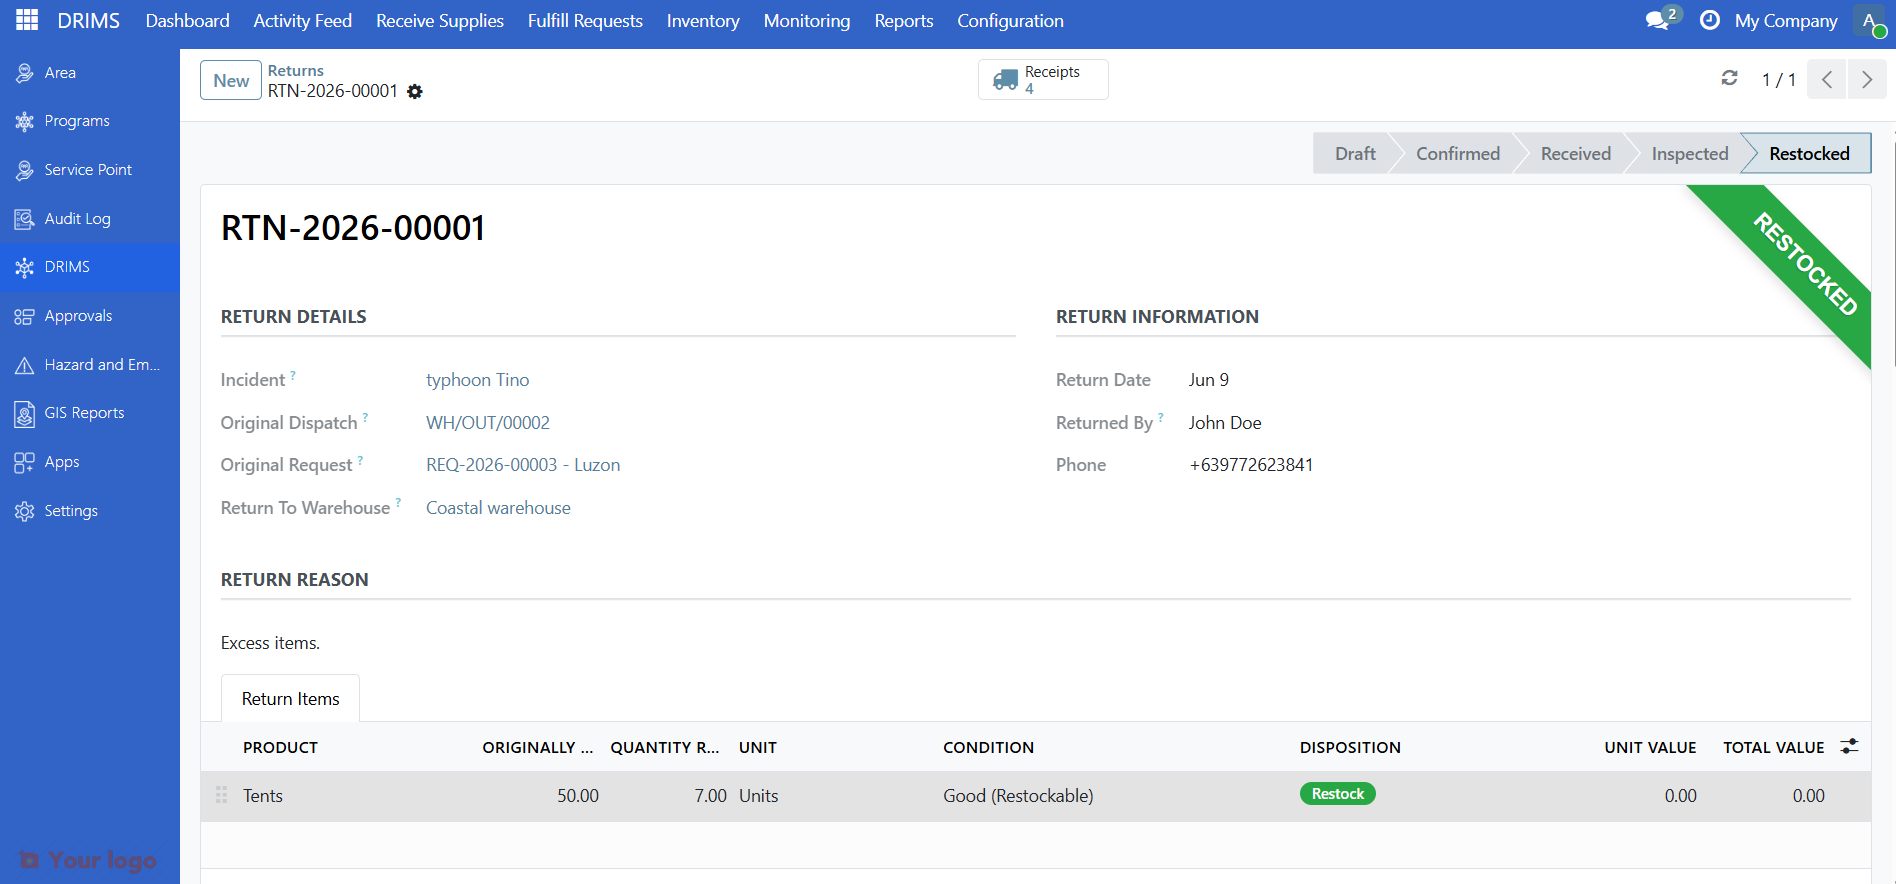
3. Fill in the return details#
Complete the following fields:
Field |
What to enter |
|---|---|
Incident |
The disaster incident this return relates to |
Original Dispatch |
The original dispatch the items came from |
Original Request |
Auto-fills from the dispatch |
Return To Warehouse |
The warehouse receiving the returned items |
Return Date |
When items are expected back |
Returned By |
Name of the person returning the items |
Phone |
Contact phone number of the person returning the items |
Return Reason |
Free-text explanation of why items are being returned |
4. Add items being returned#
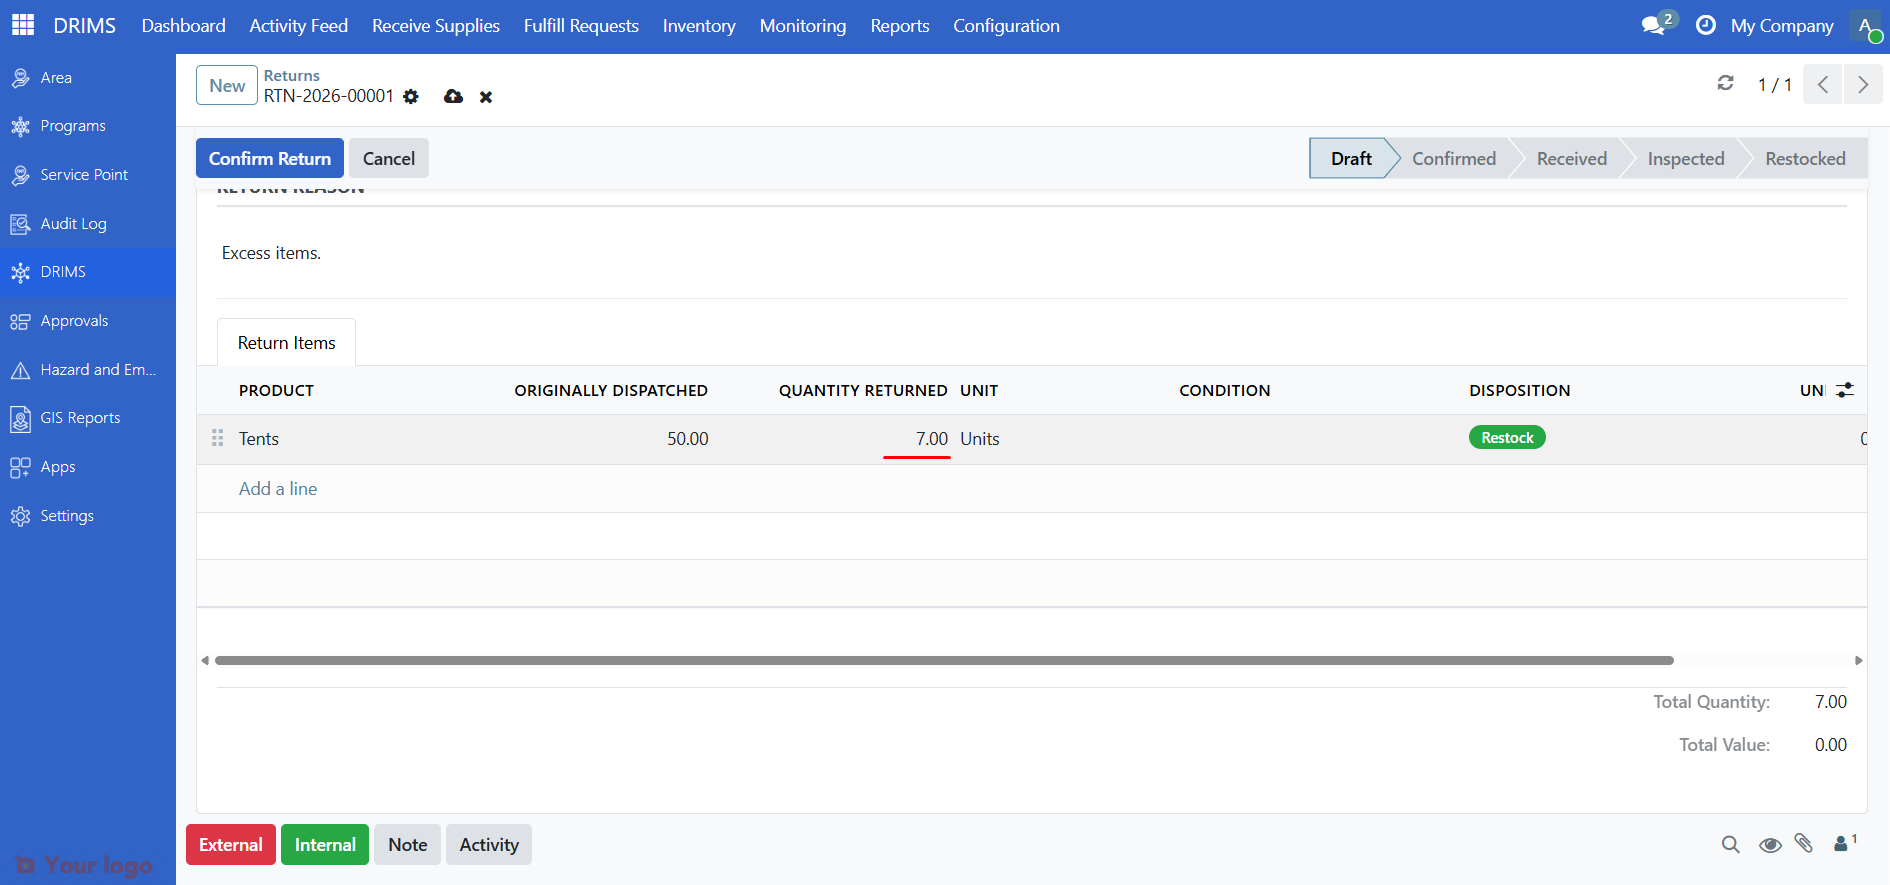
In the Return Items tab, click Add a line for each item type being returned.
For each item, enter:
Field |
What to enter |
|---|---|
Product |
The item being returned |
Quantity Returned |
How many units are coming back |
Condition |
Item condition (set while in Draft): Good (Restockable), Damaged, or Unusable |
Disposition |
What to do with it (set while in Draft): Restock, Send for Repair, or Dispose |
Notes |
Any details about the item's state |
Important
Condition and Disposition can only be edited while the return is in Draft state. Set them now before confirming.
5. Save the return#
Click Save. The return is now in Draft status — it won't affect inventory until you confirm it.
Processing the return#
Returns go through four steps to ensure items are properly tracked.
Step 1: Confirm the return#
When you've verified the details are correct, click Confirm Return.
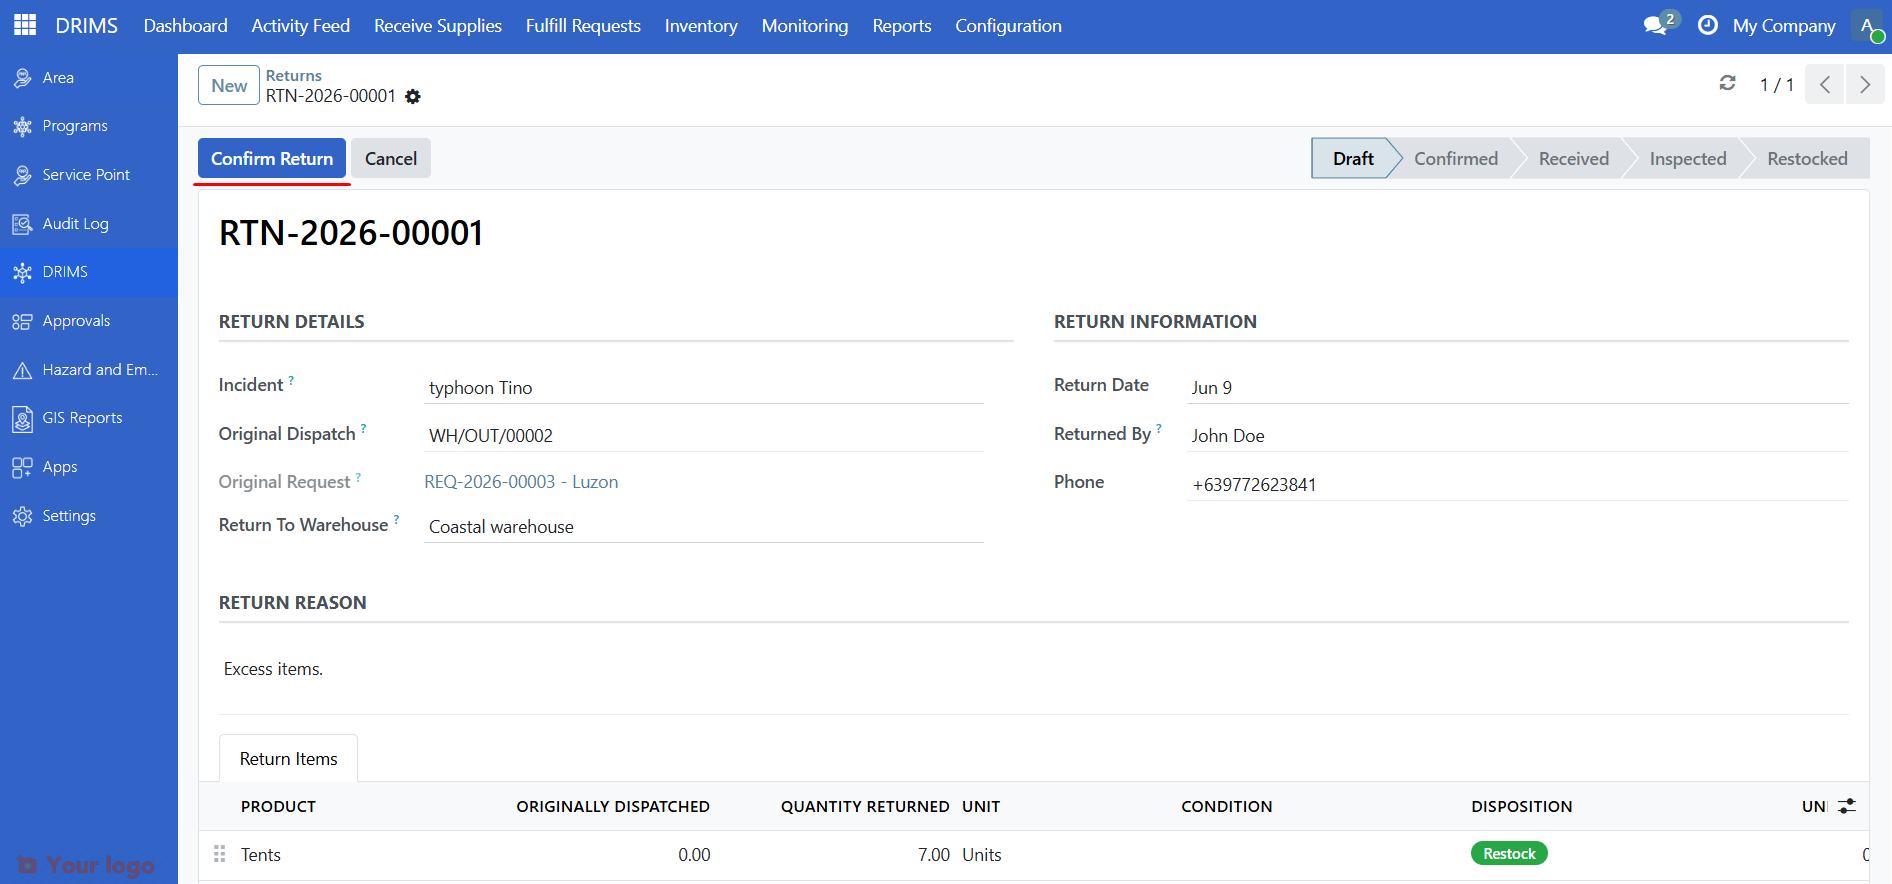
This creates an incoming stock receipt and alerts warehouse staff to expect the items.
Status: Draft → Confirmed
Step 2: Mark as received#
When the physical items arrive at the warehouse, click Mark Received.
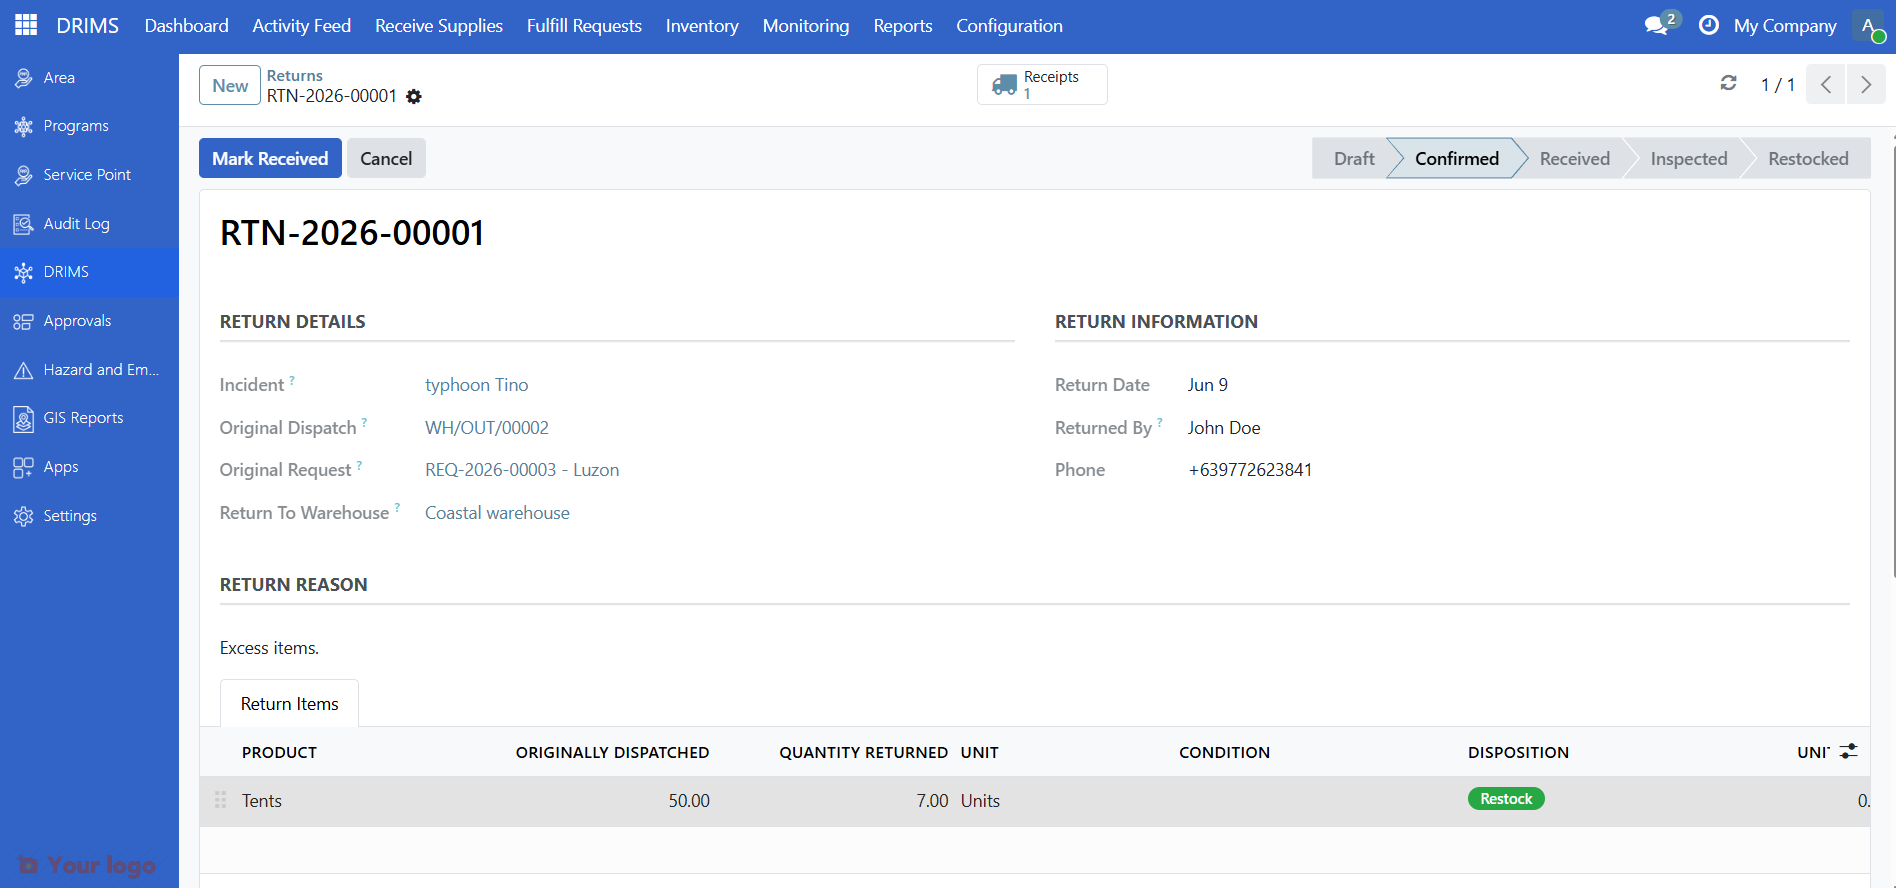
Update quantities on the Return Items tab if the actual amount differs from what was expected.
Status: Confirmed → Received
Step 3: Mark as inspected#
Once the physical items have been checked and condition/disposition were set in Draft, click Mark Inspected.
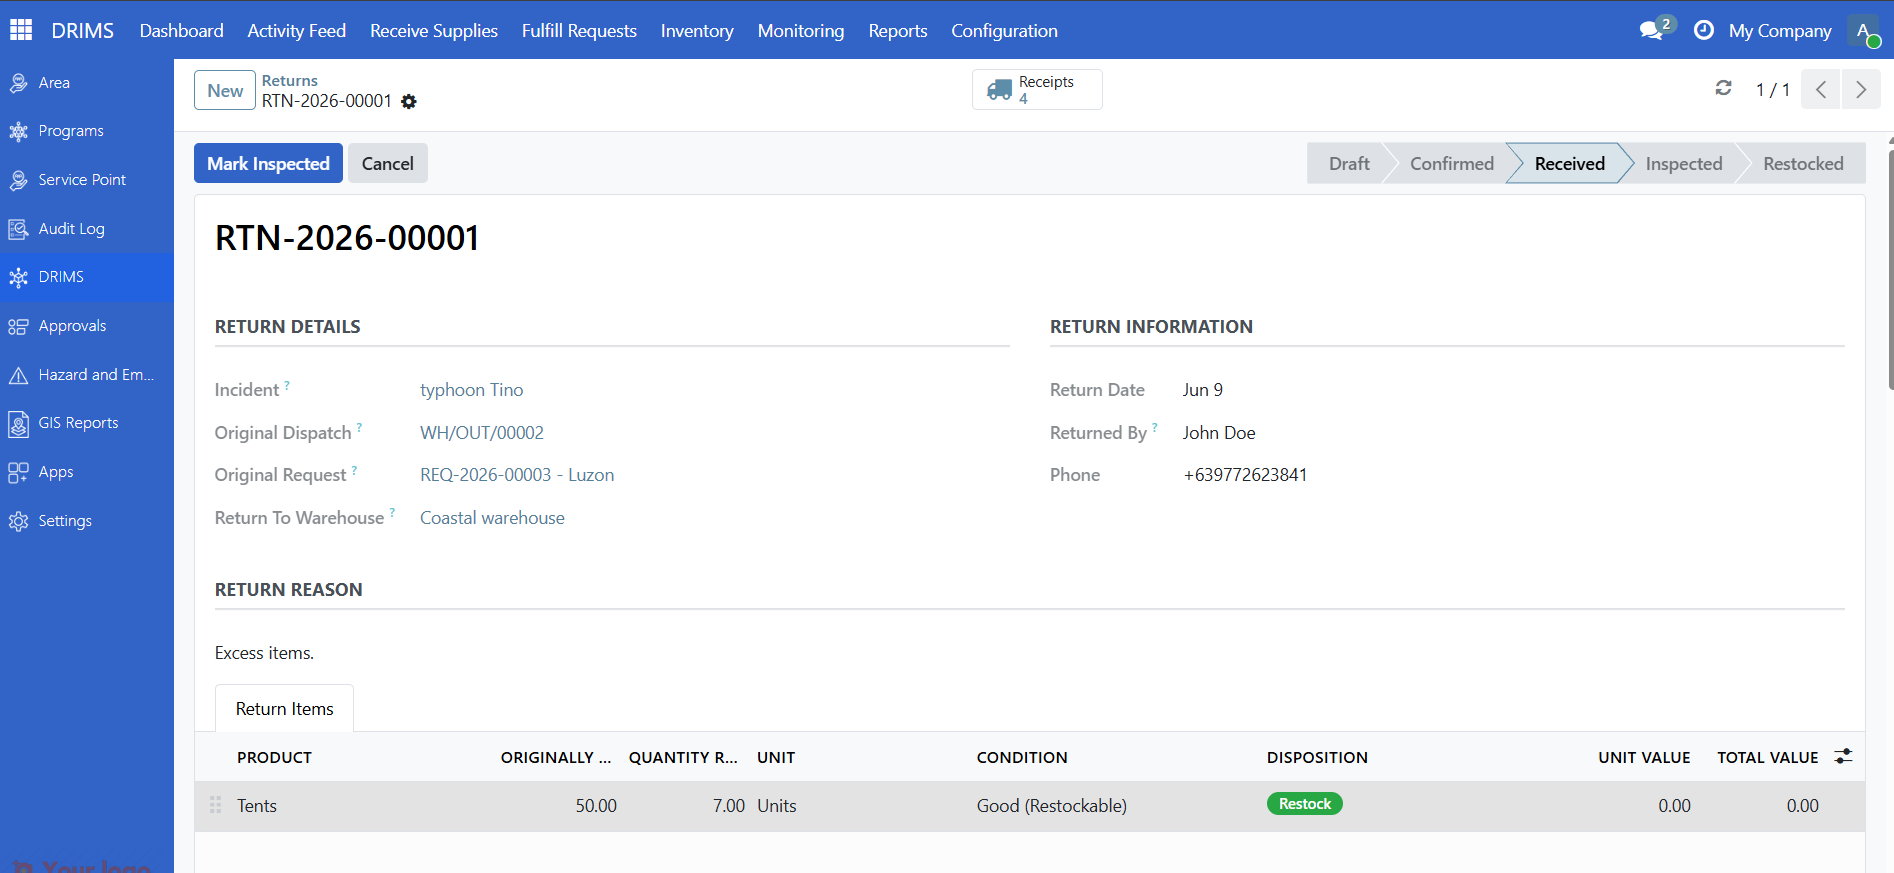
Status: Received → Inspected
Step 4: Restock items#
Once inspection is complete, click Restock Items to finalise the return.
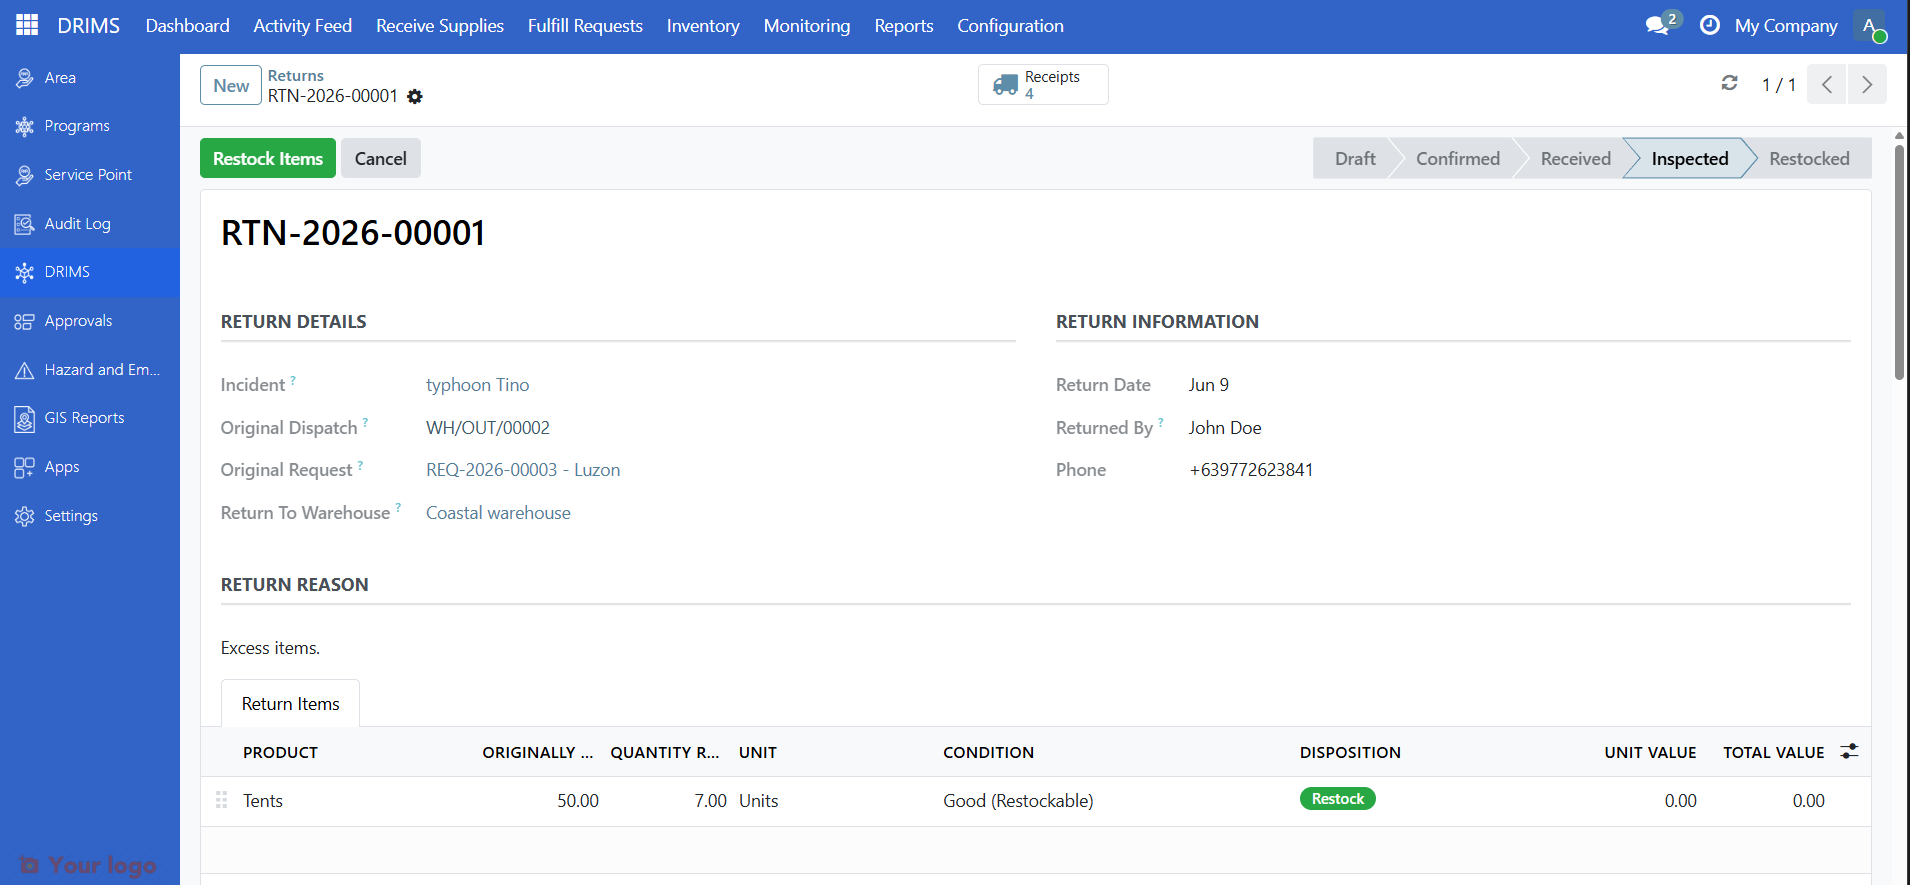
All items are processed through Restock Items and returned to warehouse inventory. The Disposition field records the intended outcome per line but does not currently route items to separate locations — separate disposal and return-to-donor paths are planned in a future release.
Note
If items should not re-enter warehouse stock (expired, damaged beyond use), remove them manually after processing and document the action in your warehouse records until the full disposal workflow is available.
Status: Inspected → Restocked
Condition codes#
Choose the condition that best describes each returned item:
Condition |
When to use |
Typical disposition |
|---|---|---|
Good (Restockable) |
Original packaging intact, item usable |
Restock |
Damaged |
Packaging or item shows damage |
Send for Repair or Dispose |
Unusable |
Expired, contaminated, or beyond repair |
Dispose |
Are you stuck?#
Can't find the original dispatch?
Use the search on the Original Dispatch field. Search by dispatch reference number or destination area.
Confirm Return button is greyed out?
All required fields must be filled: Incident, Return To Warehouse, and at least one item in the Return Items tab.
Quantities don't match what was dispatched?
This is normal — only return what actually came back. The Quantity Dispatched column shows the original amount for reference.
Not sure whether to restock or dispose?
Good condition, original packaging intact → Restock
Past expiry date → Dispose
Damaged packaging, contents unknown → Inspect contents, then decide
Contamination suspected → Dispose
When in doubt → ask your warehouse supervisor
Need to cancel a return?
While in Draft or any state before Restocked, click Cancel. A cancelled return can be reset to Draft using Reset to Draft if needed.
Next steps#
Manage Inventory - Check updated stock levels after restocking
Understand the Dashboard - Monitor warehouse health and return alerts
Receive a donation - Receive new donations to replace disposed items