 openspp.org
Receive a donation
Contents
Receive a donation#
Applies to: DRIMS
This feature is available in OpenSPP deployments with the DRIMS module installed.
This guide is for warehouse staff who receive incoming relief supplies, inspect them, and add them to inventory.
What you'll do#
Record an incoming donation, confirm receipt, inspect each item's condition, and stock the items that passed inspection into your warehouse inventory.
Before you start#
You need Warehouse Staff or Warehouse Officer access
A receiving warehouse must already be configured — see Configuring Warehouses
A hazard incident must exist before you can create a donation — see Hazards and incidents
Have the donor's delivery note or donation letter on hand
Products must already be defined in the system before you can add donation lines — if items are missing from the product list, ask your administrator to create them first
Steps#
1. Open donations#
Click DRIMS in the sidebar, select Receive Supplies, then click Donations.
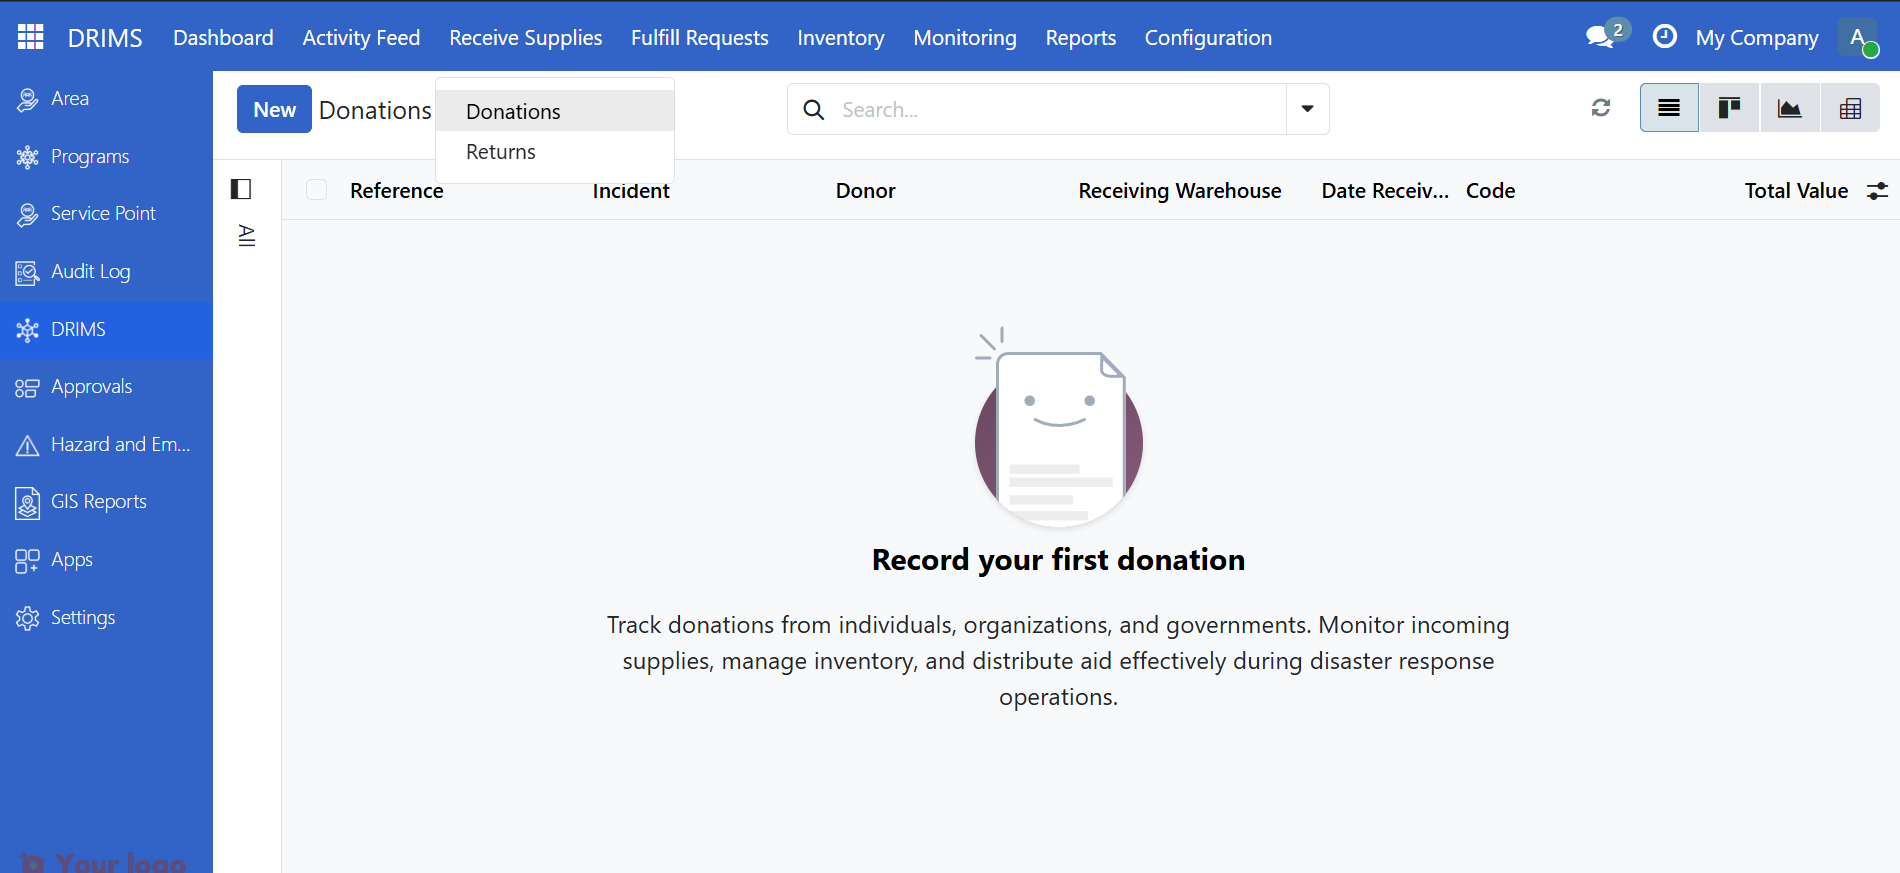
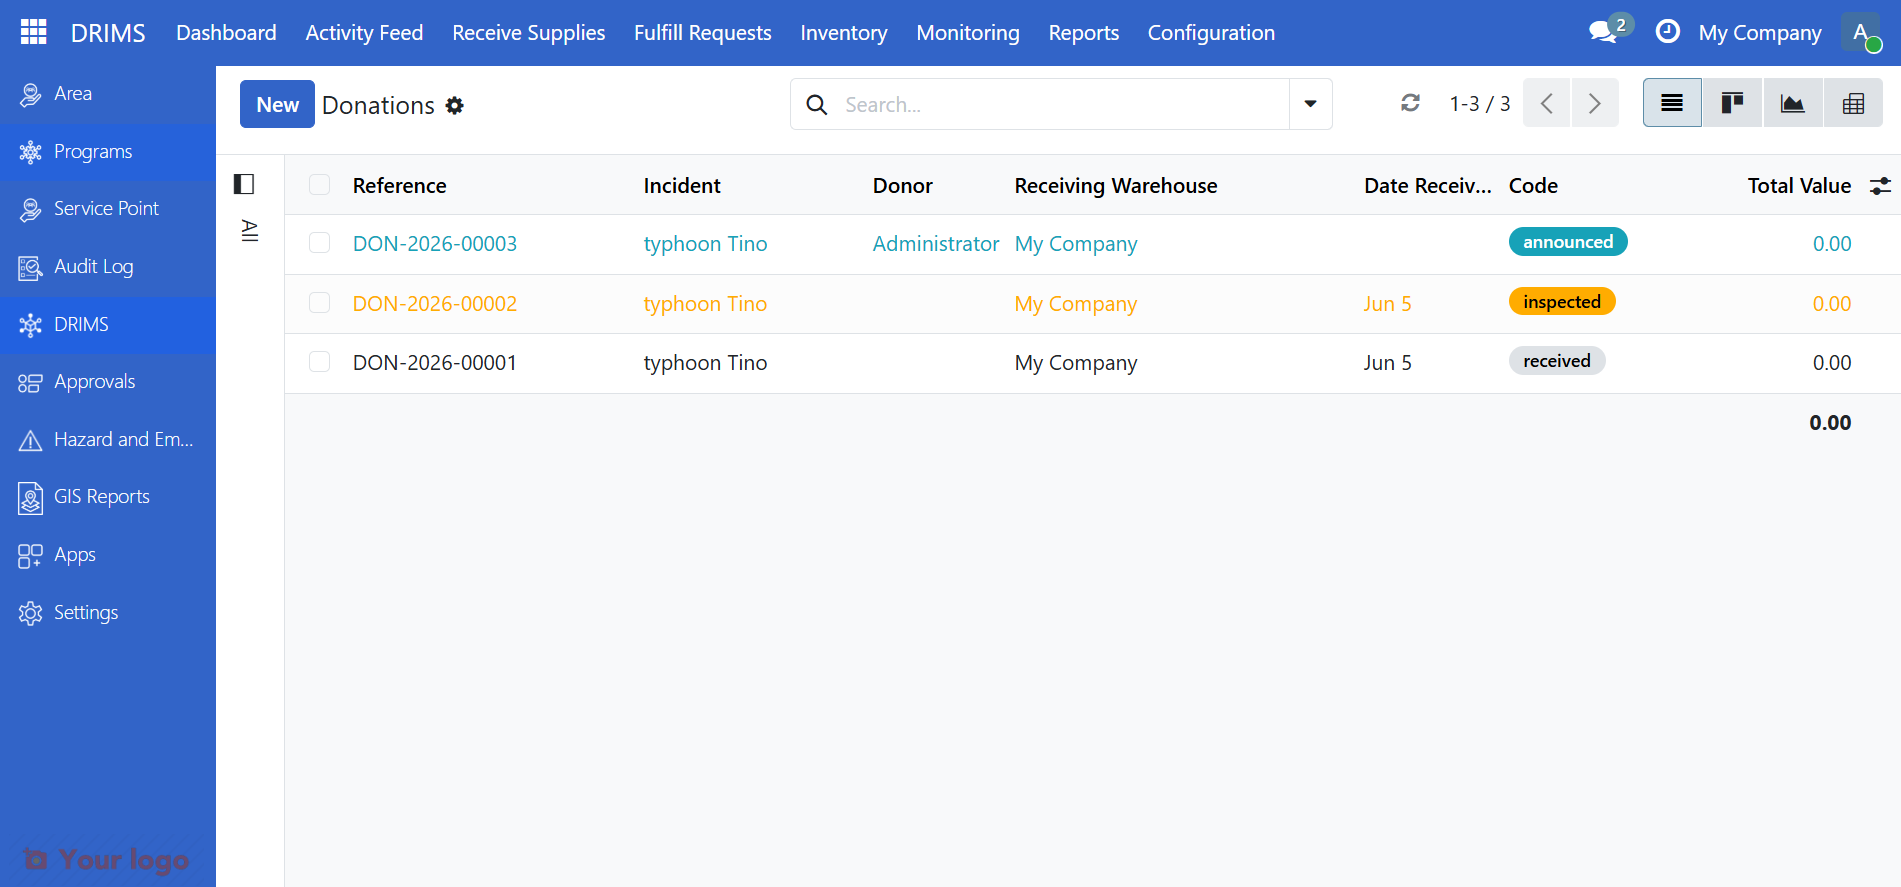
You'll see a list of all donations for your warehouses. The Status badge on each row shows where each donation is in the process.
2. Find the announced donation#
Look for donations with an Announced status badge. These are donations that have been registered but not yet physically received.
Click the row to open it.
Tip
If no donation appears in the list, you can create one manually. Click New, fill in the Incident and Receiving Warehouse fields, then click Add a line to add the donated products and their quantities.
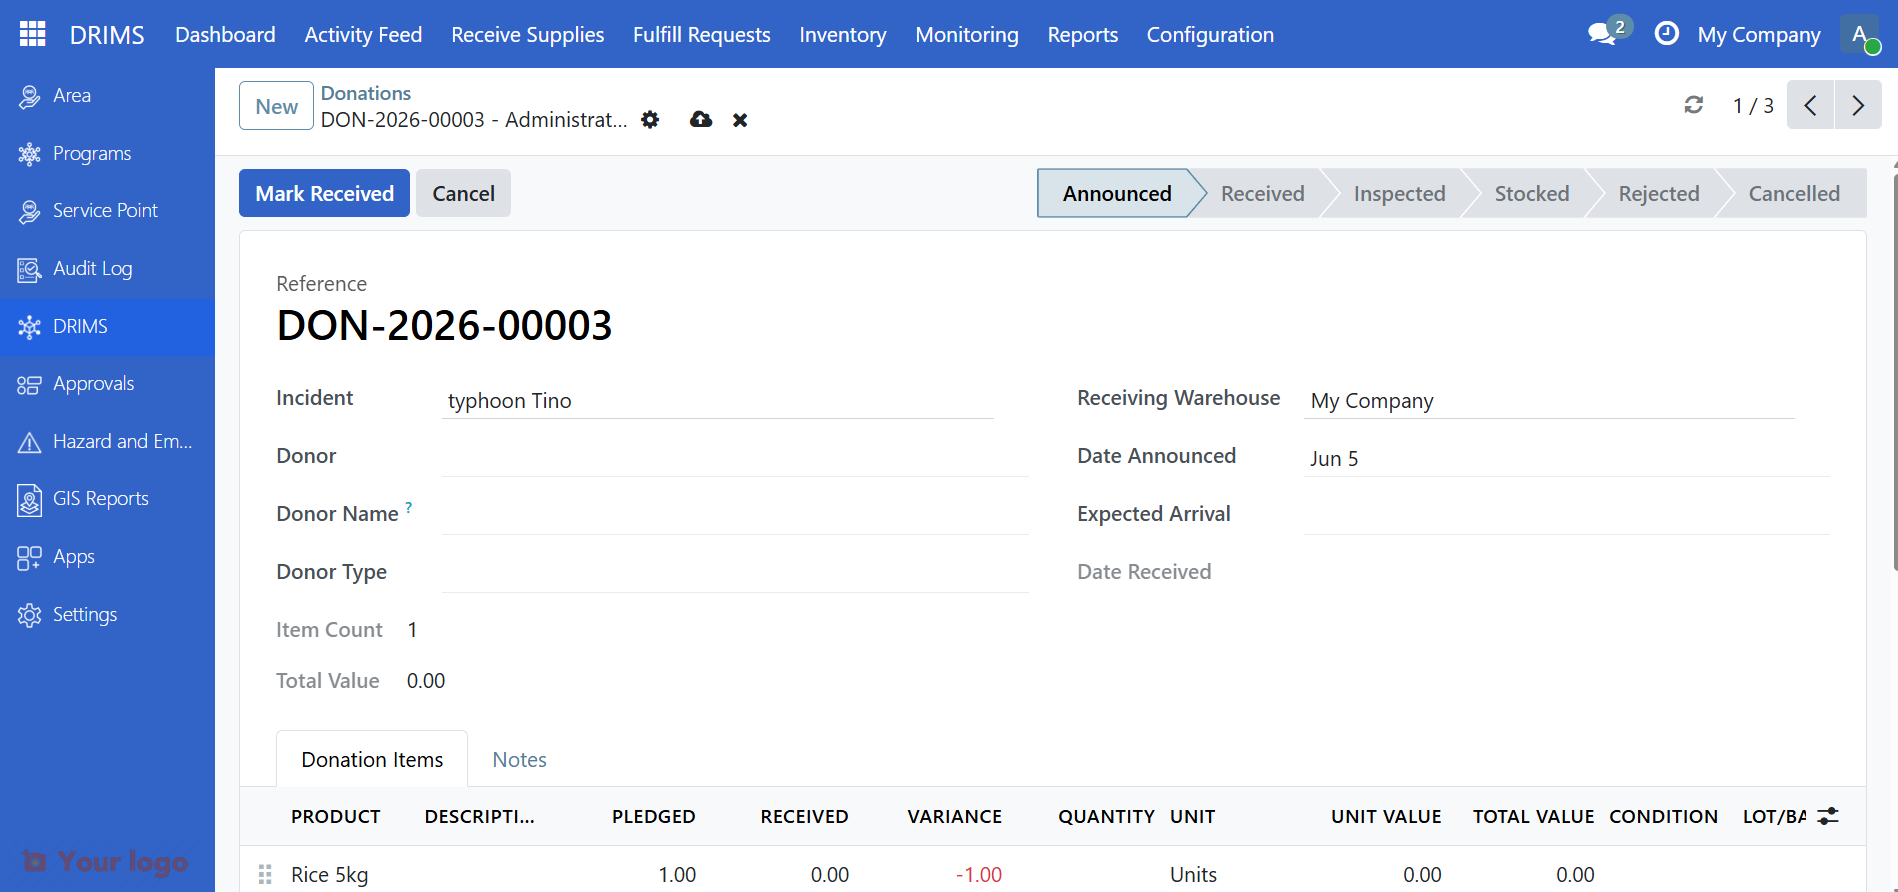
The donation form shows:
Field |
What it means |
|---|---|
Incident |
The disaster or emergency this donation supports |
Warehouse |
Your warehouse where items will be stored |
Donor |
Organization or person donating the items |
Donor type |
Type of donor (UN agency, NGO, private, government) |
Restriction |
Any limits on how items can be used |
3. Mark as received#
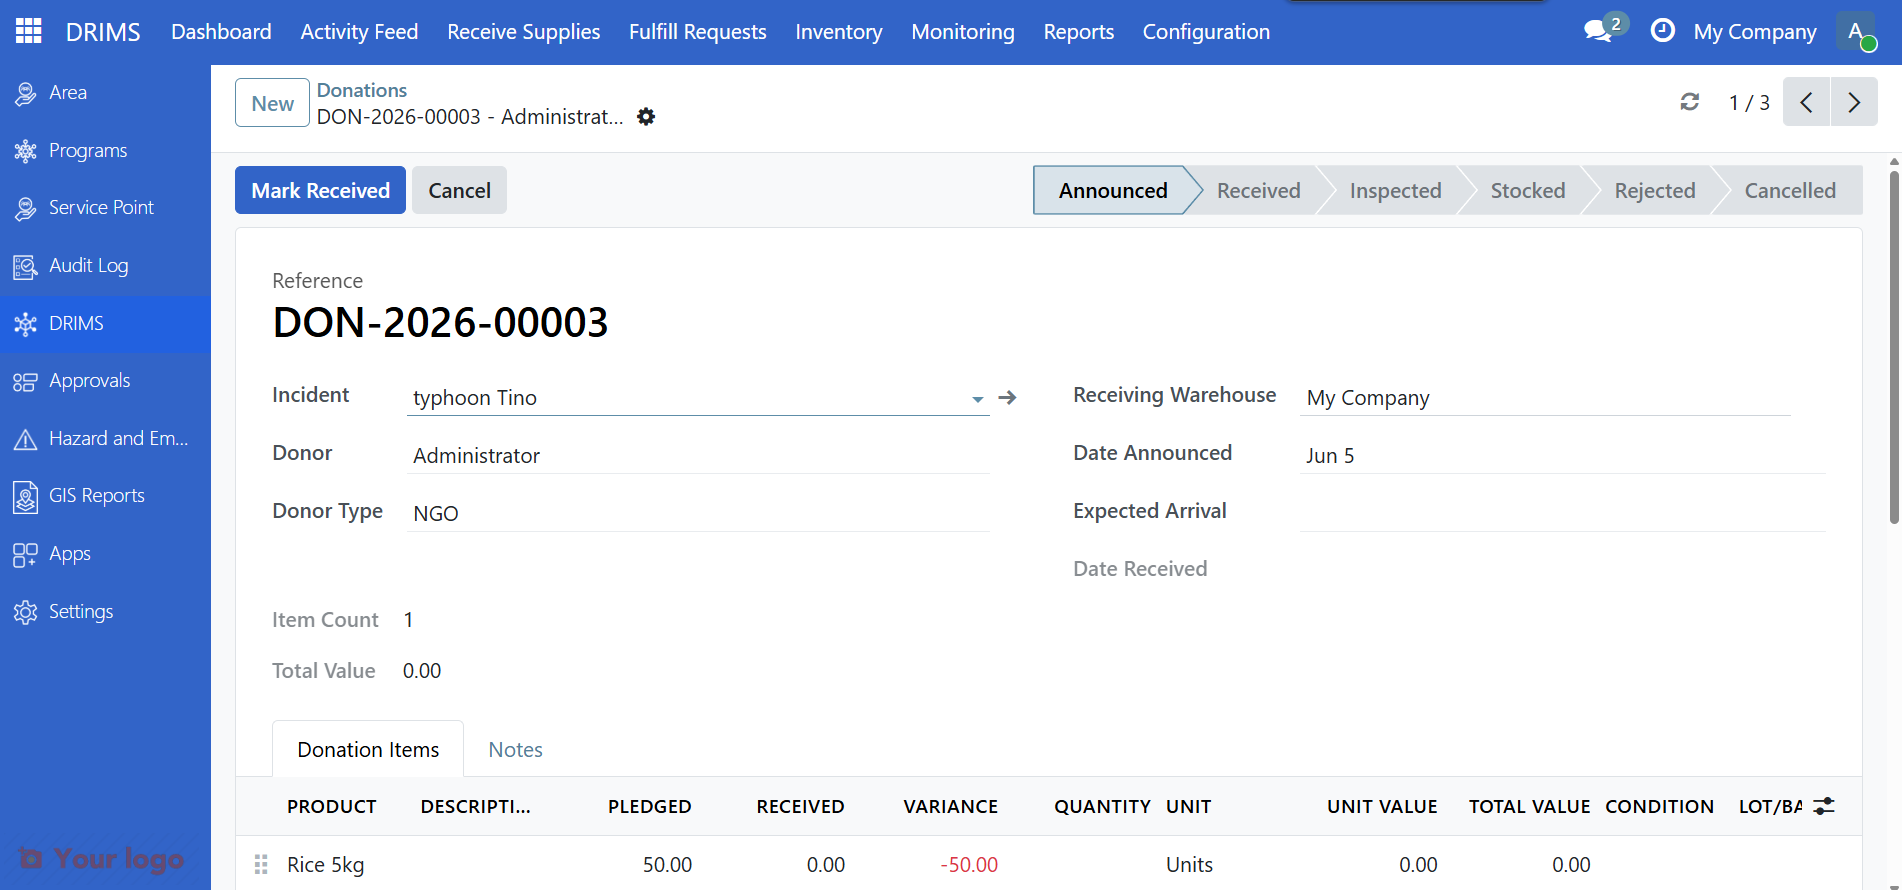
When the physical goods arrive at your warehouse, click Mark Received.
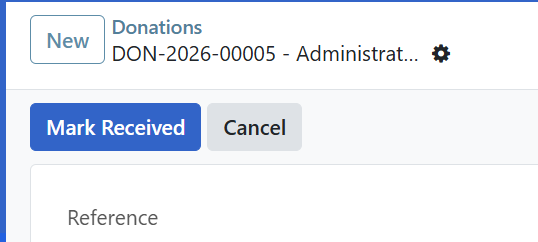
The status changes immediately to Received. DRIMS automatically fills the Received column on each donation line with the pledged quantity.
If the actual delivery differs from what was pledged, update the Received column on the affected lines now — this field is only editable in Received state.
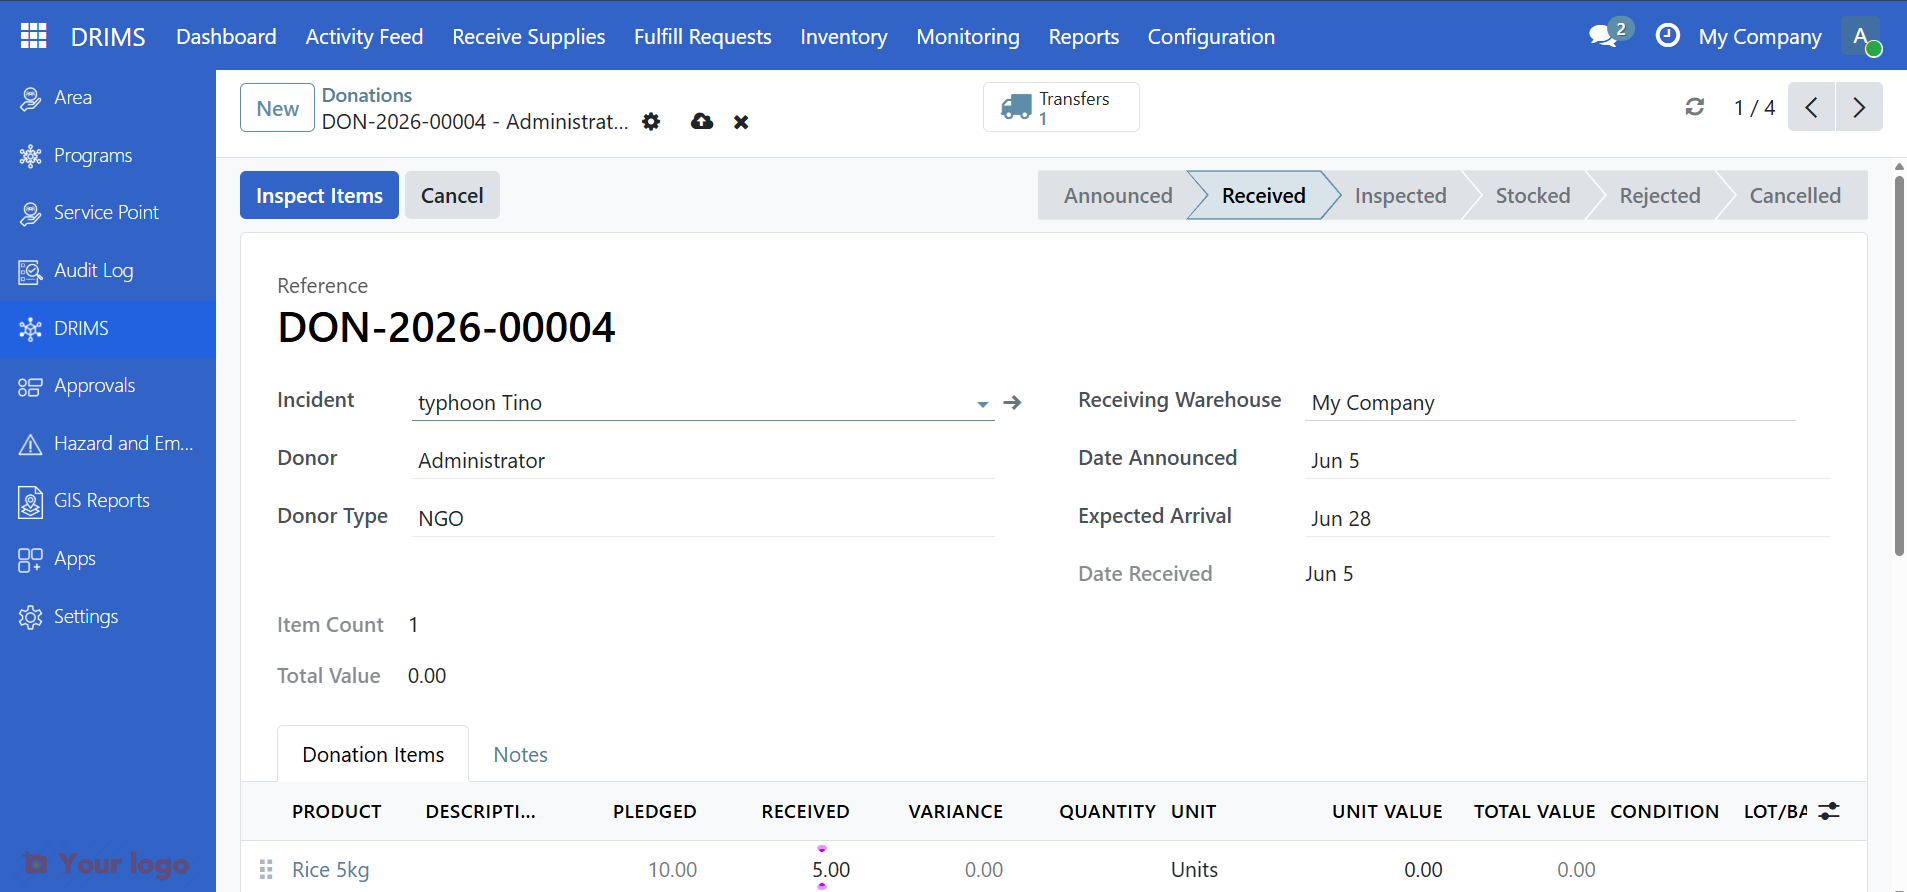
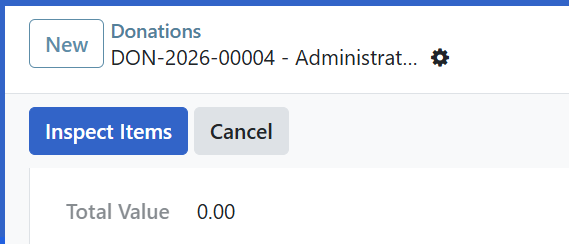
The Inspect Items button appears once you are ready to proceed.
Note
DRIMS records the date received and creates a stock transfer document at this point. Waybill numbers, delivery note references, and driver details are not captured in DRIMS — record those on the physical paperwork and add a reference in the Notes tab if needed.
4. Inspect the items#
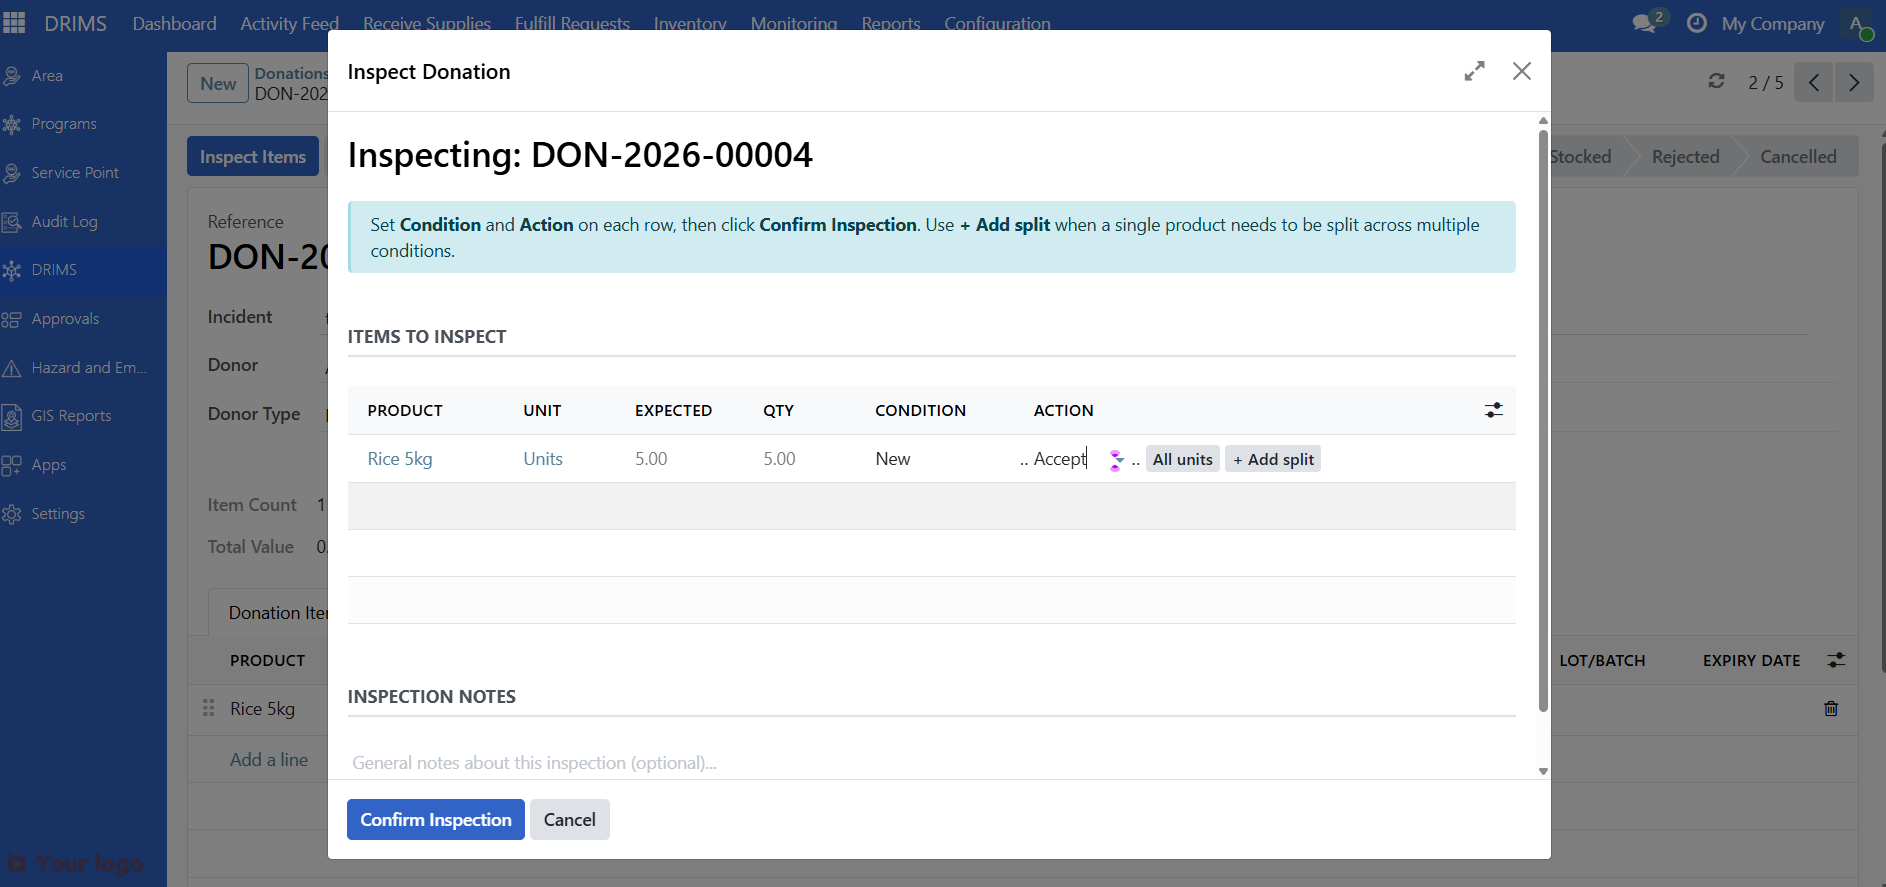
Click Inspect Items to open the inspection form.
The inspection wizard opens with one row for each line item in the donation.
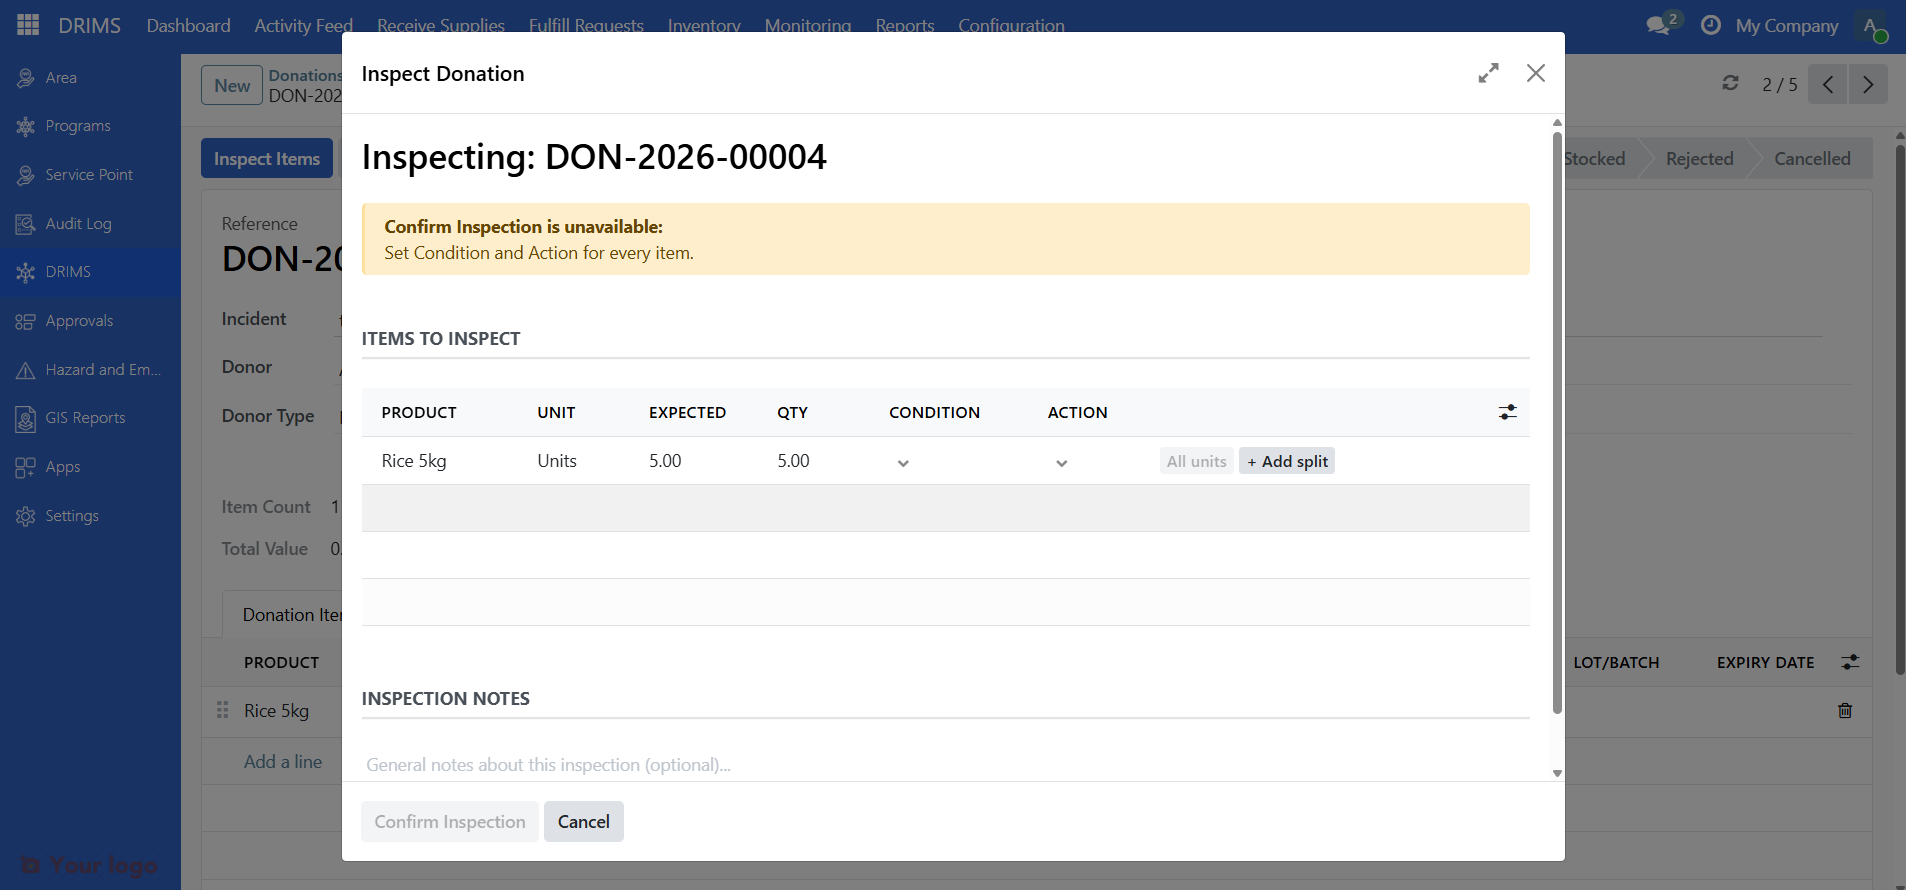
Set condition and action for each item#
For each row, fill in the two required columns:
Column |
What to select |
|---|---|
Condition |
The physical state of the item (Good, Damaged, Expired, etc.) |
Action |
What to do with the item (Accept, Return to donor, Dispose, Quarantine) |
Click directly in each cell to set the value.
Split a row for mixed conditions#
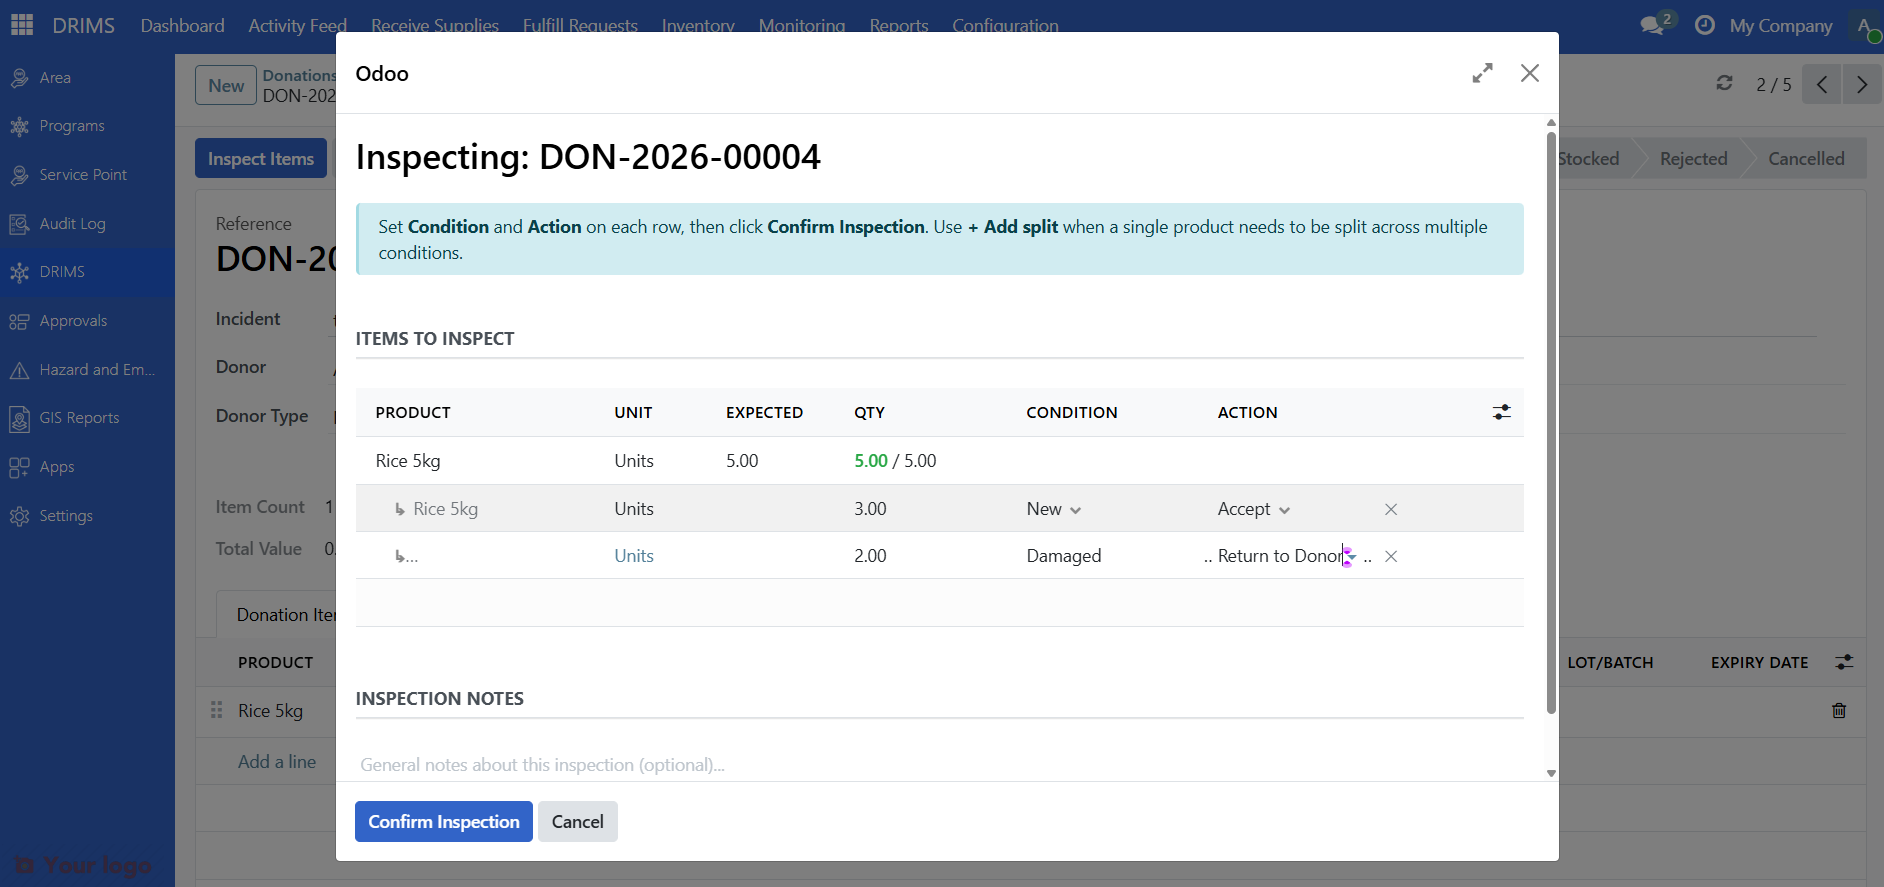
If one product arrived in mixed condition — for example, 3 units are good and 2 are damaged — you can split the row rather than create a separate entry:
Click + Add split on the row
A child row appears beneath the parent
Enter the quantity and condition for each portion
The parent row automatically totals the child quantities
Note
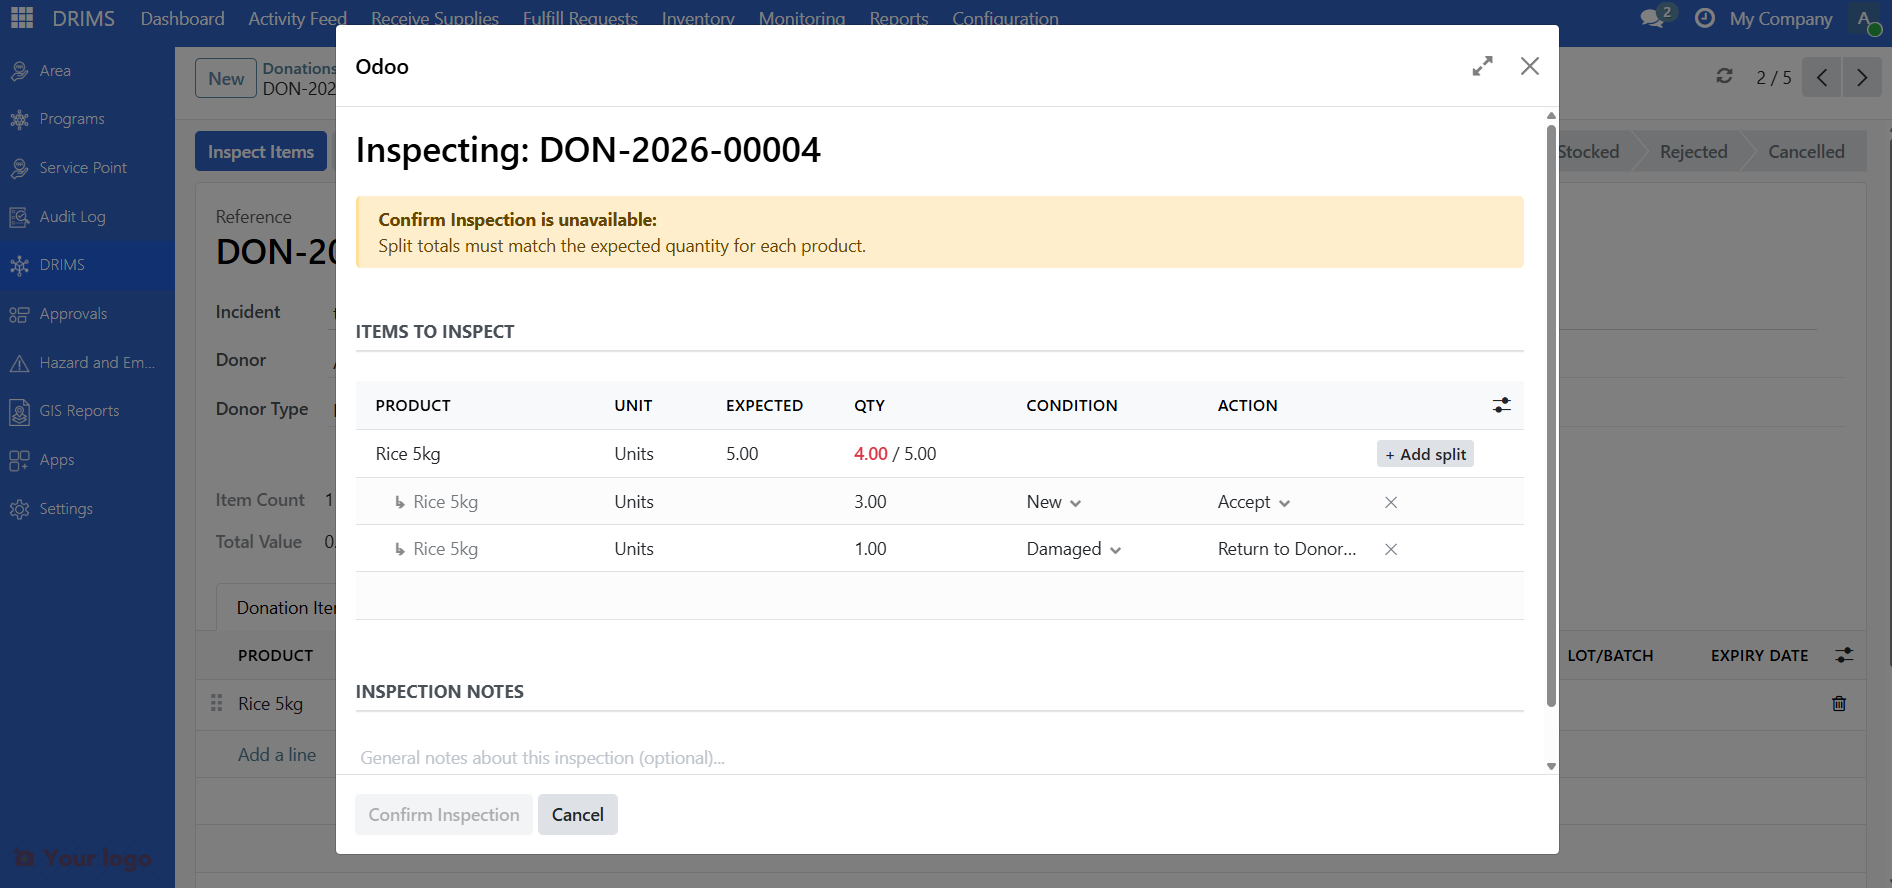
When a row is split, the parent row carries no condition or action — only the child rows do. The split quantities must add up to the received quantity before you can confirm.
Confirm button gate#
The Confirm Inspection button remains disabled until all rows are fully inspected. If any items are missing a condition or action, you'll see a list of reasons explaining what still needs to be filled in.
Once all rows are complete, click Confirm Inspection.
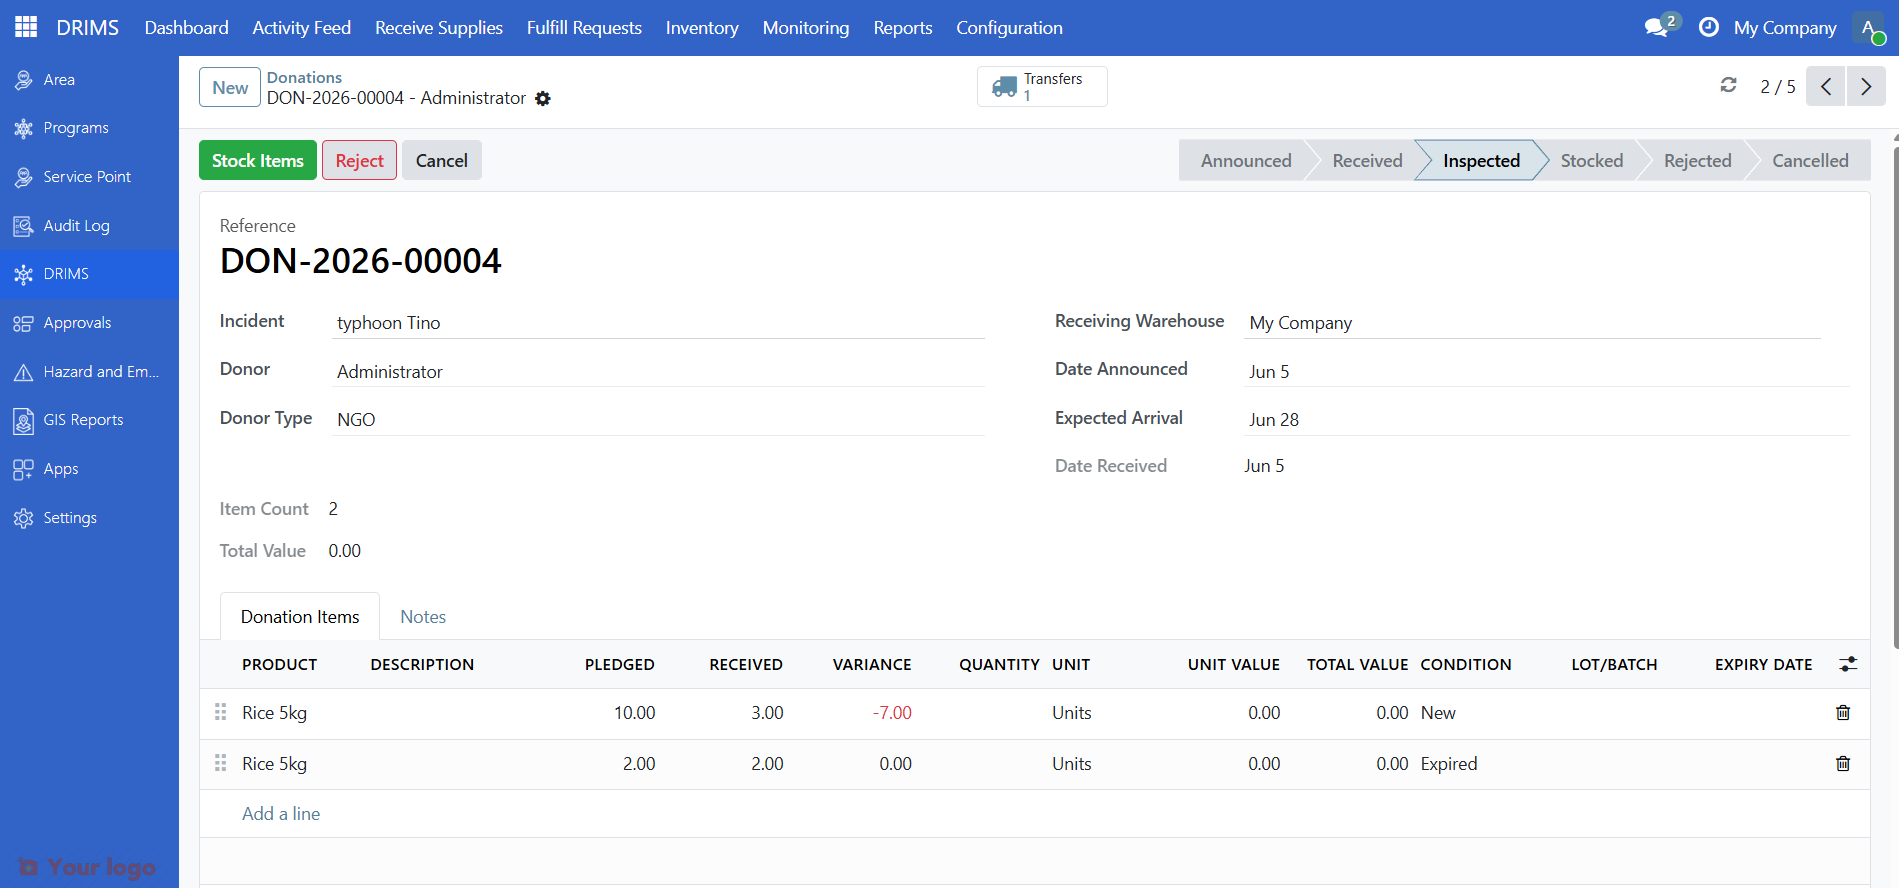
The donation status changes to Inspected.
5. Stock the items (or reject)#
After inspection, what you see depends on the actions you recorded:
When items are available to stock#
If at least one item was marked Accept, the Stock Items button appears. Click it.
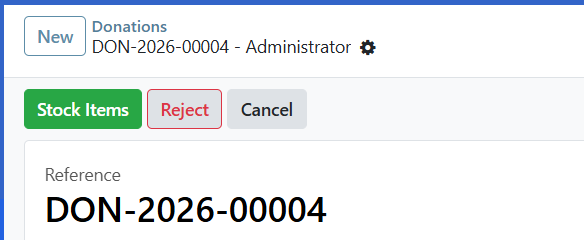
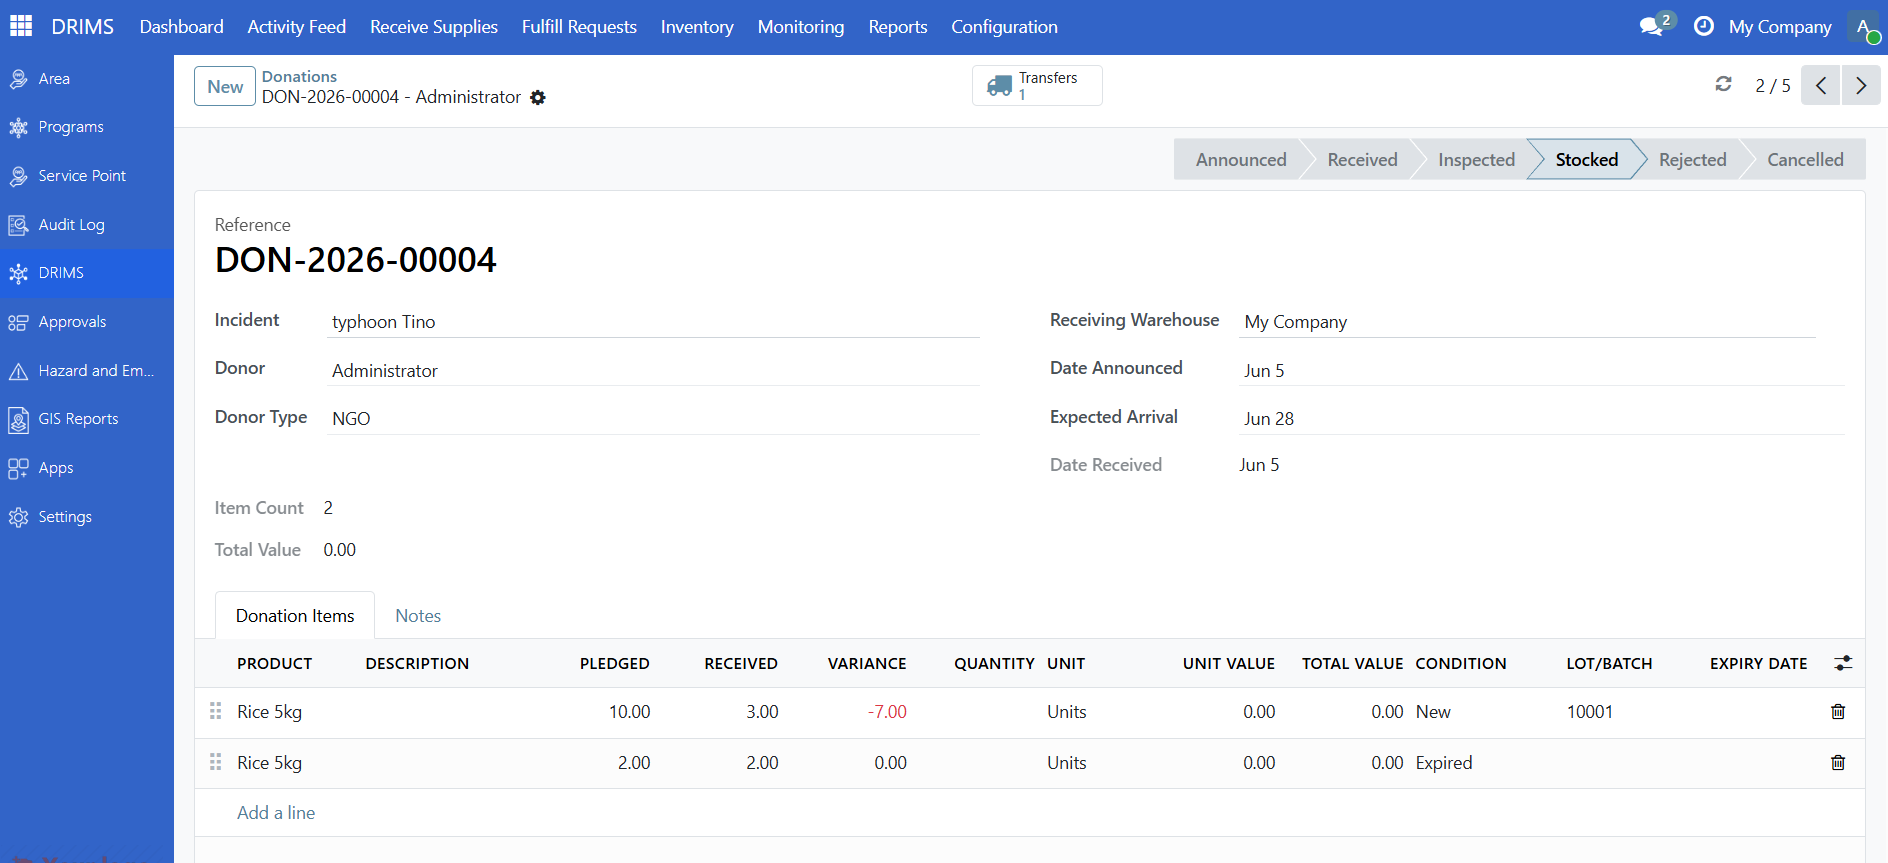
DRIMS validates the stock transfer and moves all accepted items into warehouse inventory in one step. The donation status changes to Stocked.
Note
For lot-tracked products, DRIMS uses the lot number and expiry date from the donation line to create the stock lot automatically. These fields are editable on the donation lines in Received state — fill them in before clicking Stock Items. If a tracked product line has no lot number set, Stock Items will raise an error — go back to the donation lines, fill in the Lot number field, then retry.
When all items are non-acceptable#
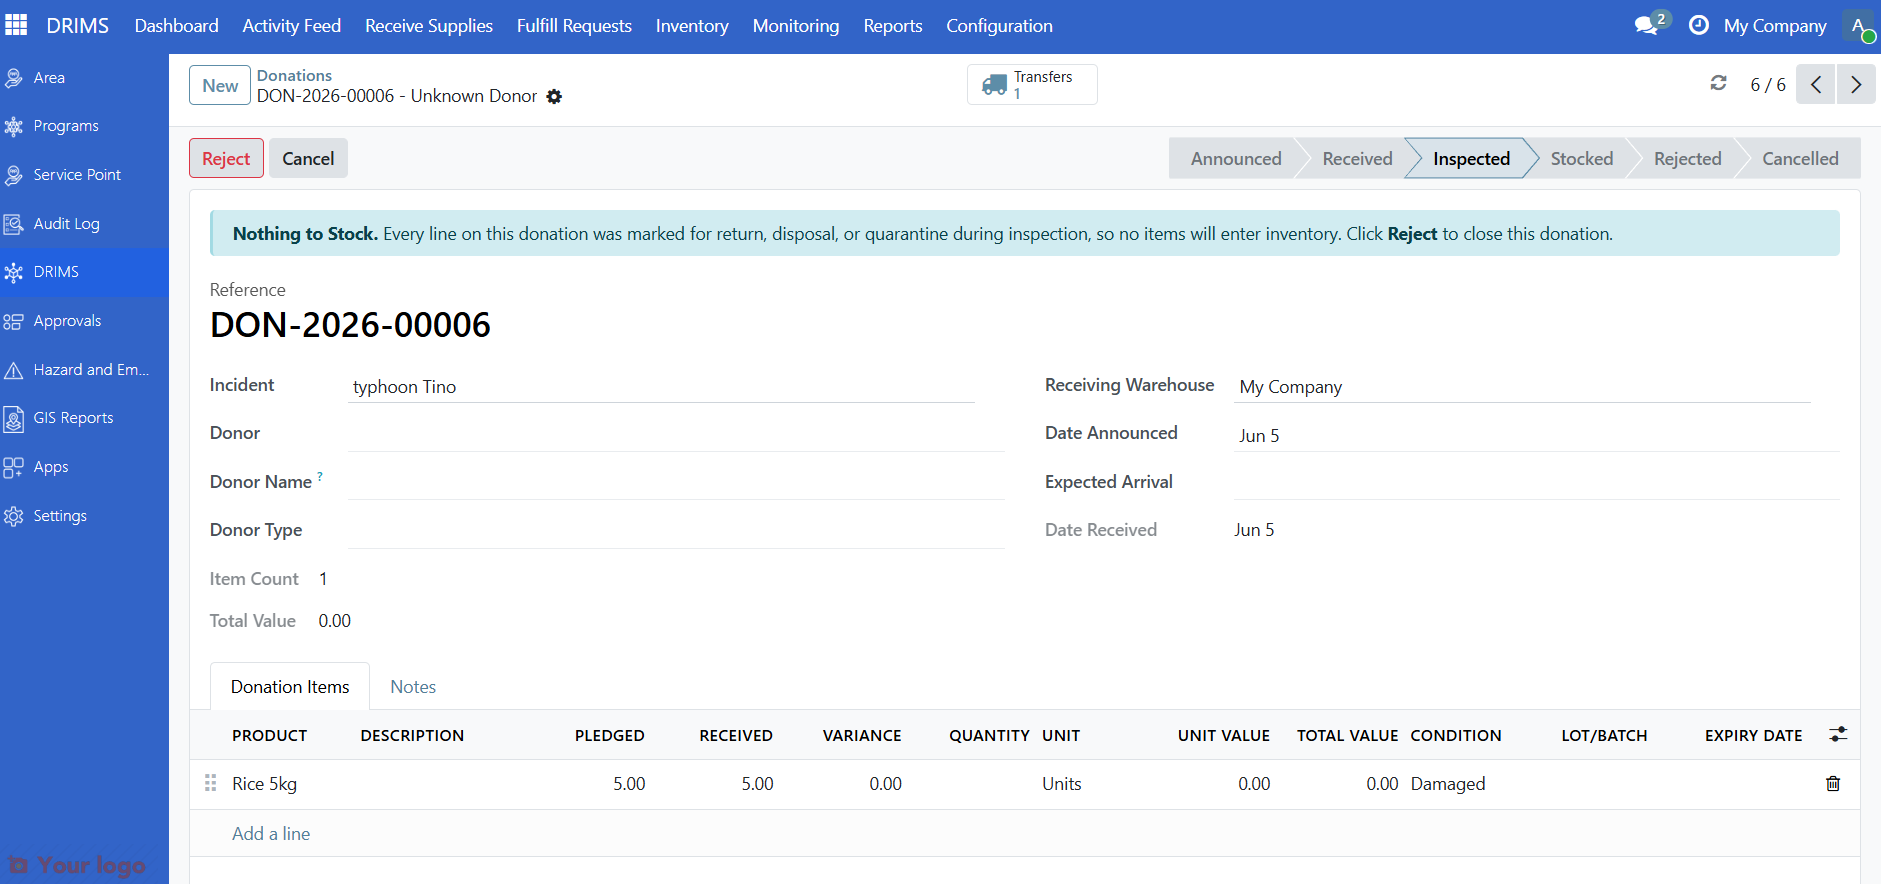
If every line was marked Return to donor, Dispose, or Quarantine during inspection, the Stock Items button will not appear. Instead, you'll see an information message:
Nothing to Stock. Every line on this donation was marked for return, disposal, or quarantine during inspection, so no items will enter inventory.
In this case, click Reject to close out the donation.
Are you stuck?#
Can't find the donation?
Check the filter at the top of the list. Make sure My Warehouse is selected, or switch to All Warehouses if the donation is for a different location.
Mark Received button is grayed out?
The donation may already have been processed. Check the Status badge — if it shows anything other than Announced, someone else has already received it.
Inspect Items button doesn't appear?
You may need Warehouse Officer permissions. Contact your supervisor.
Split quantities don't match and Confirm is blocked?
The child row quantities must sum exactly to the received quantity shown on the parent row. Adjust the child rows until the total matches.
Stock Items button is missing after inspection?
All items were marked for return, disposal, or quarantine. Check the "Nothing to Stock" banner and use the Reject button instead.
Item needs a lot number but you don't have it?
Check the physical packaging for batch numbers, manufacturing codes, or expiry dates. If no tracking information exists, ask your supervisor how to record it.
Quantities don't match the pledge?
That's normal. Enter the actual received quantity in the Actual Quantities field when marking as received.
Need to cancel a donation?
Click Cancel while the donation is in Announced or Received status. Add a cancellation note explaining why. Donations in Stocked status cannot be cancelled.
Next steps#
Manage Inventory - Verify items were added and check stock levels
Submit and manage relief requests - Process requests for the stocked items
Process a dispatch - Prepare dispatches for approved requests