Creating change request types
Contents
Creating change request types#
This guide walks through creating a new change request type using the OpenSPP configuration interface.
Prerequisites#
Access to OpenSPP with administrator or Change Request Manager permissions
An existing detail model (see Overview for available models)
An approval workflow configured (optional, but recommended)
Step 1: Create the request type#
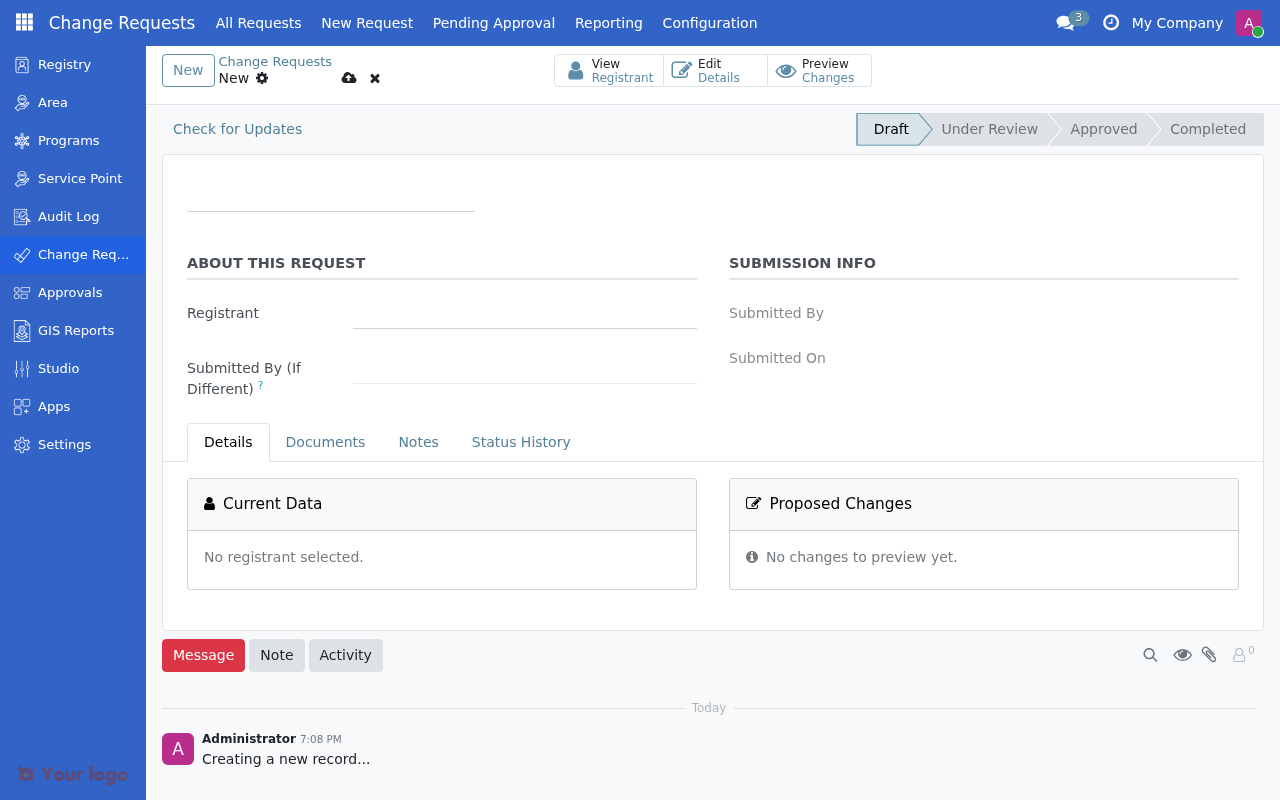
Navigate to Change Requests → Configuration → Change Request Types and click New.

Basic info section#
Field |
Value |
Notes |
|---|---|---|
Code |
|
Unique identifier (lowercase, underscores only) |
Sequence |
10 |
Lower numbers appear first in menus |
Icon |
|
Font Awesome icon class |
Color |
(select) |
Color picker for visual identification |
Target section#
Field |
Value |
Notes |
|---|---|---|
Target Type |
Individual |
Individual, Group/Household, or Both |
Is Requires Applicant? |
No |
If yes, forces separate "submitted by" field |
Description#
Enter a description at the bottom of the form to help users understand when to use this type.

Step 2: Link to detail model#
Navigate to the Detail Model tab.
Field |
Value |
Notes |
|---|---|---|
Detail Model |
|
Technical model name (pre-created, required) |
Detail Form View |
(leave blank) |
Auto-selects default view |

Note
For basic configurations, use existing detail models. See Overview for the complete list of available models.
Step 3: Configure approval workflow#
Navigate to the Approval tab.
Field |
Value |
Notes |
|---|---|---|
Approval Workflow |
Select from dropdown |
Choose existing approval definition |
Auto Approve From Event |
No |
If yes, requests from event data are auto-approved |
Note
The Auto Apply On Approve field is located in the Apply Configuration tab (see Step 4).
Creating approval workflows#
If you need a new workflow, go to Studio → Approvals → Definitions first.
Example: Two-level approval for sensitive changes
Field |
Value |
|---|---|
Name |
Change Request - Sensitive |
Levels |
2 |
Level 1 Approvers |
Supervisor Group |
Level 2 Approvers |
Program Manager Group |
Require All |
No |
Step 4: Configure apply strategy#
Navigate to the Apply Configuration tab.
For simple field mapping#
Field |
Value |
Notes |
|---|---|---|
Apply Strategy |
Field Mapping |
Copies fields from detail to registrant |
Auto Apply On Approve |
Yes |
If yes, changes apply immediately when approved |
Field mappings#
In the Field Mappings section below, add your mappings:
Source Field |
Target Field |
Transform |
|---|---|---|
|
|
Direct Copy |
|
|
Direct Copy |
|
|
Direct Copy |
|
|
Direct Copy |
|
|
Direct Copy |
|
|
Direct Copy |

For custom logic#
Field |
Value |
Notes |
|---|---|---|
Apply Strategy |
Custom Method |
Uses Python code |
Apply Model |
|
Pre-created custom strategy |
Apply Method |
|
Method name (usually "apply") |
See Field mappings for detailed mapping configuration options.
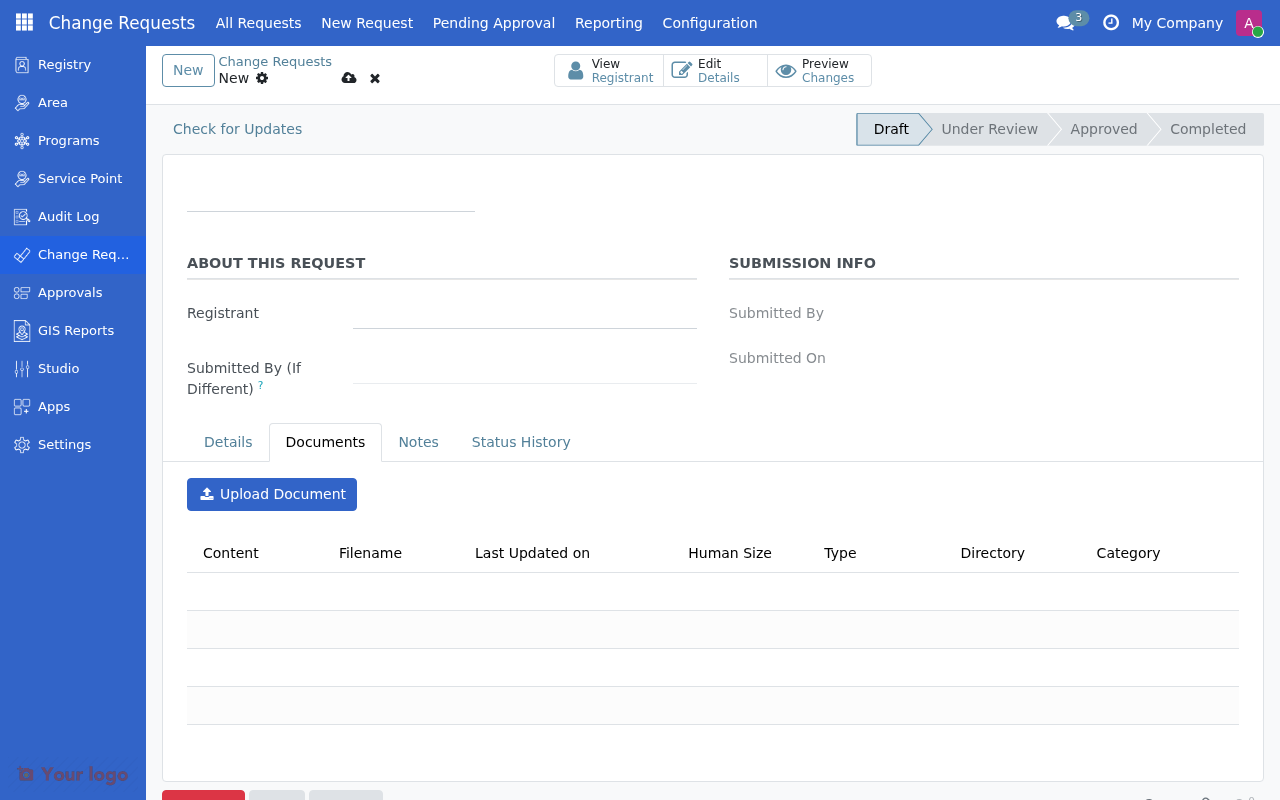
Step 5: Configure document requirements#
Navigate to the Documents tab.
Field |
Value |
Notes |
|---|---|---|
Document Validation Mode |
No Validation |
No Validation / Warning if Missing / Block if Missing |
Available Documents |
(select document types) |
Document types that can be attached |
Required Documents |
(select document types) |
Use Ctrl/Cmd+Click for multiple |
Document validation modes#
Mode |
Behavior |
|---|---|
No Validation |
Documents are optional |
Warning if Missing |
Shows warning if missing, but allows submission |
Block if Missing |
Blocks submission until all required documents are uploaded |
Save and activate#
After completing all configuration:
Click Save to save the change request type
Click Activate to make it available for use
Important
Change request types must be activated before users can create requests of that type.
Next steps#
Field mappings - Learn about advanced field mapping options
Common configuration patterns - See common configuration patterns
Troubleshooting - Troubleshoot common issues