Submit a change request
Contents
Submit a change request#
Applies to: Social Registry, SP-MIS
This guide is for users (program staff, registry officers) who need to submit change requests to update registrant information.
What you will do#
Create a change request to modify registrant information, such as updating personal details, adding household members, or correcting ID documents. Change requests go through an approval workflow before being applied to the registrant's record.
Before you start#
You need Change Request User permissions
Know which registrant needs the update
Have any required documentation ready (ID documents, birth certificates, etc.).
Steps#
Step 2. Start a new request#
Click the button New Request.
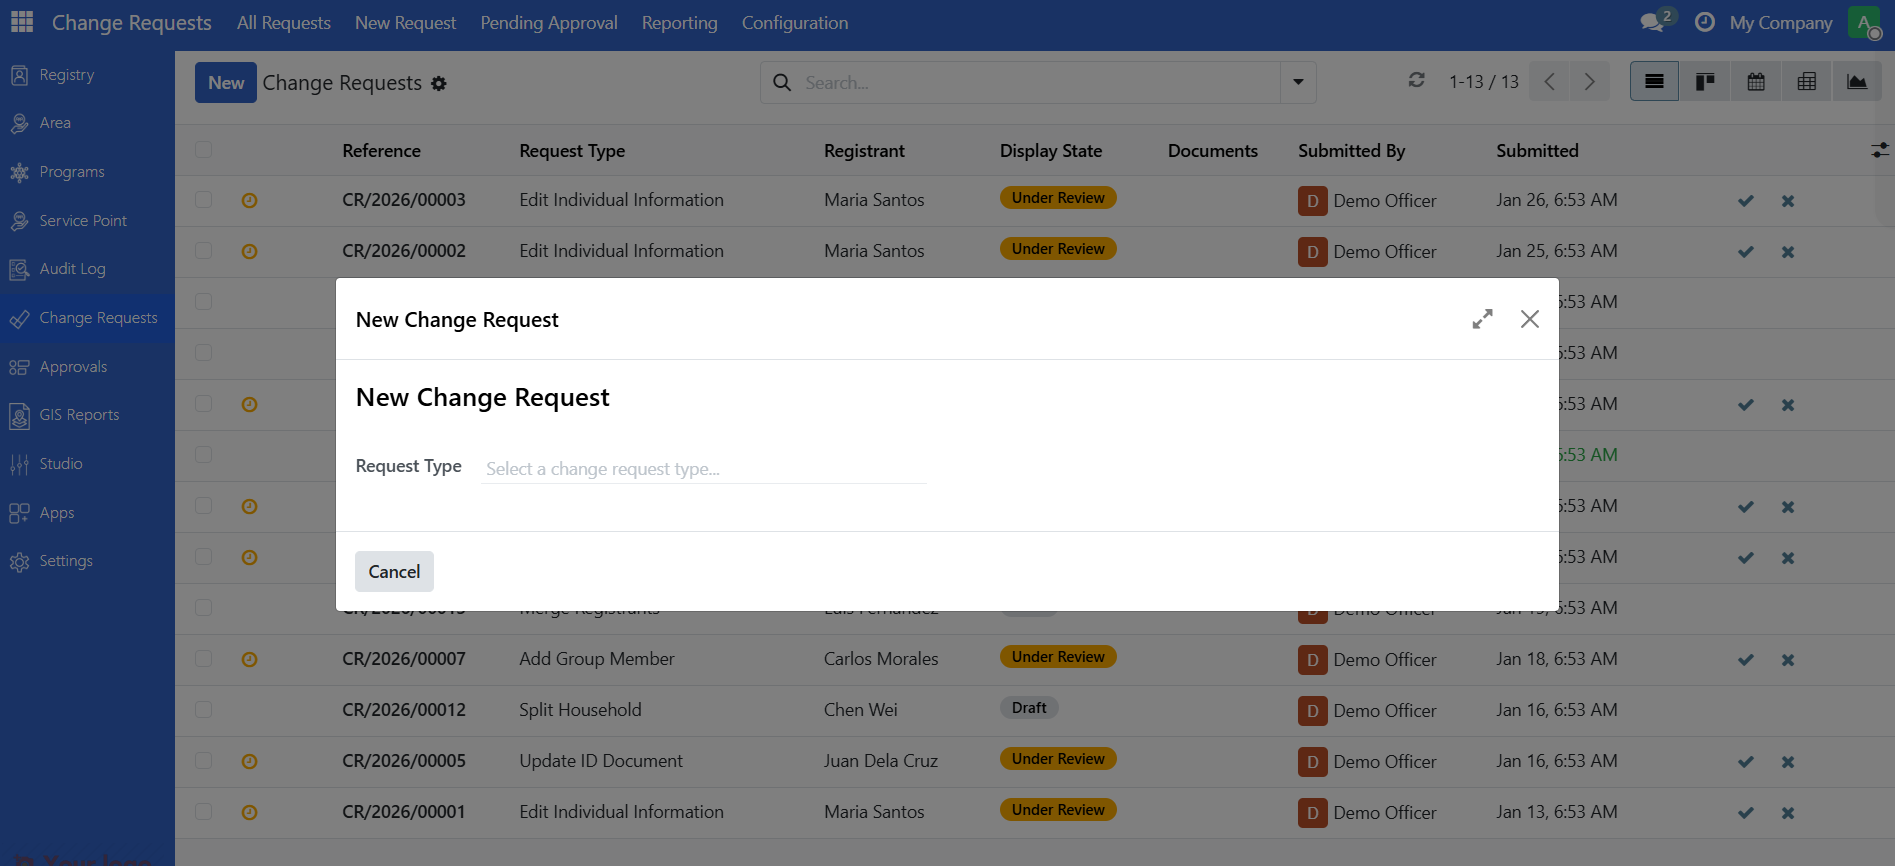
This opens the new change request wizard.
Step 3. Select the request type#
Choose the type of change you need from the available options. Common request types include:
Request type |
Use when |
|---|---|
Edit individual information |
Updating personal details (name, phone, address) |
Edit group information |
Updating household details |
Add group member |
Adding a new person to a household |
Remove group member |
Removing someone from a household |
Update ID document |
Adding or correcting ID numbers |
Change head of household |
Designating a new household head |
Note
Available request types: The system may have additional request types configured (such as transfer member, exit registrant, create new group, split household, merge registrants). See Change request types for a complete reference of all available types.
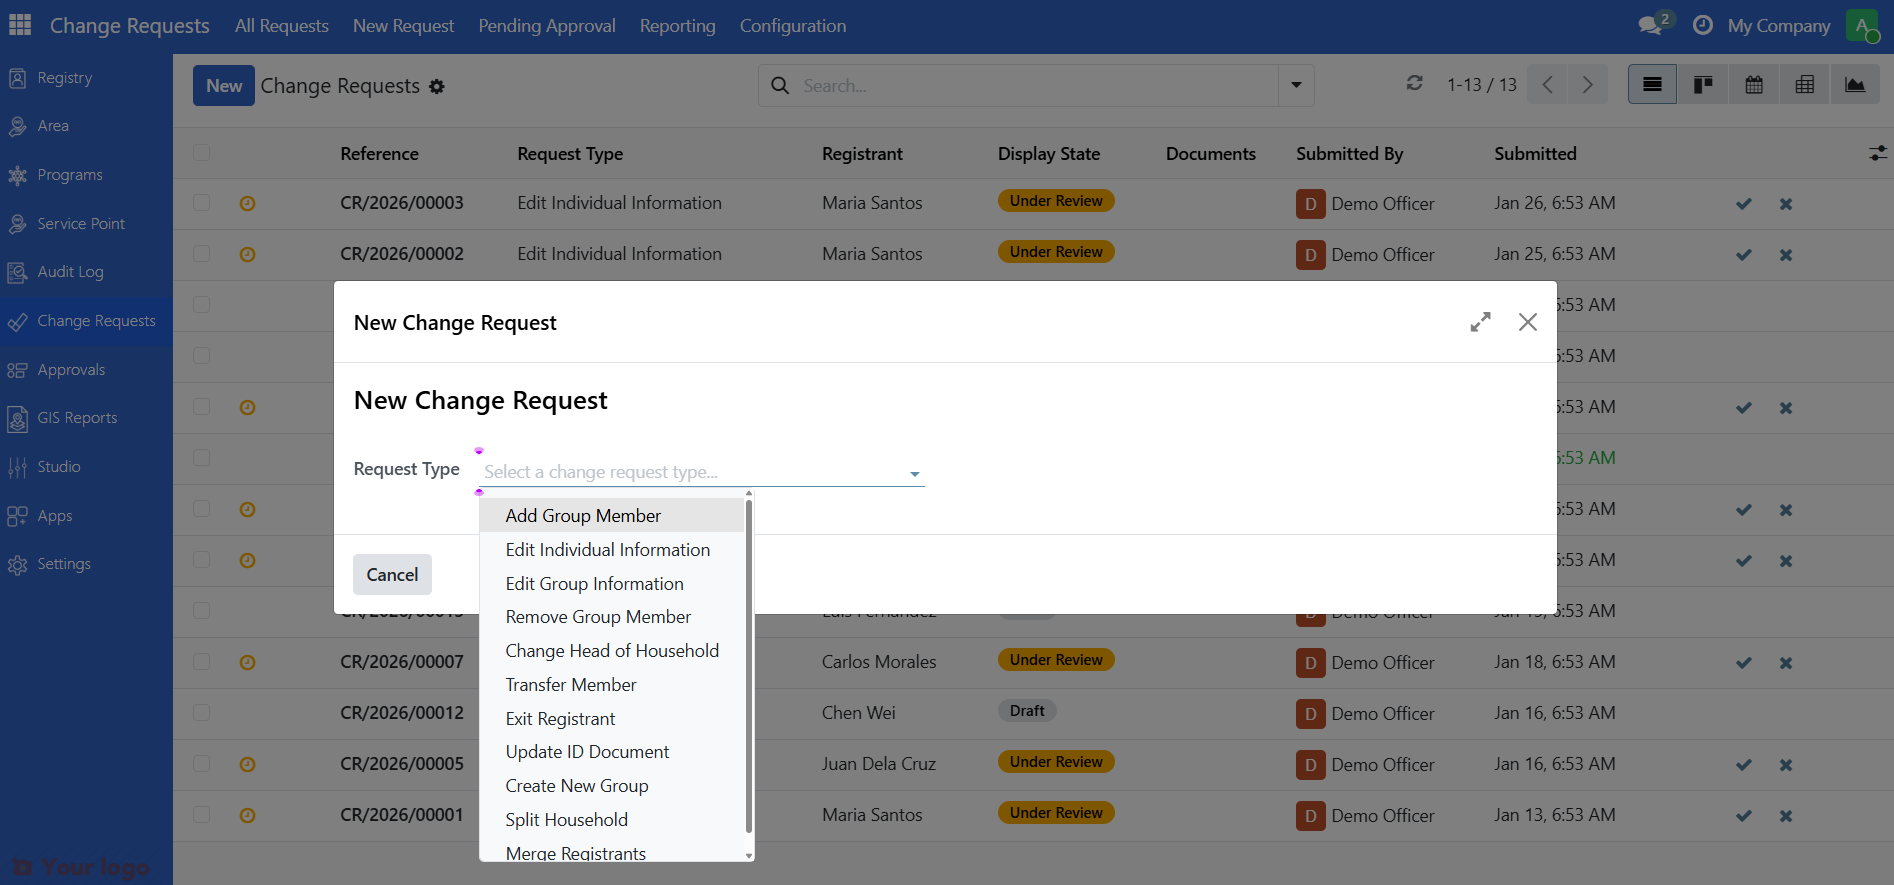
Click on the request type you need.
Step 4. Select the registrant#
In the Search Registrant field, search for the person or household you are updating.
Type part of their name to search.
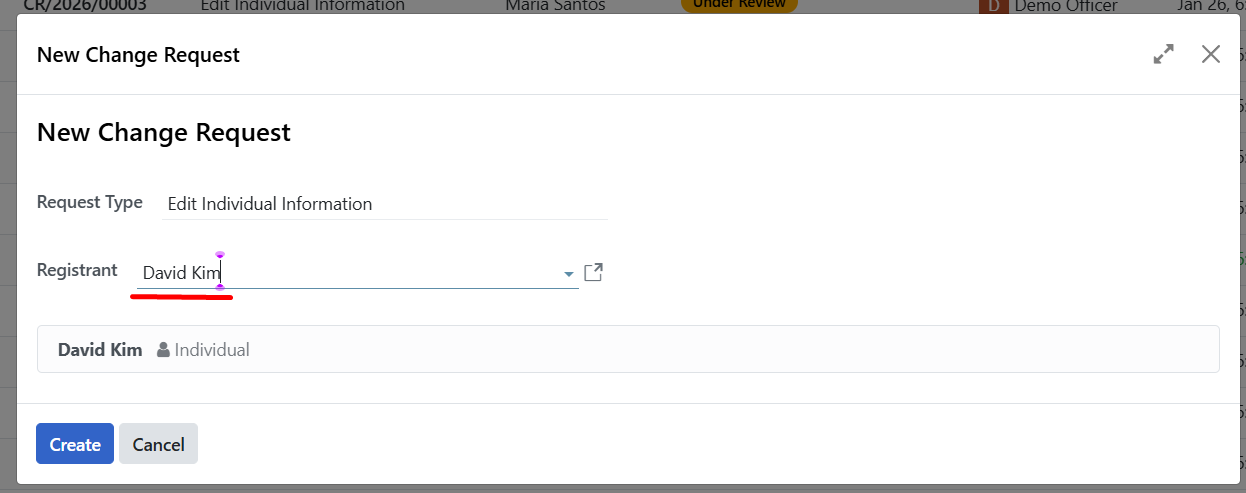
Select the correct registrant from the list.
Note
Some request types only work with individuals, others only with groups. The system displays a banner to inform which can be selected and also filters the registrant list based on your selected request type.
Step 5. Click create#
Click Create to create the change request.
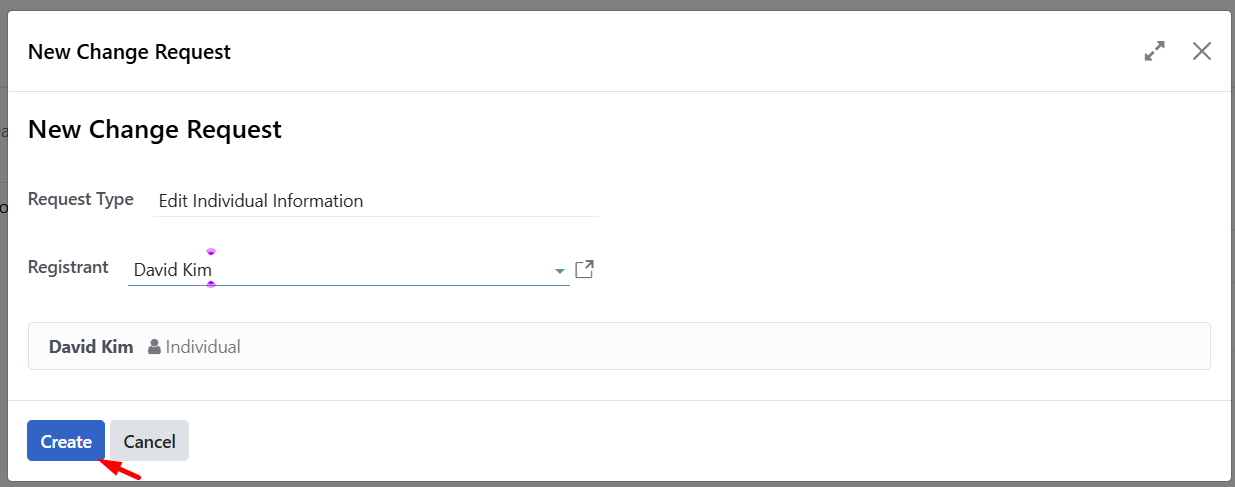
The system creates the request and automatically opens the detail form for editing.
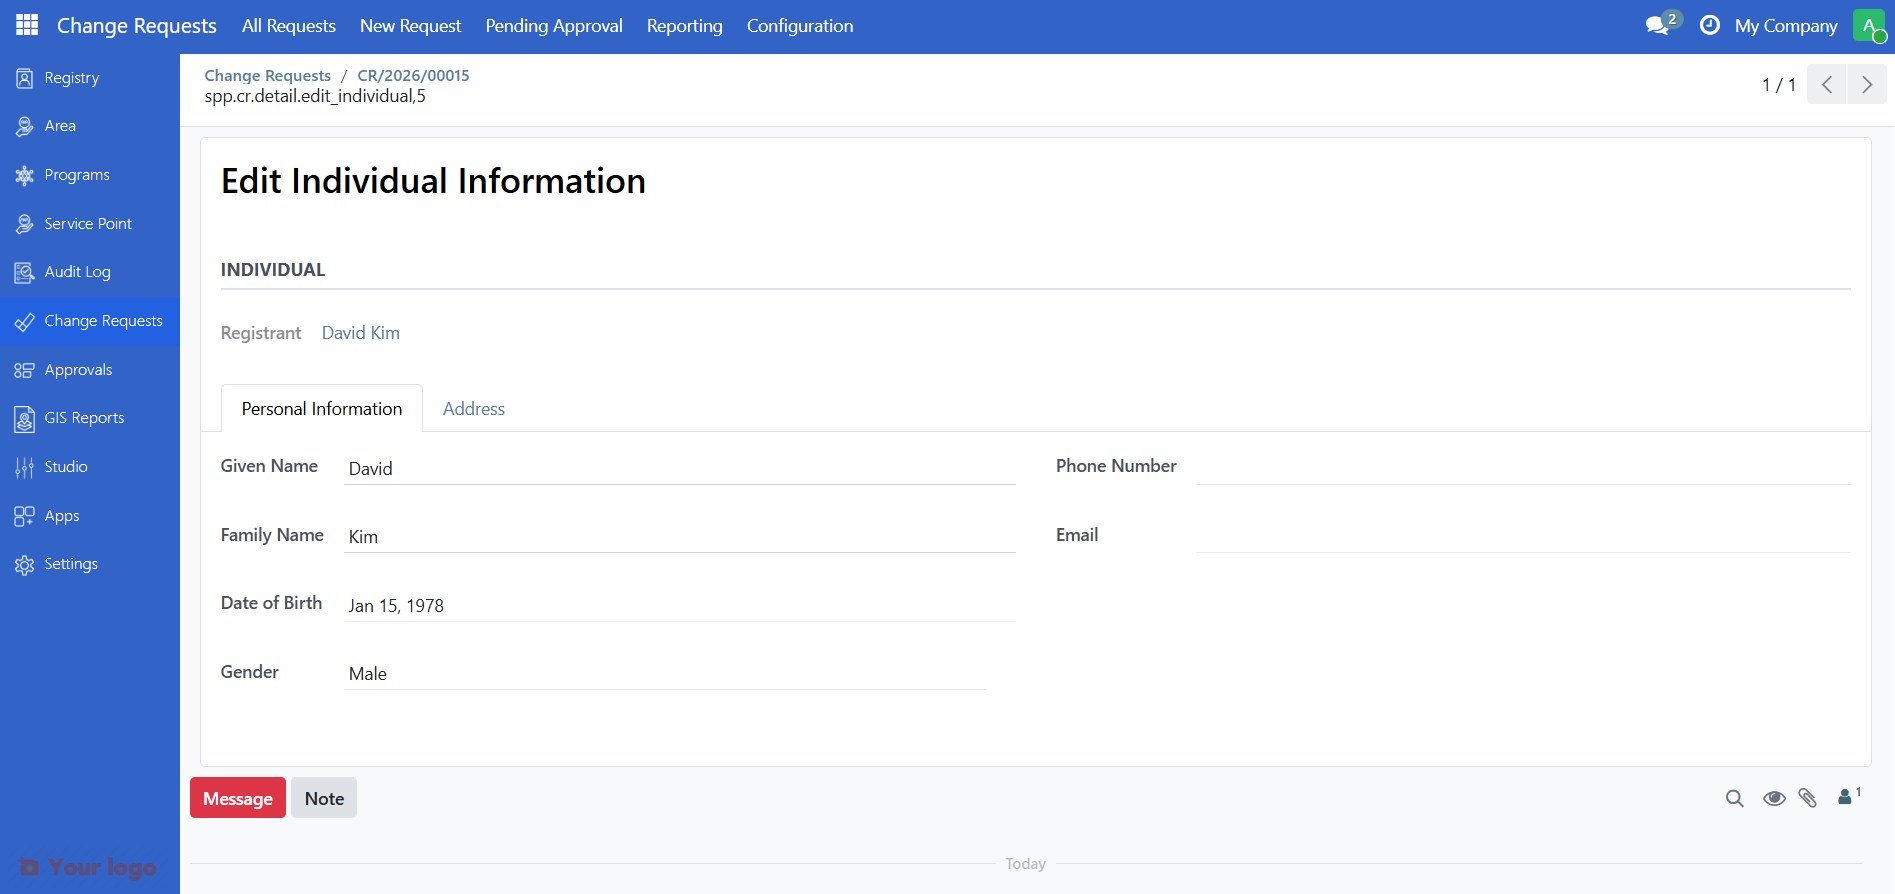
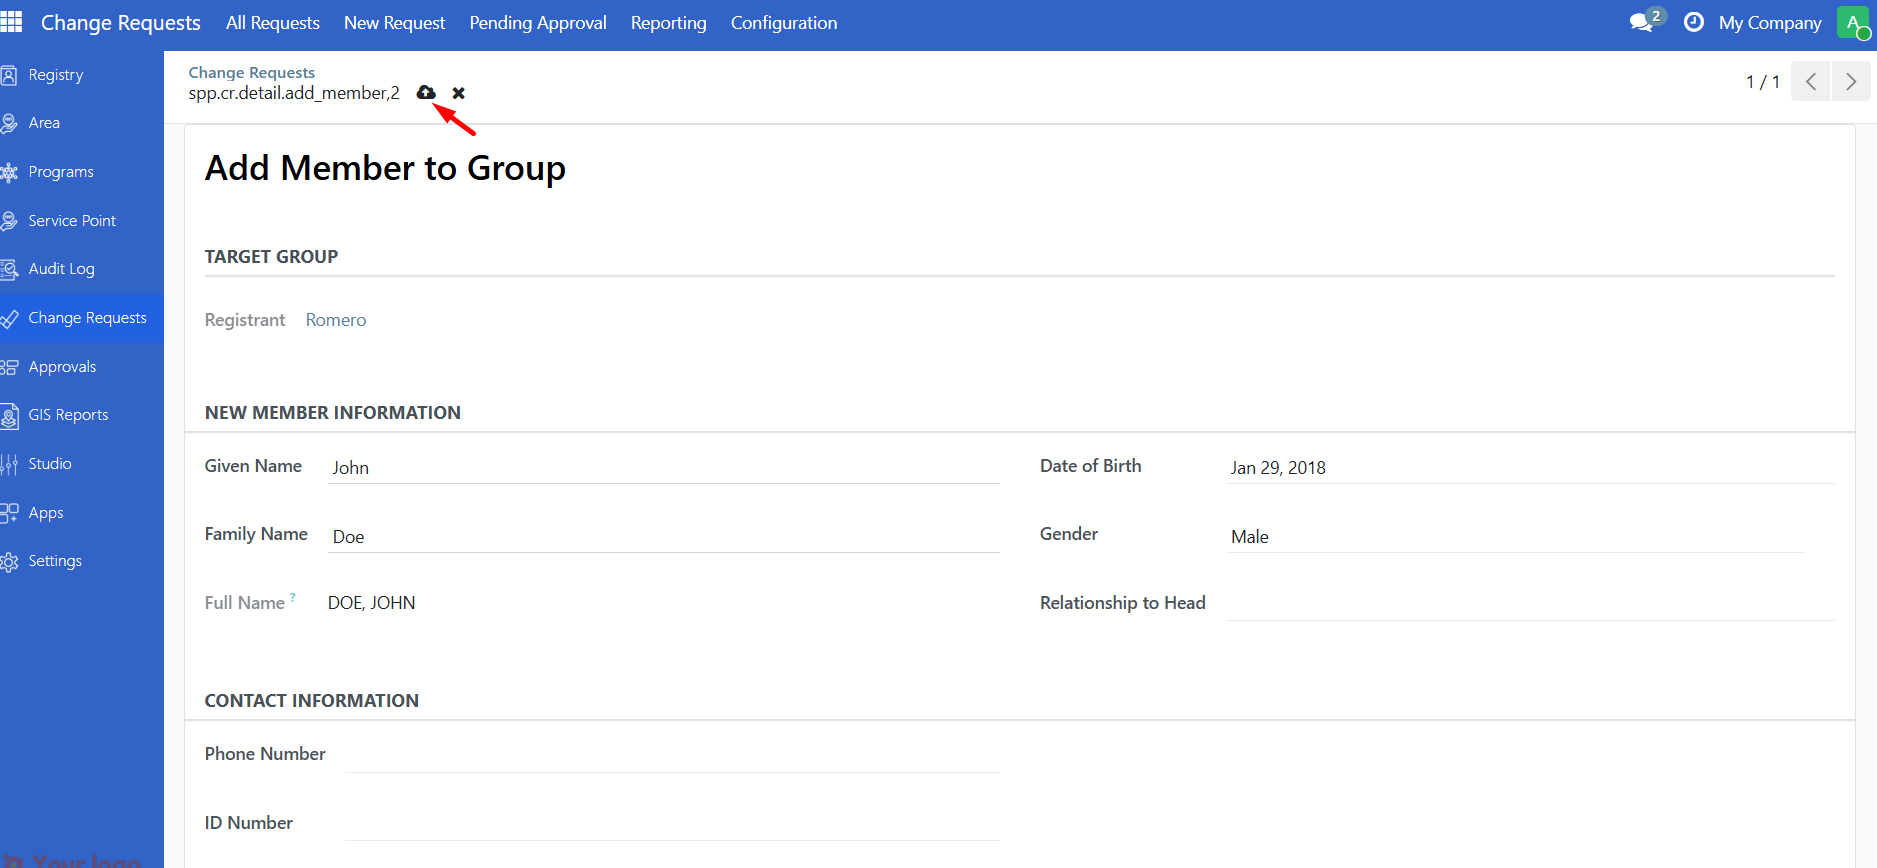
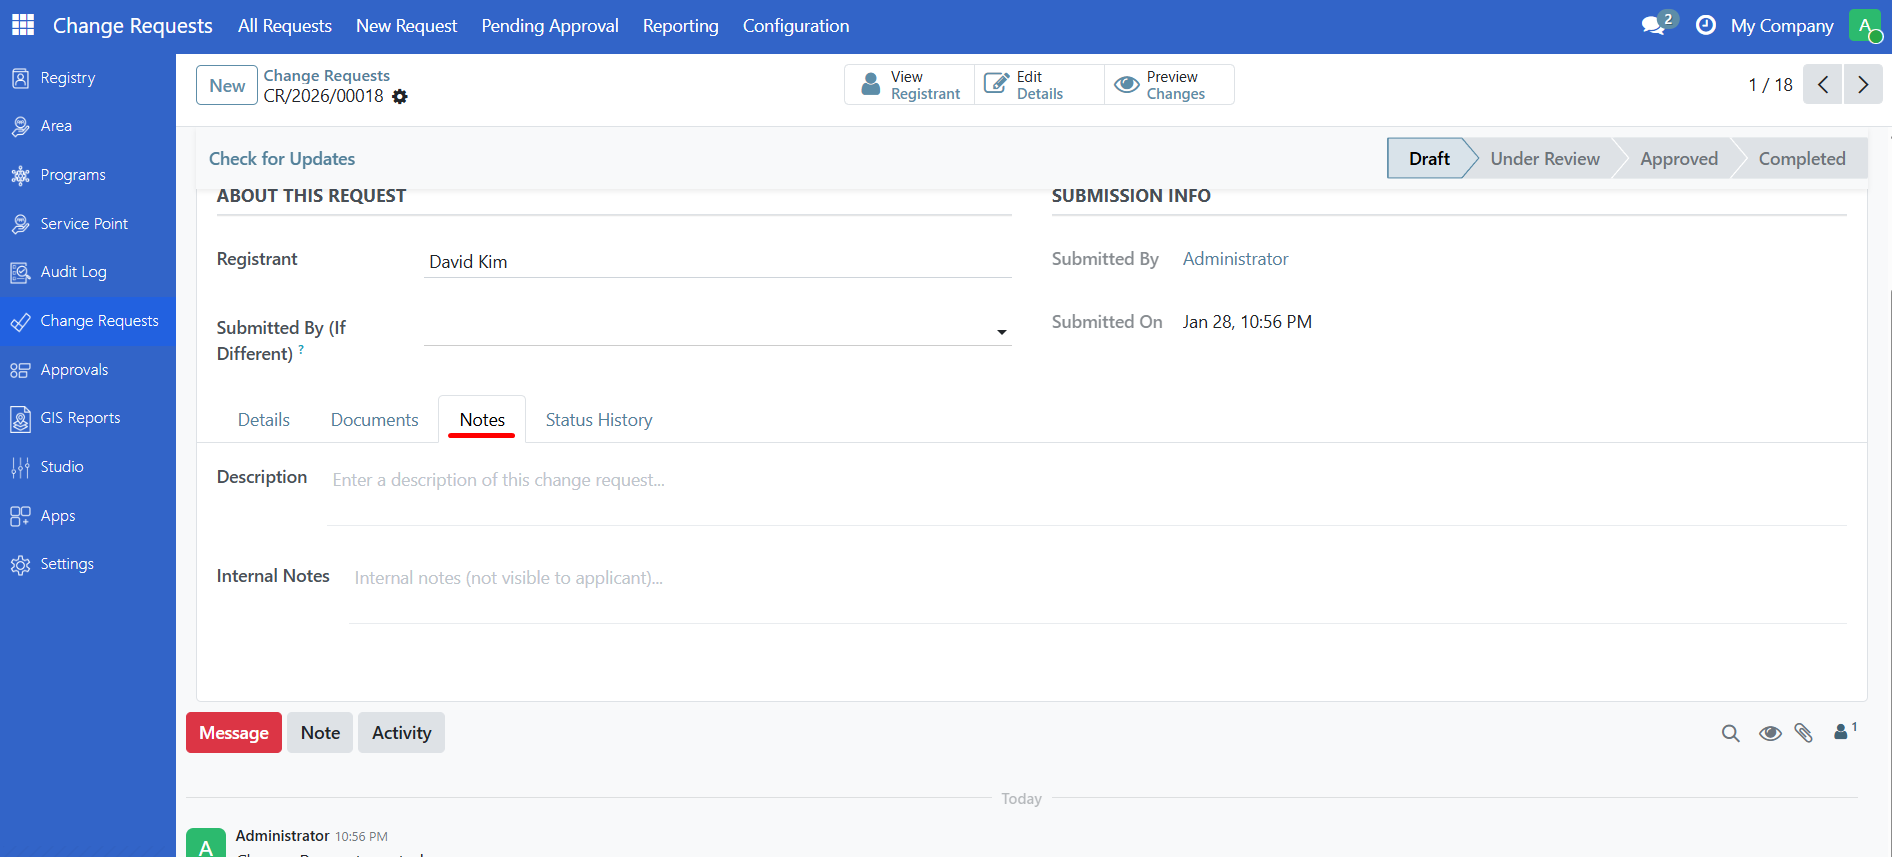
Step 6. Fill in the change details#
The form shows fields specific to your request type. Fill in the information you want to change.
For Edit Individual Information:
Field |
Fields that can be edited |
|---|---|
Given Name |
Person's first name |
Family Name |
Person's surname |
Date of Birth |
Use the calendar picker |
Gender |
Select from dropdown |
Phone |
Contact phone number |
Email address |
|
Address |
Street address, city, postal code |
Step 7. Proceed to next step#
Click Next: Upload Documents in order to upload documents or Review & Submit to go straight to the review page. Note that if the change request requires documents it will not allow submission without the uploaded document
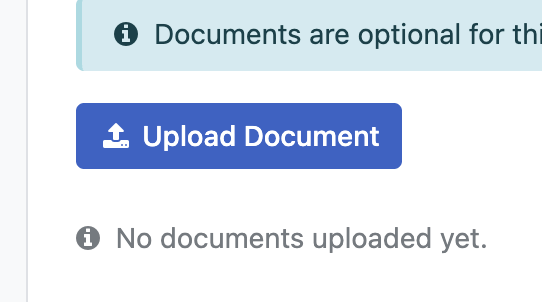
Step 8. Upload documents (if required)#
When clicking Next: Upload Documents you will be taken to the upload page. A banner will display information on what, if any, documents are required for this type of change request.
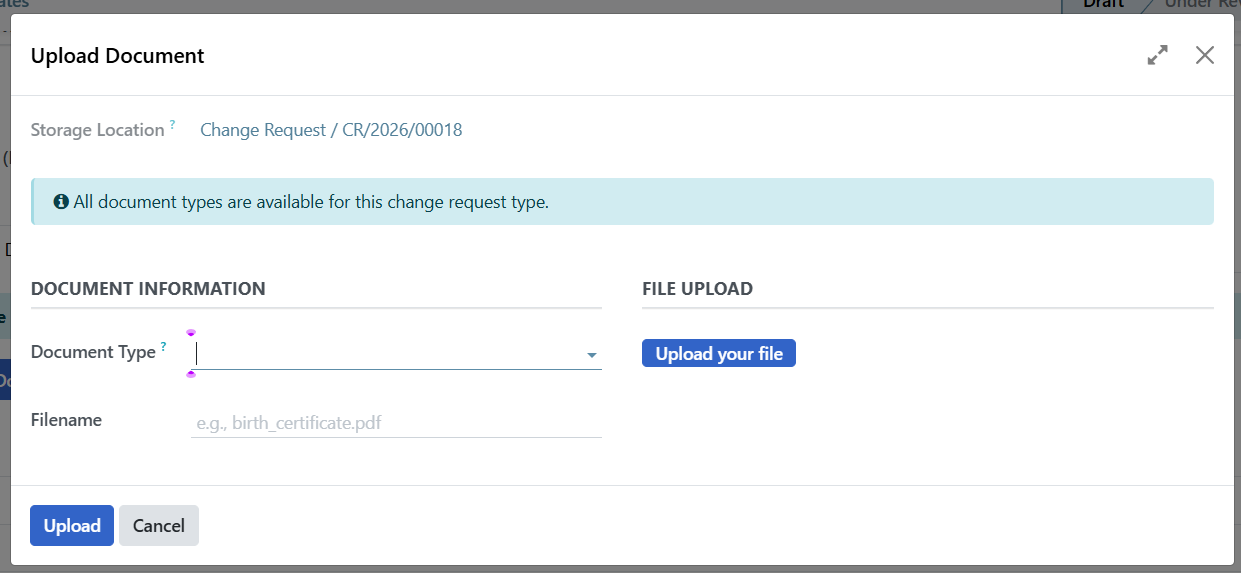
Click Upload Document.
Select the document type and attach the file.
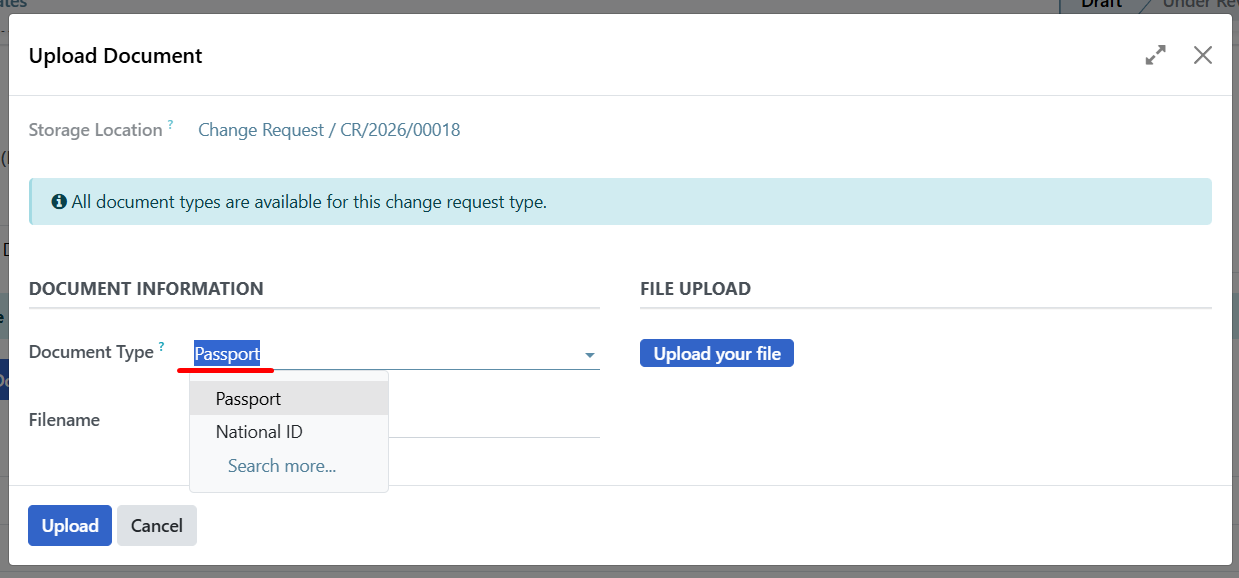
Click Upload.
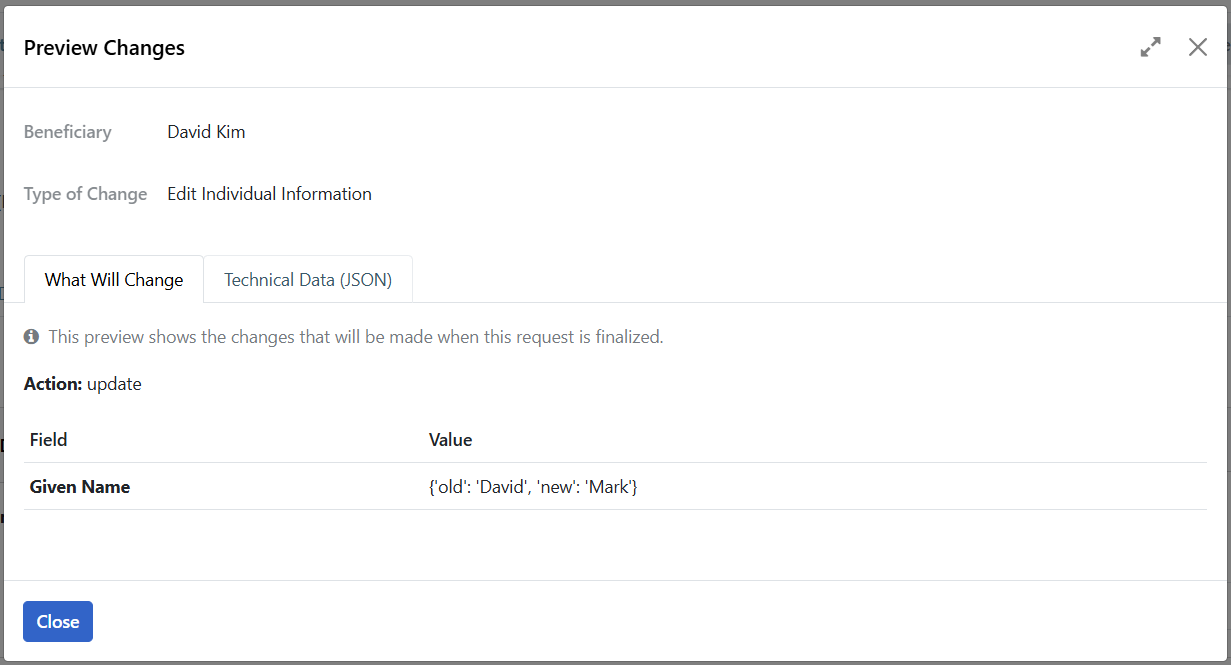
Step 10. Review your changes#
Before submitting, verify that the submitted information is correct. The exact display will differ depending on which type of change request is created but for all change requests there will be three tabs showing:
Proposed Changes - What will change if approved.
Attached Documents - List of the supporting documents provided.
Request Log - The actions taken on the Change Request
Step 11. Submit for approval#
When everything is correct, click Submit for Approval.
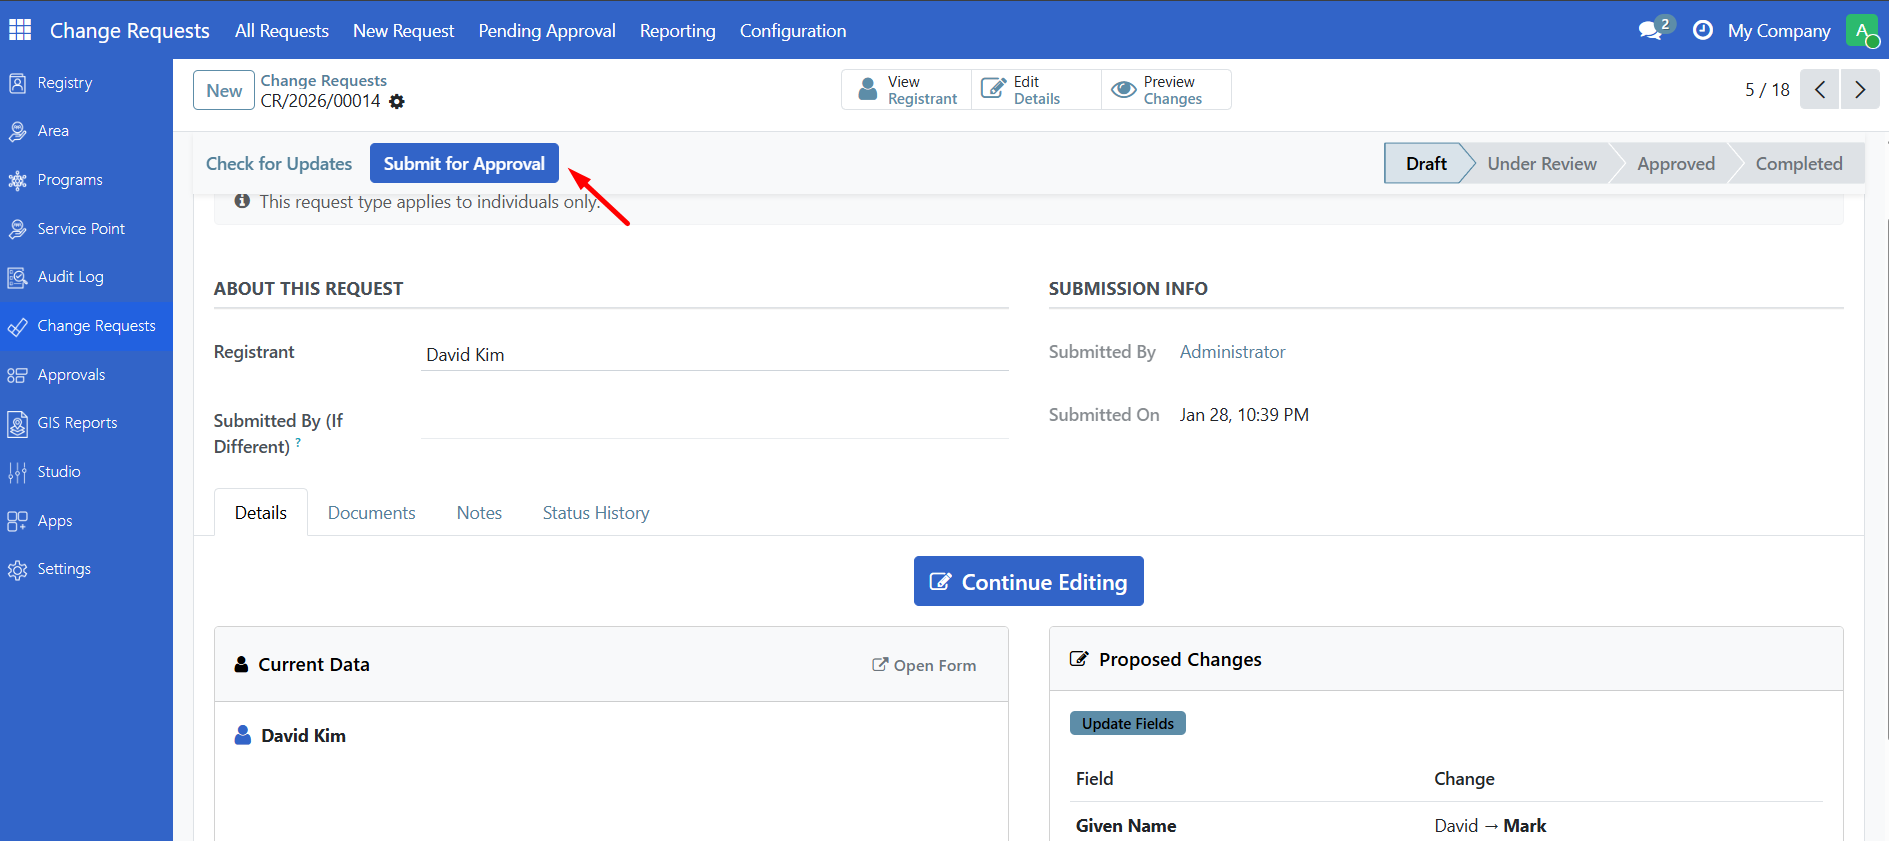
The status changes from Draft to Under Review (also referred to as "Pending Approval" in some menus).
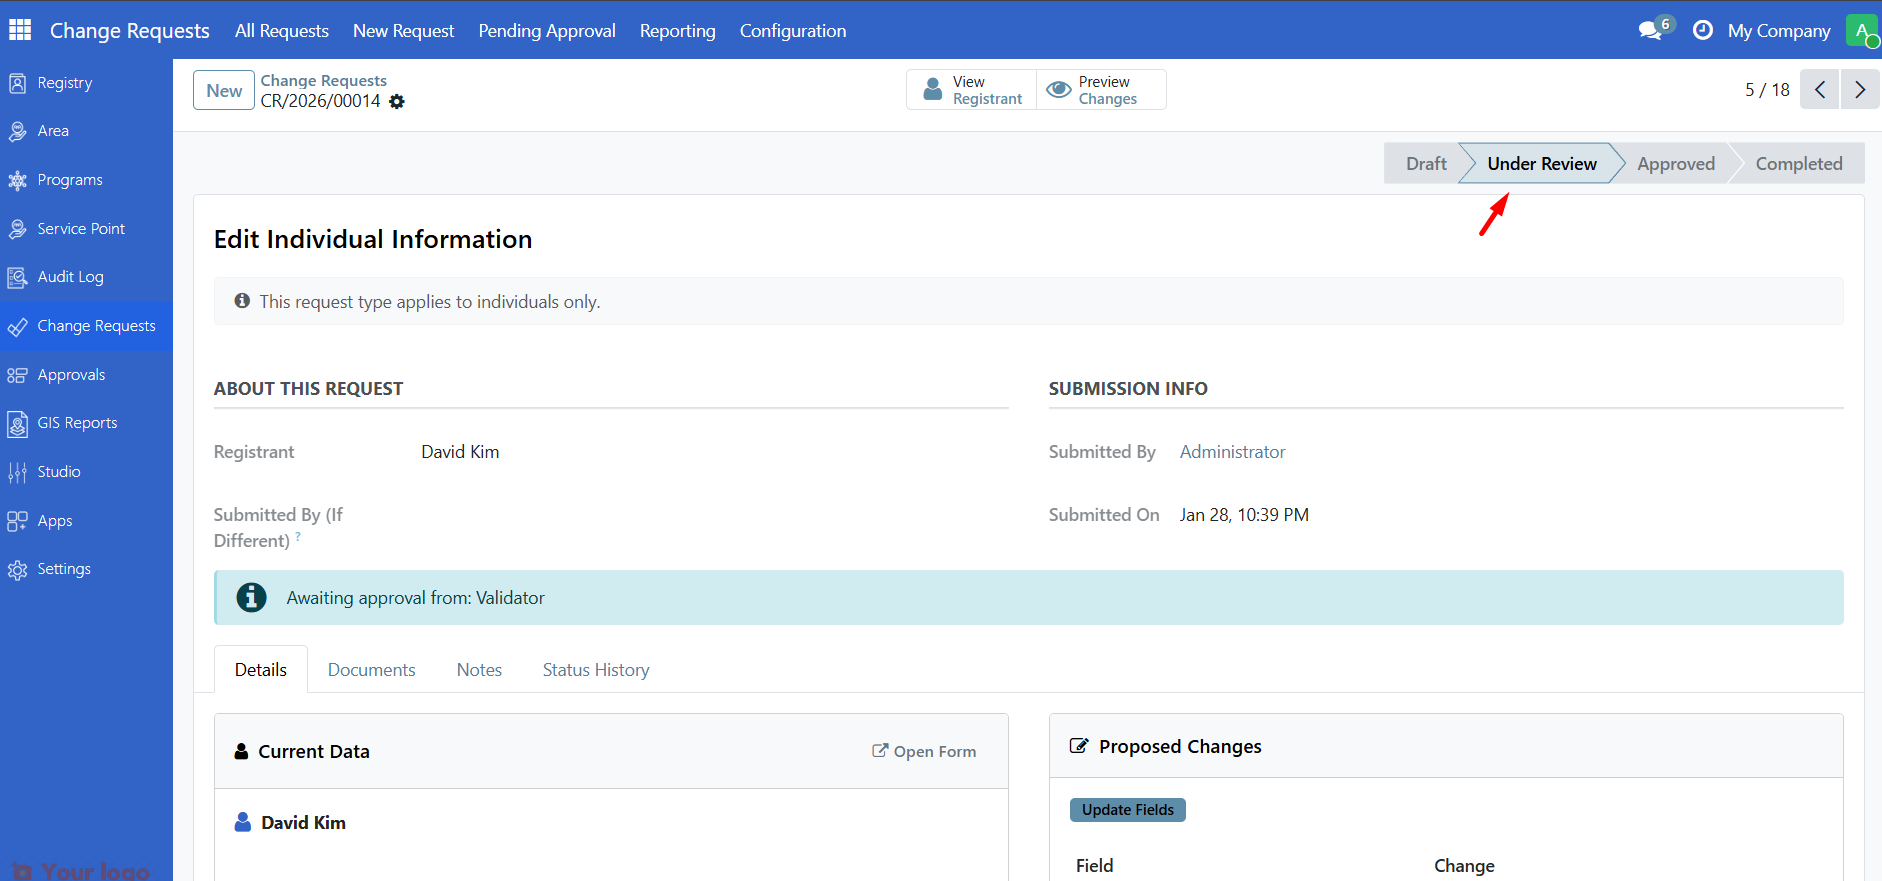
What happens next?#
After you submit:
The request appears in the Pending Approval (or "Under Review") queue for validators
A validator reviews your request
They may:
Approve it - Changes are approved and ready to be finalized (requires "Finalize & Record Changes" action to actually apply)
Request Changes - You will need to edit and resubmit
Decline it - The request is rejected
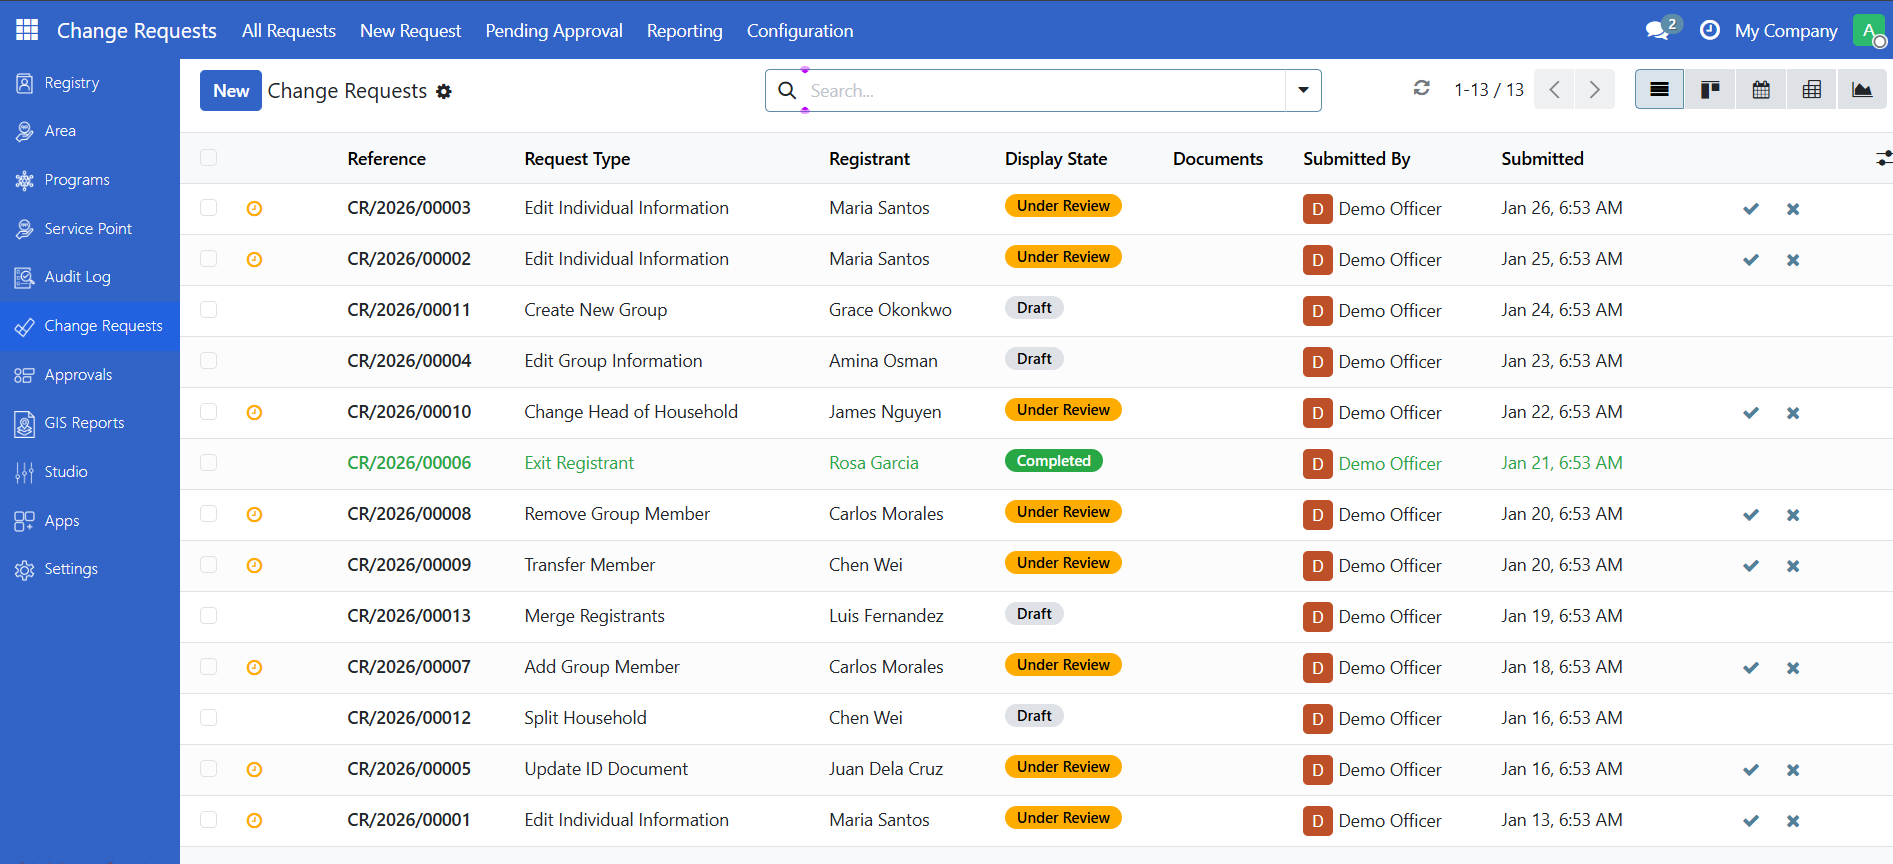
You can track the status in the All Requests view.
Note
Approval vs. finalization: When a validator approves your request, it moves to Approved status. However, depending on the configuration, the changes may not yet be applied to the registrant's record. A separate "Finalize & Record Changes" action can be configured to be required to actually record the changes. This provides an additional safety check before making permanent changes.
Are you stuck?#
Cannot find the Change Requests menu? You may not have Change Request User permissions. Contact your administrator.
Request type dropdown shows no options? No change request types have been configured. Contact your administrator.
Cannot find the registrant?
Make sure they are already registered in the system.
Check if you selected the right request type (some only work with individuals or groups).
Try searching by ID number instead of name.
Submit button is disabled?
Check that all required fields are filled (marked with *).
Make sure you saved the detail form.
The system checks that you have actually proposed changes - make sure you've entered information in the detail form that differs from the current registrant data.
Some request types require documents before submission.
Made a mistake after submitting? If a validator sends it back for changes (status: Needs Changes), you can edit and resubmit. Otherwise, you may need to ask a validator to decline it so you can start over.
Need to cancel a draft request? Open the request and use the Action menu to delete it (only possible while in Draft status).
Next steps#
Review a change request - Learn how validators review requests
Change request types - See all available request types