Administrating role-based access
Contents
Administrating role-based access#
Applies to: Social Registry, SP-MIS, DRIMS
What you will do#
Learn how to configure role-based access in OpenSPP so that users have the permissions they need. You will create and edit user accounts, assign and time-bound roles, and optionally create or adjust roles and groups.
Prerequisites#
You need a user account with the System Admin role (provided by your OpenSPP administrator or deployment team).
Introduction#
All user-related tasks—creating users, changing passwords, enabling or disabling accounts, editing user information, and assigning roles—are done from the Users area. OpenSPP manages access through roles: each role implies a set of groups and permissions. You can assign Global roles (system-wide) or Local roles (restricted to specific areas). As requirements change, update roles and permissions systematically and ensure users understand their responsibilities.
Note
When the Roles feature is enabled, access rights are managed by roles. Changes made directly on a user's "Access Rights" tab may not persist; use the Roles tab instead.
Opening Settings and Users#
Click the app menu icon in the top-left corner and select Settings.
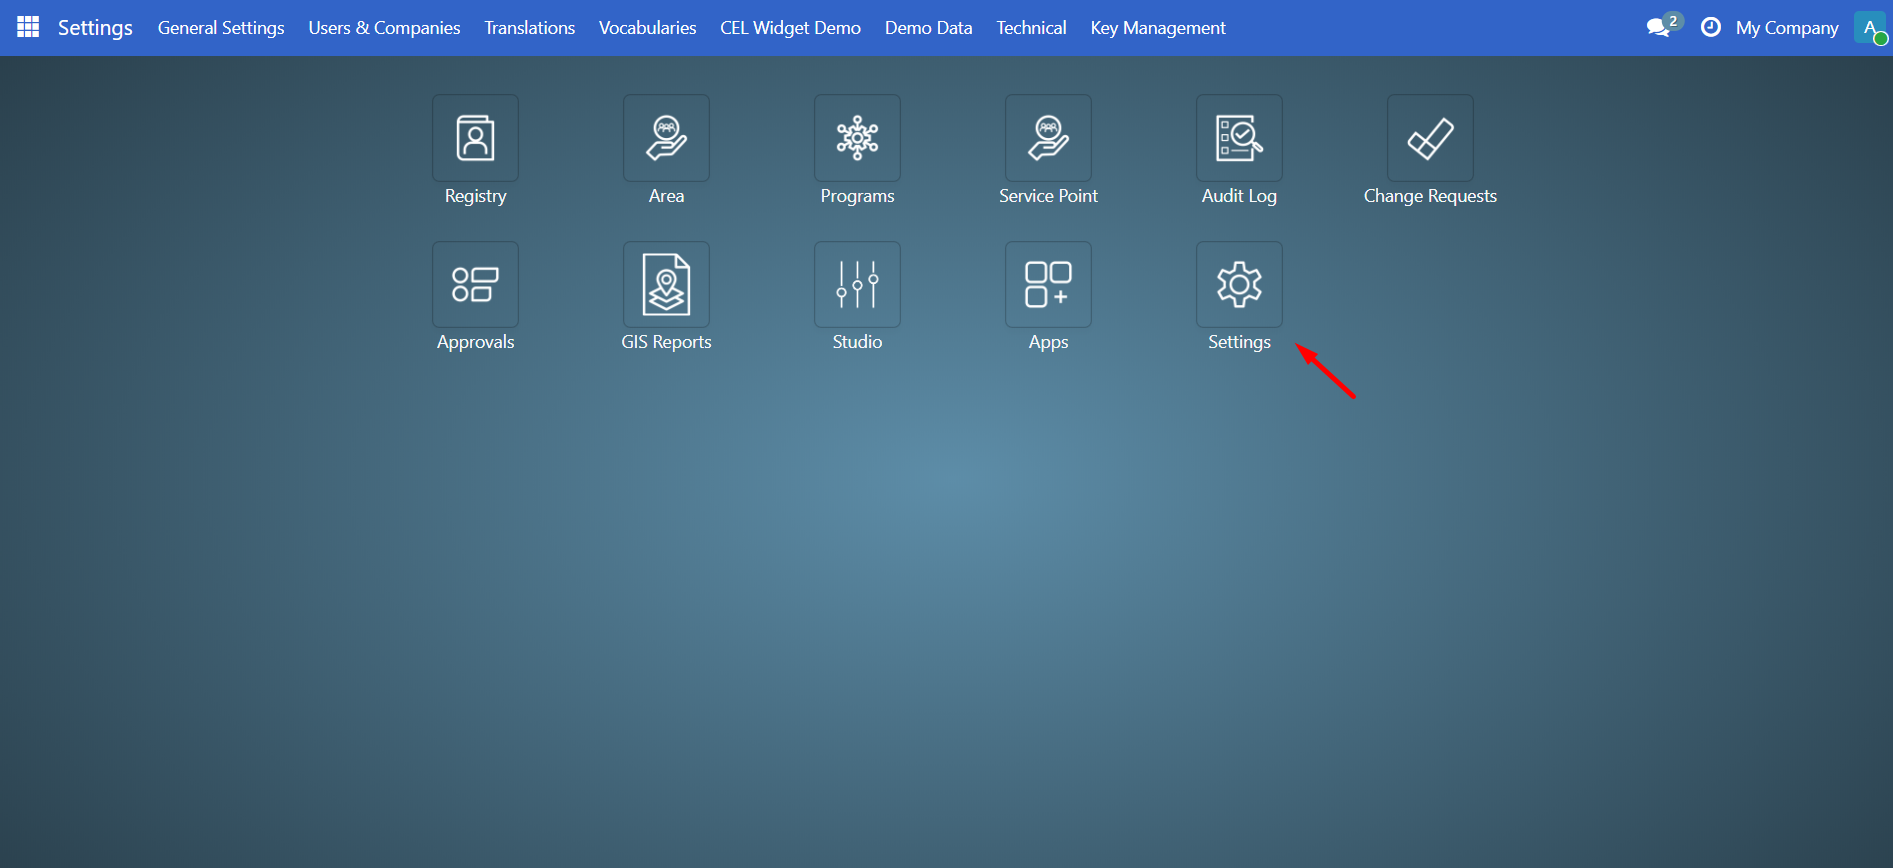
Click Users & Companies to see Users, Companies, and Roles.
Creating a user account#
User roles can only be assigned to existing user accounts.
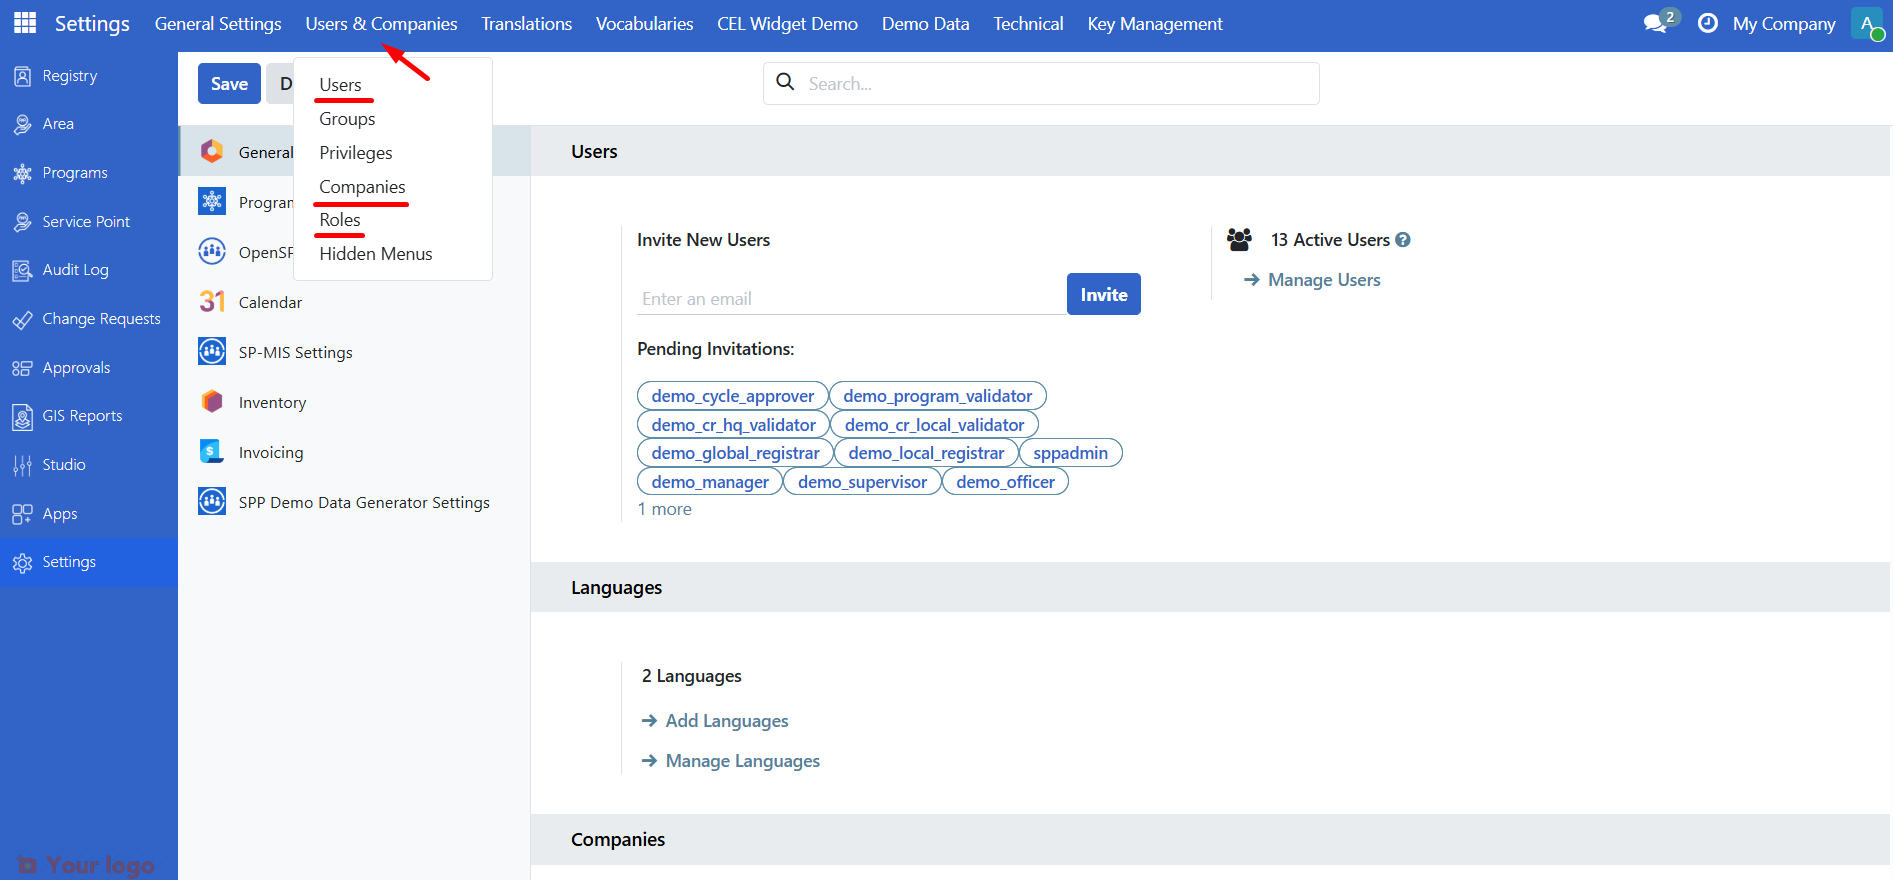
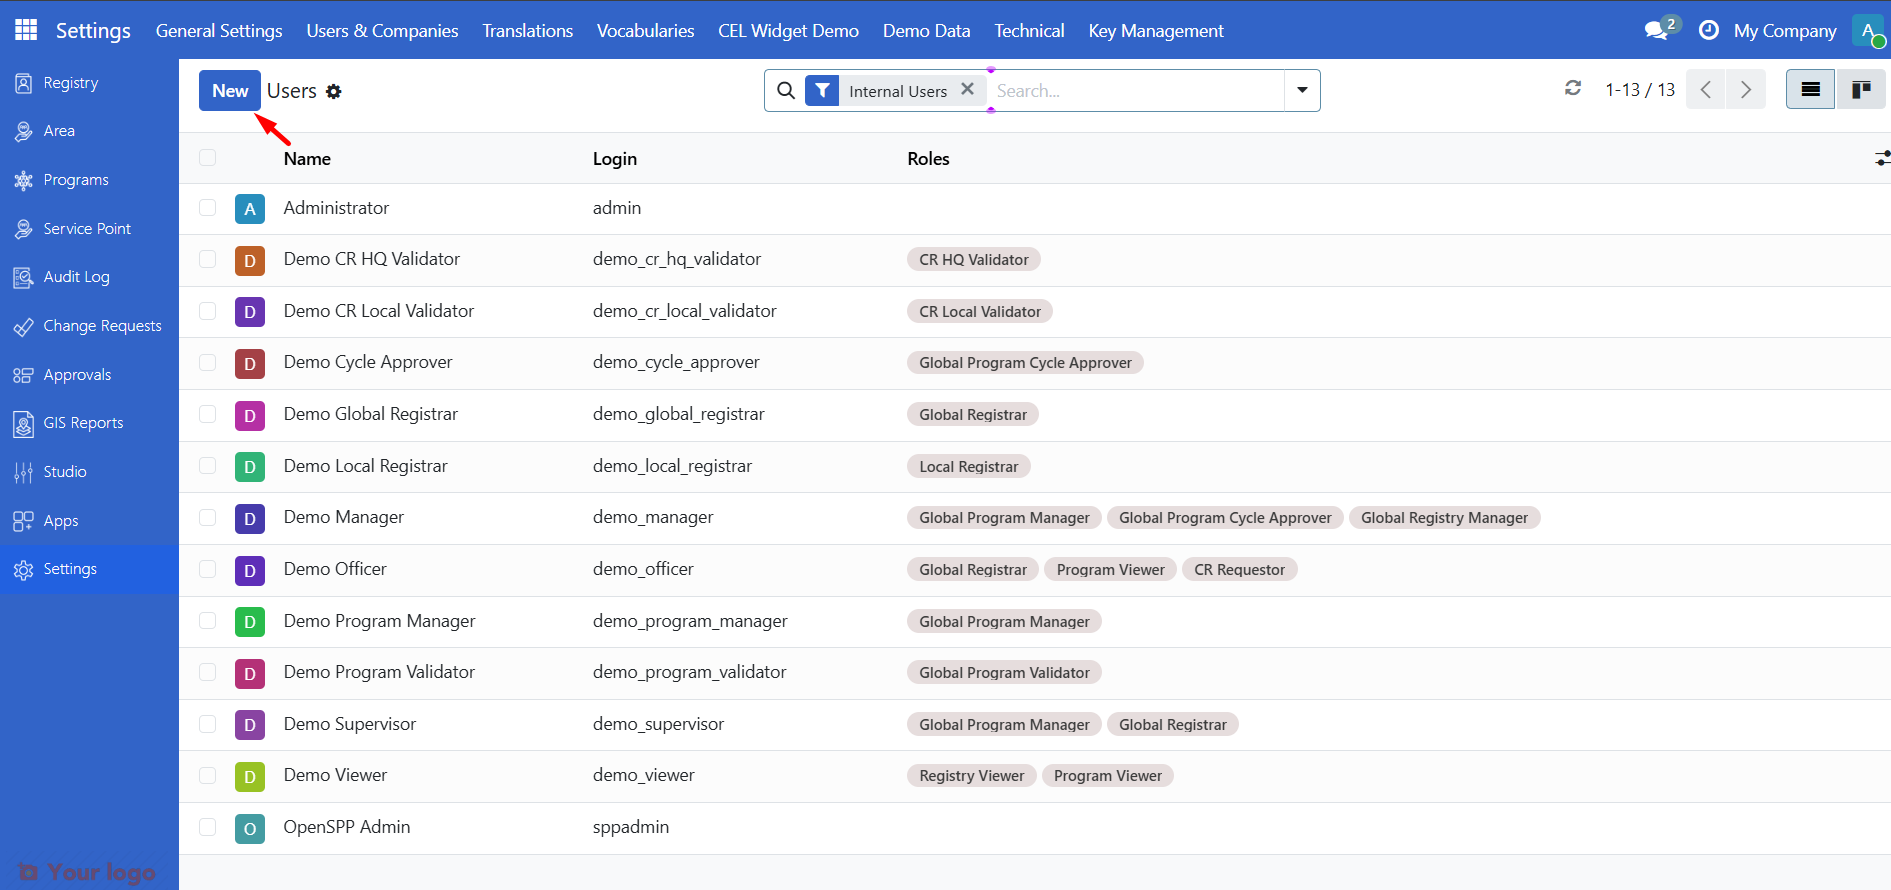
Go to Settings → Users & Companies → Users.
Click New.
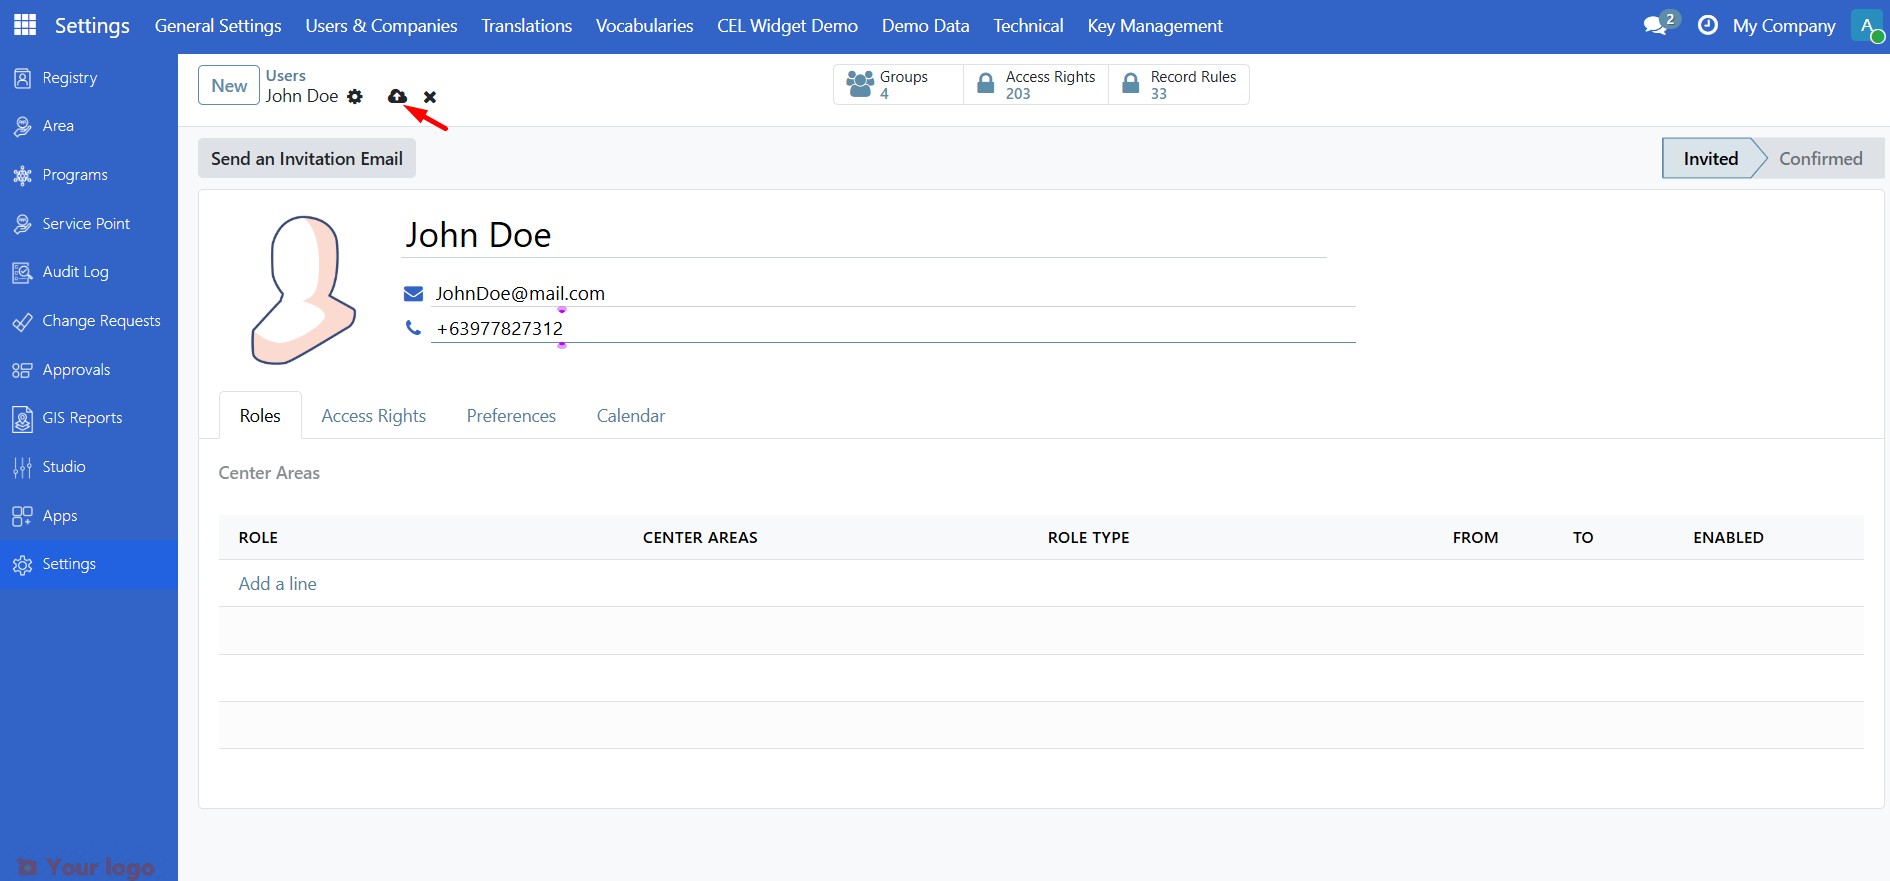
Enter Name and Email (login), then click Save.
Add or change the password as described in Change user password below.
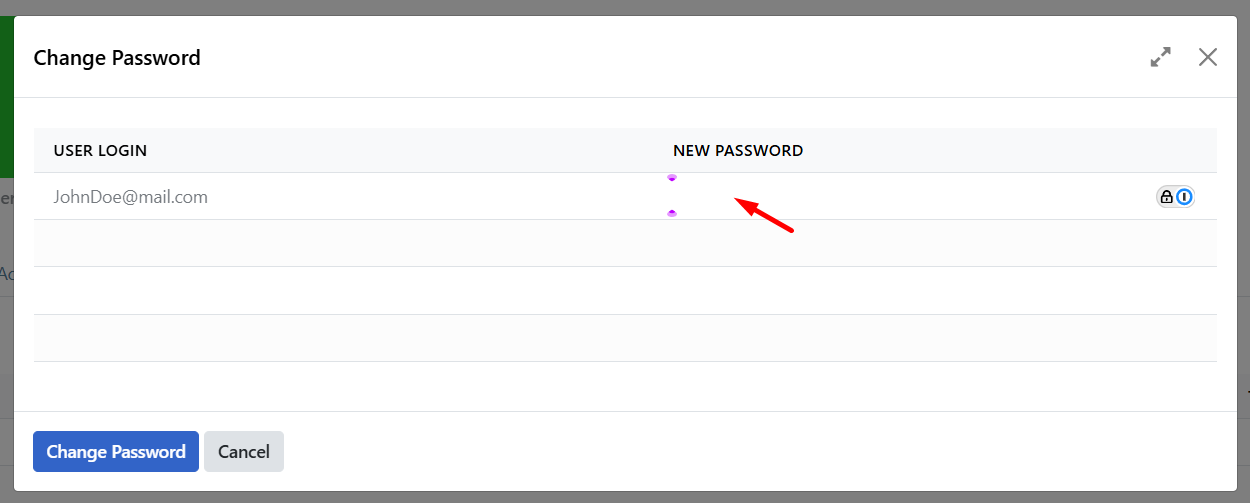
Change user password#
Go to Settings → Users & Companies → Users.
Open the user you want to change.
Click the Action menu (gear icon).

Choose Change Password, enter the new password in New Password, then click Change Password.
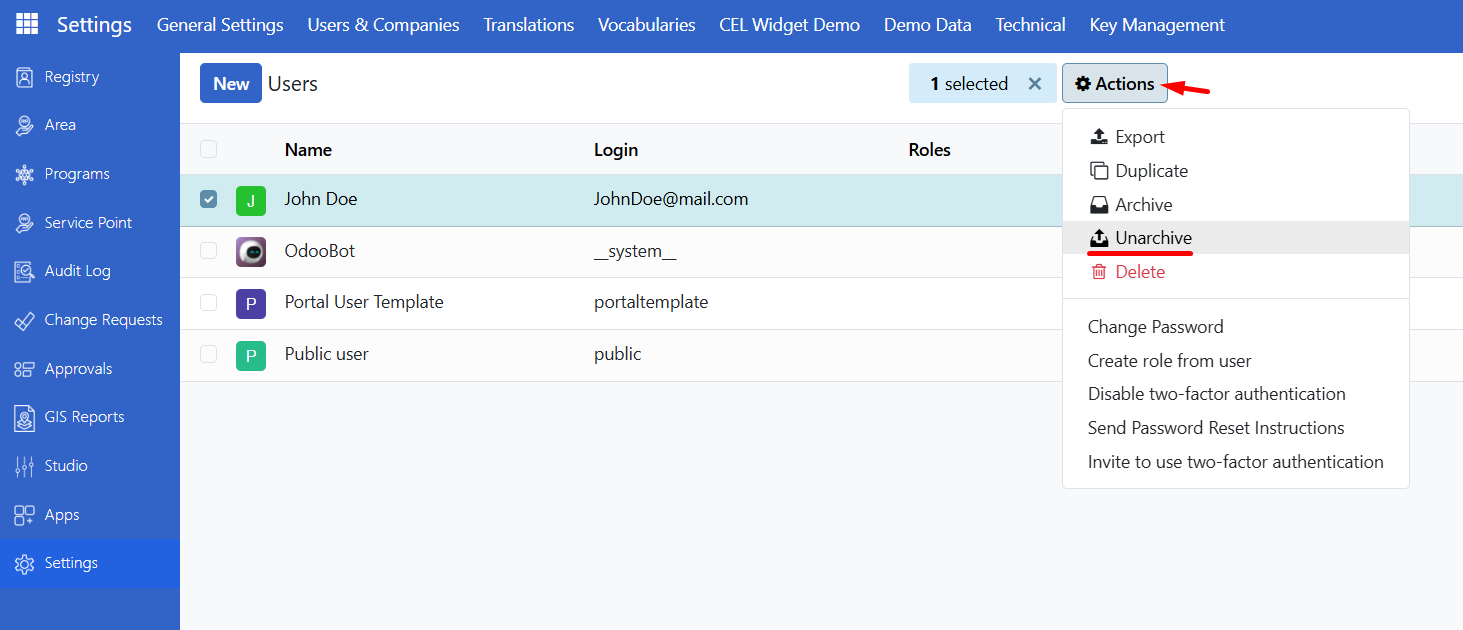
Enabling and disabling user accounts#
To revoke or restore access, use the Users list. Open the user, then use the Action menu.
Delete#
Removes the user account permanently from OpenSPP. Choose Delete from the Action menu and confirm. This can affect traceability (e.g. who created or modified records).
Archive#
Temporarily removes the user's access; the account remains in the system. Choose Archive and confirm.
Unarchive#
To restore an archived user:
Go to Users, open Filters, and select Inactive Users.
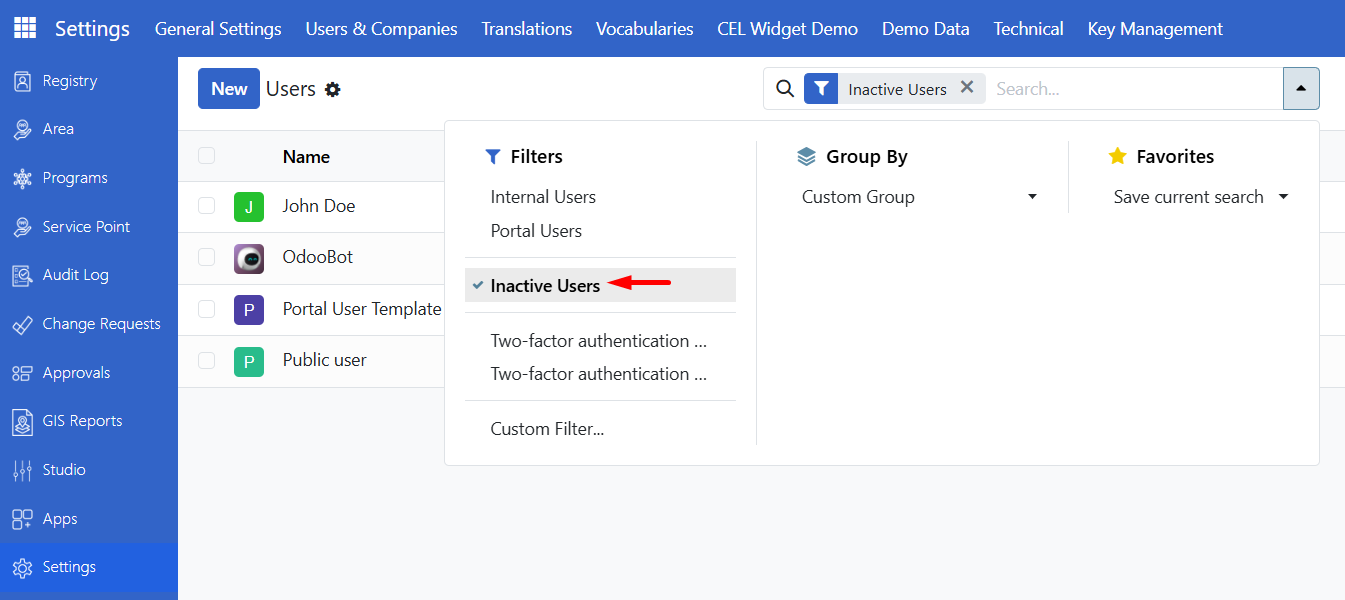
Open the user, click Action, then Unarchive.
Clear the Inactive Users filter (click the x on the filter). The user appears in the active list again.
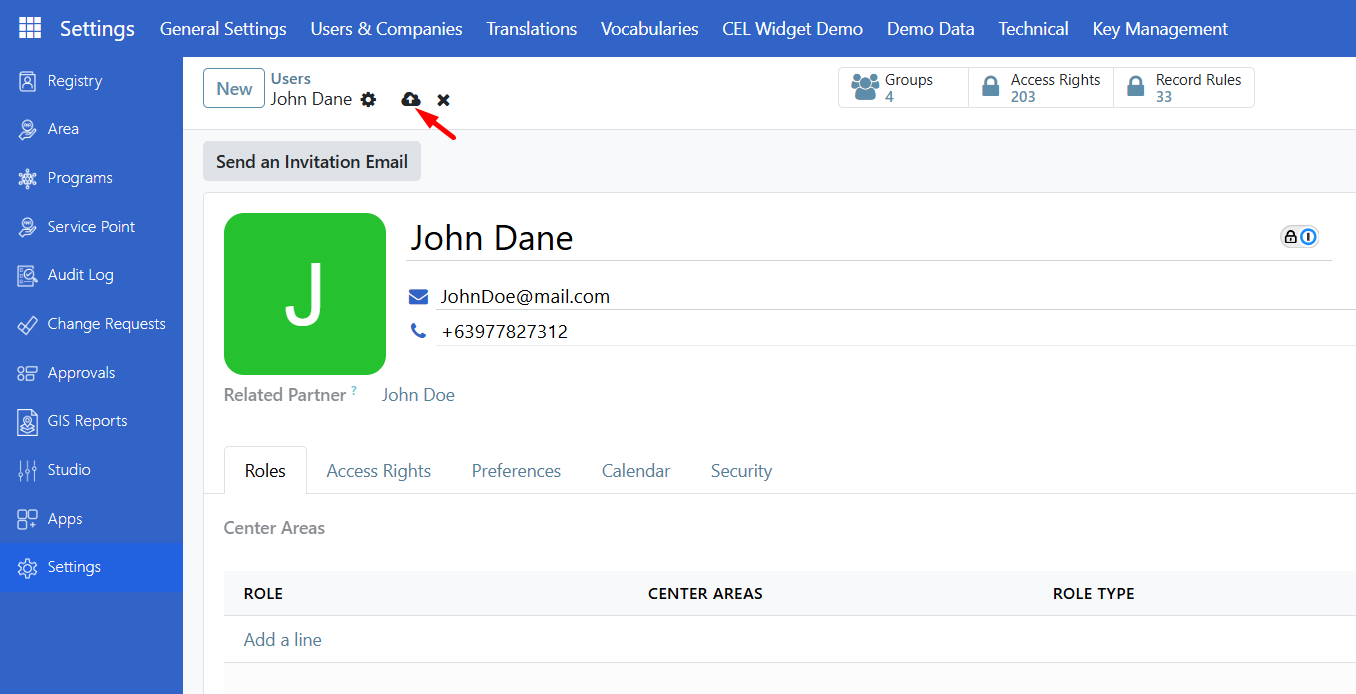
Editing user information#
Open the user, directly click and modify the fields you wish to edit, then Save.
Assigning roles to a user#
Assigning a role gives the user a specific set of permissions. For example, only users with a System Admin (or similar) role can import and export data. Assign roles that match each user's responsibilities to avoid unauthorized access to sensitive data.
Go to Settings → Users & Companies → Users and open the user.
Open the Roles tab and click Add a line.

Select the Role from the dropdown. Roles can be Global or Local:
Global: access is not restricted by area.
Local: you can restrict access to specific areas. For Local roles, the Center Area column is available; you must select at least one area the user may access. Leaving Center Area blank causes a validation error.
Set From and To to limit when the role is active (optional). Use Enabled to turn the role on or off.
To remove a role, click the trash icon on the role line.
Click Save.
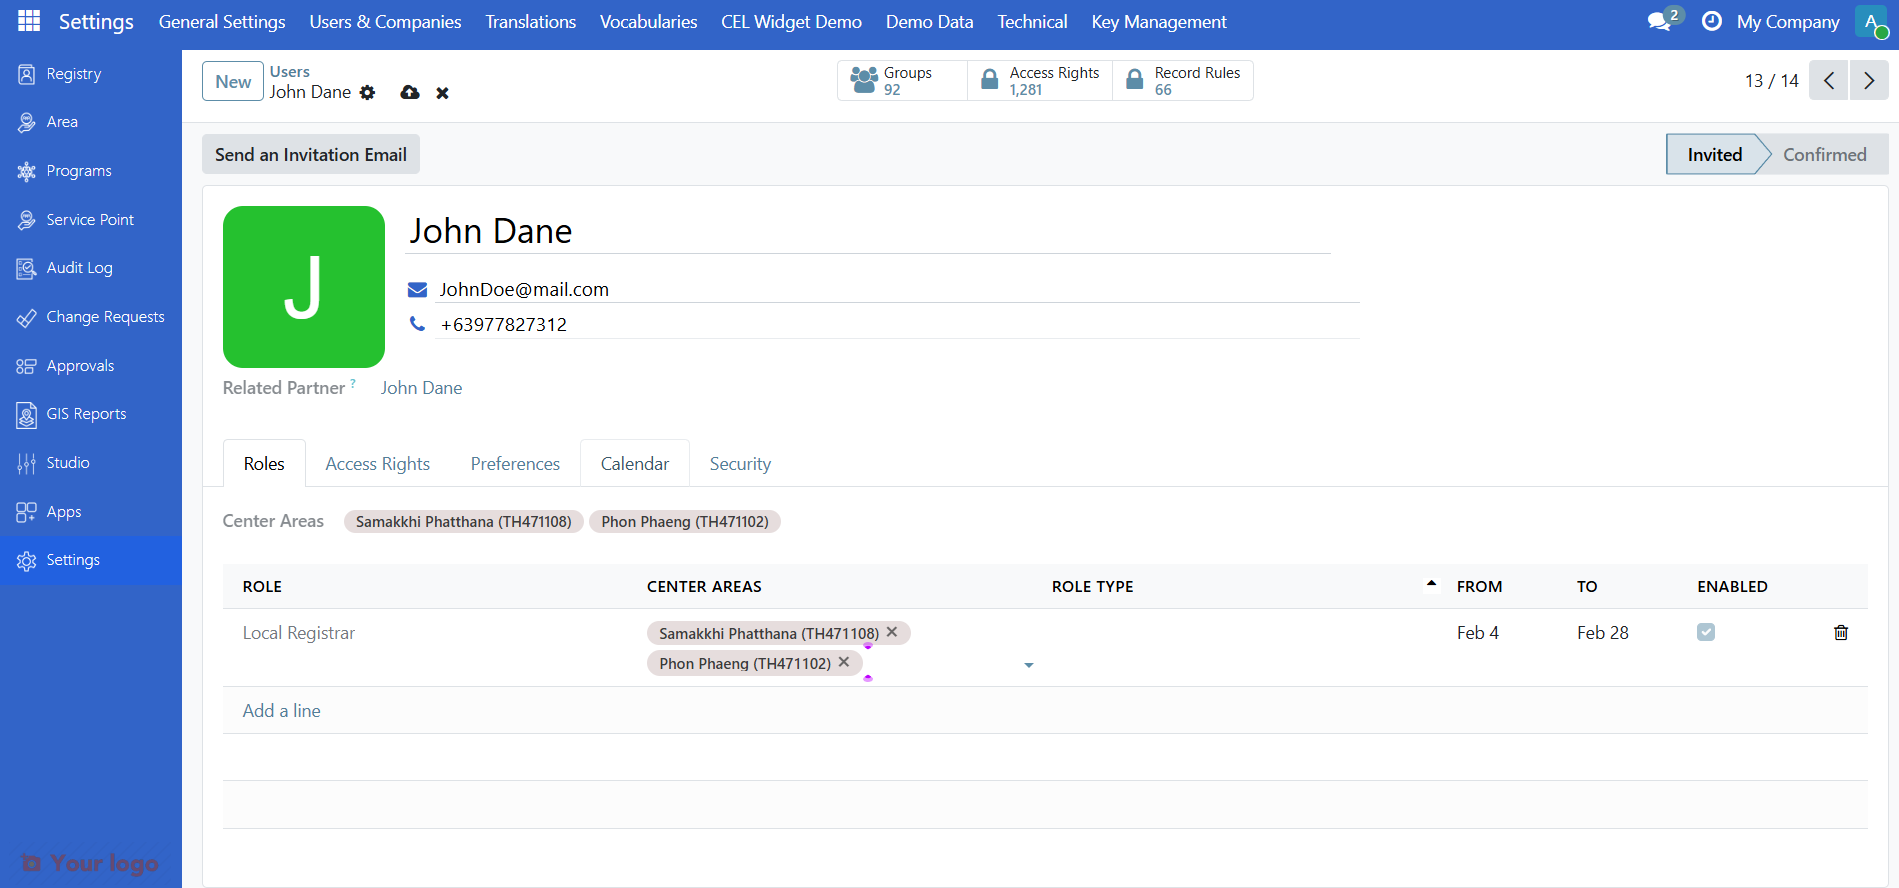
You can assign multiple roles to one user.
Configuring roles#
Roles are usually pre-configured in your deployment; you can also create or adjust them.
Go to Settings → Users & Companies → Roles.
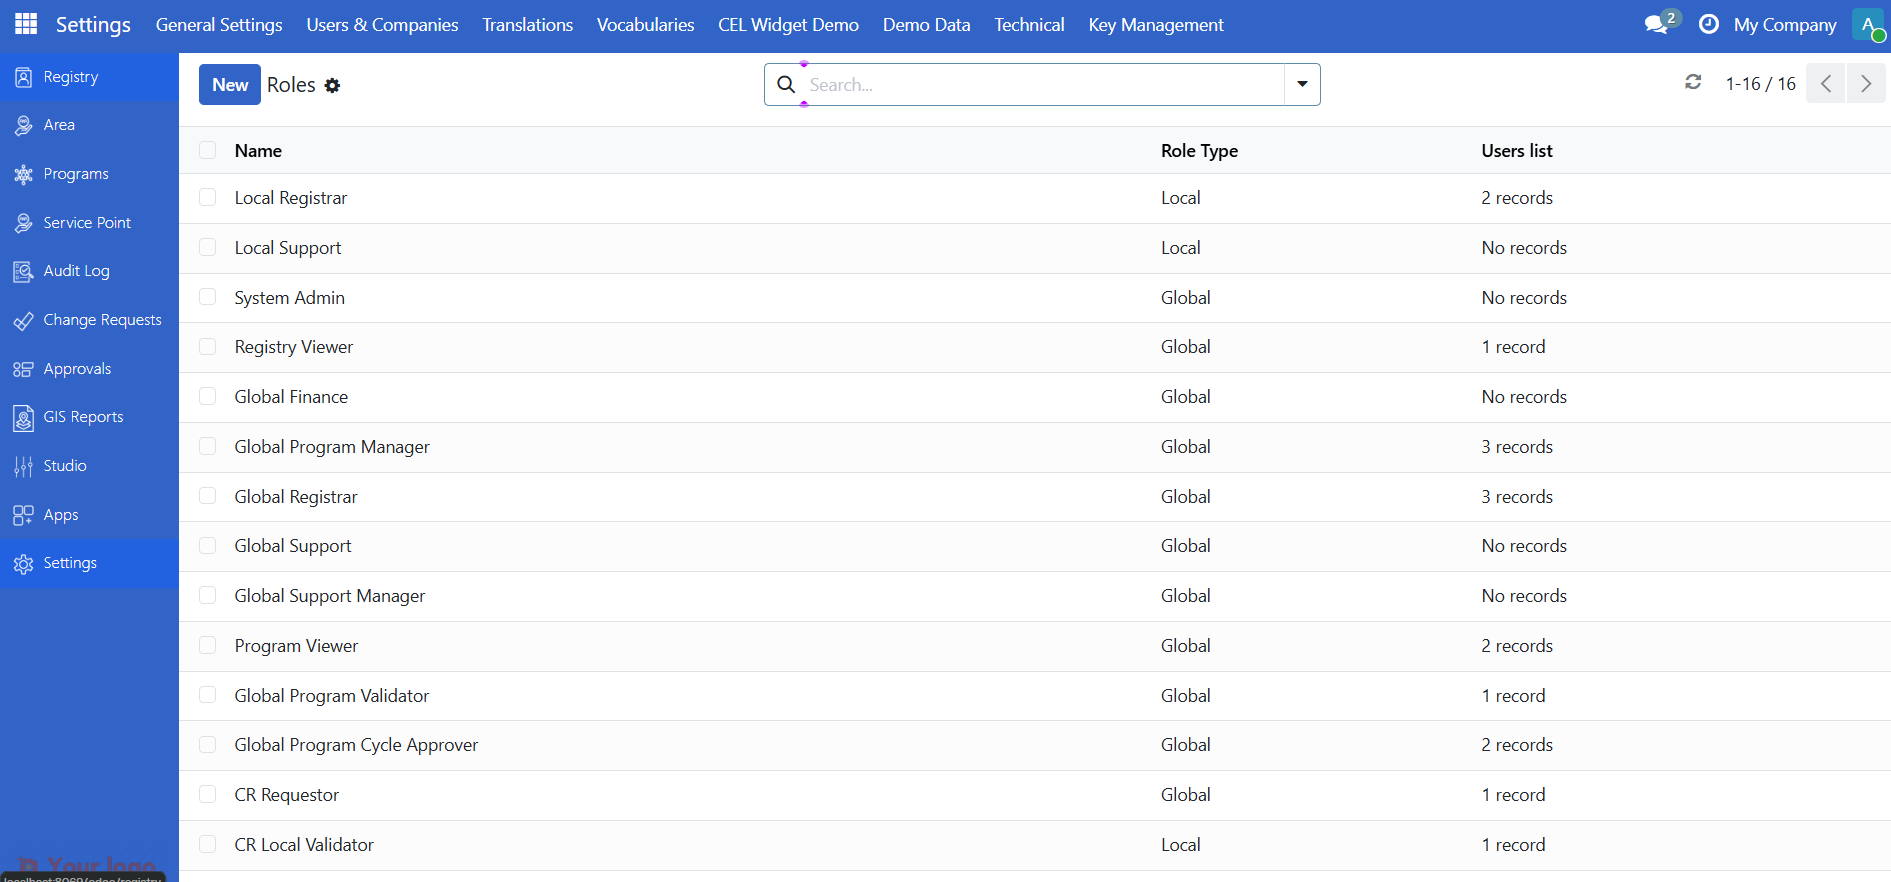
Click New, enter a Name, and choose Role Type (Global or Local).
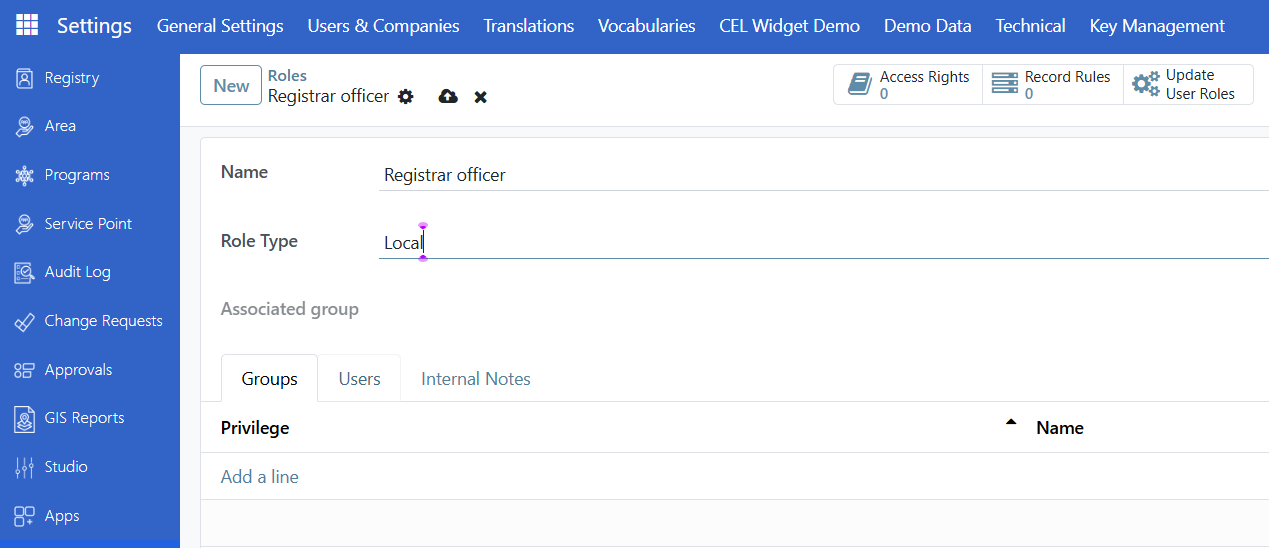
In the Groups tab, click Add a line and select the group(s) this role should grant. Click Select to confirm.
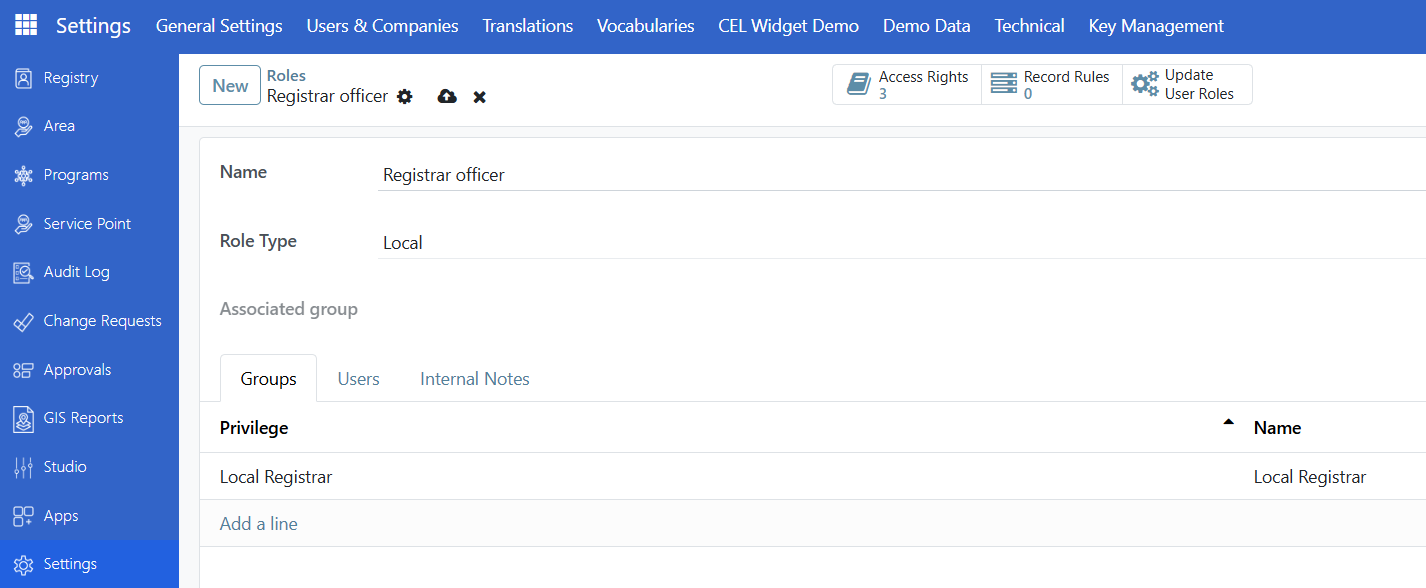
Save. If your deployment includes it, use the Update User Roles button on the role form to refresh users who have this role.
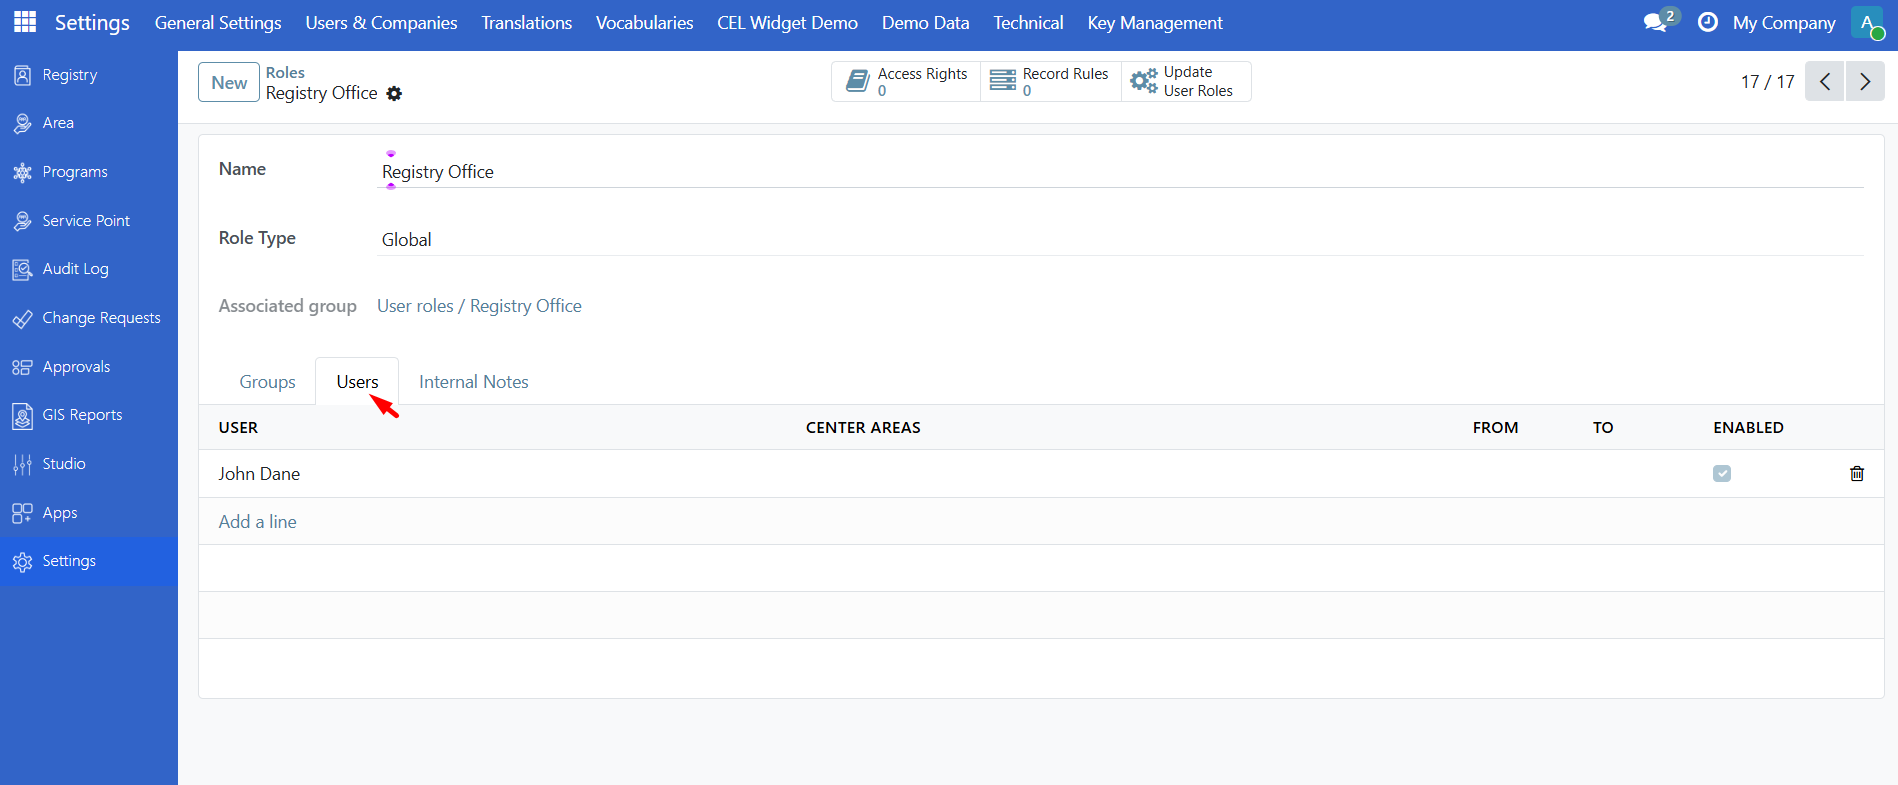
To see which users have a role: open the role and check the Users tab. You can add or remove users there with Add a line or the trash icon.
Configuring groups#
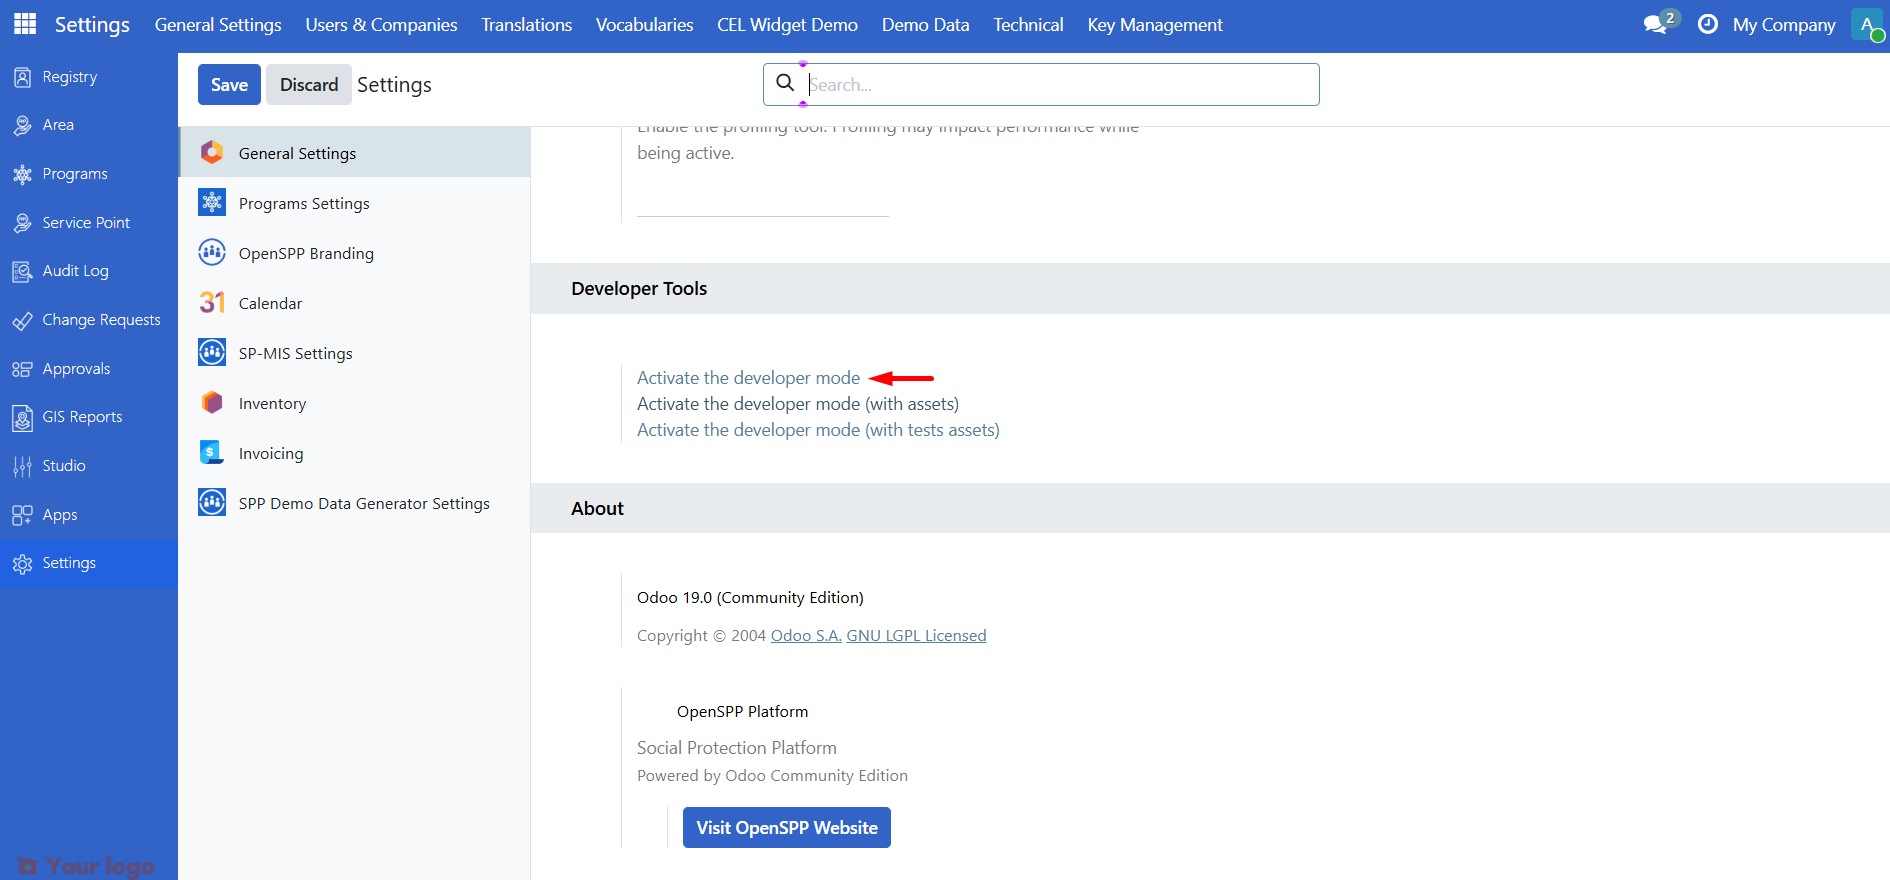
Group access rights are usually defined in modules. To change them you need Developer mode.
Go to Settings, scroll to the bottom, and click Activate the developer mode. You may be redirected; go back to Settings if needed.
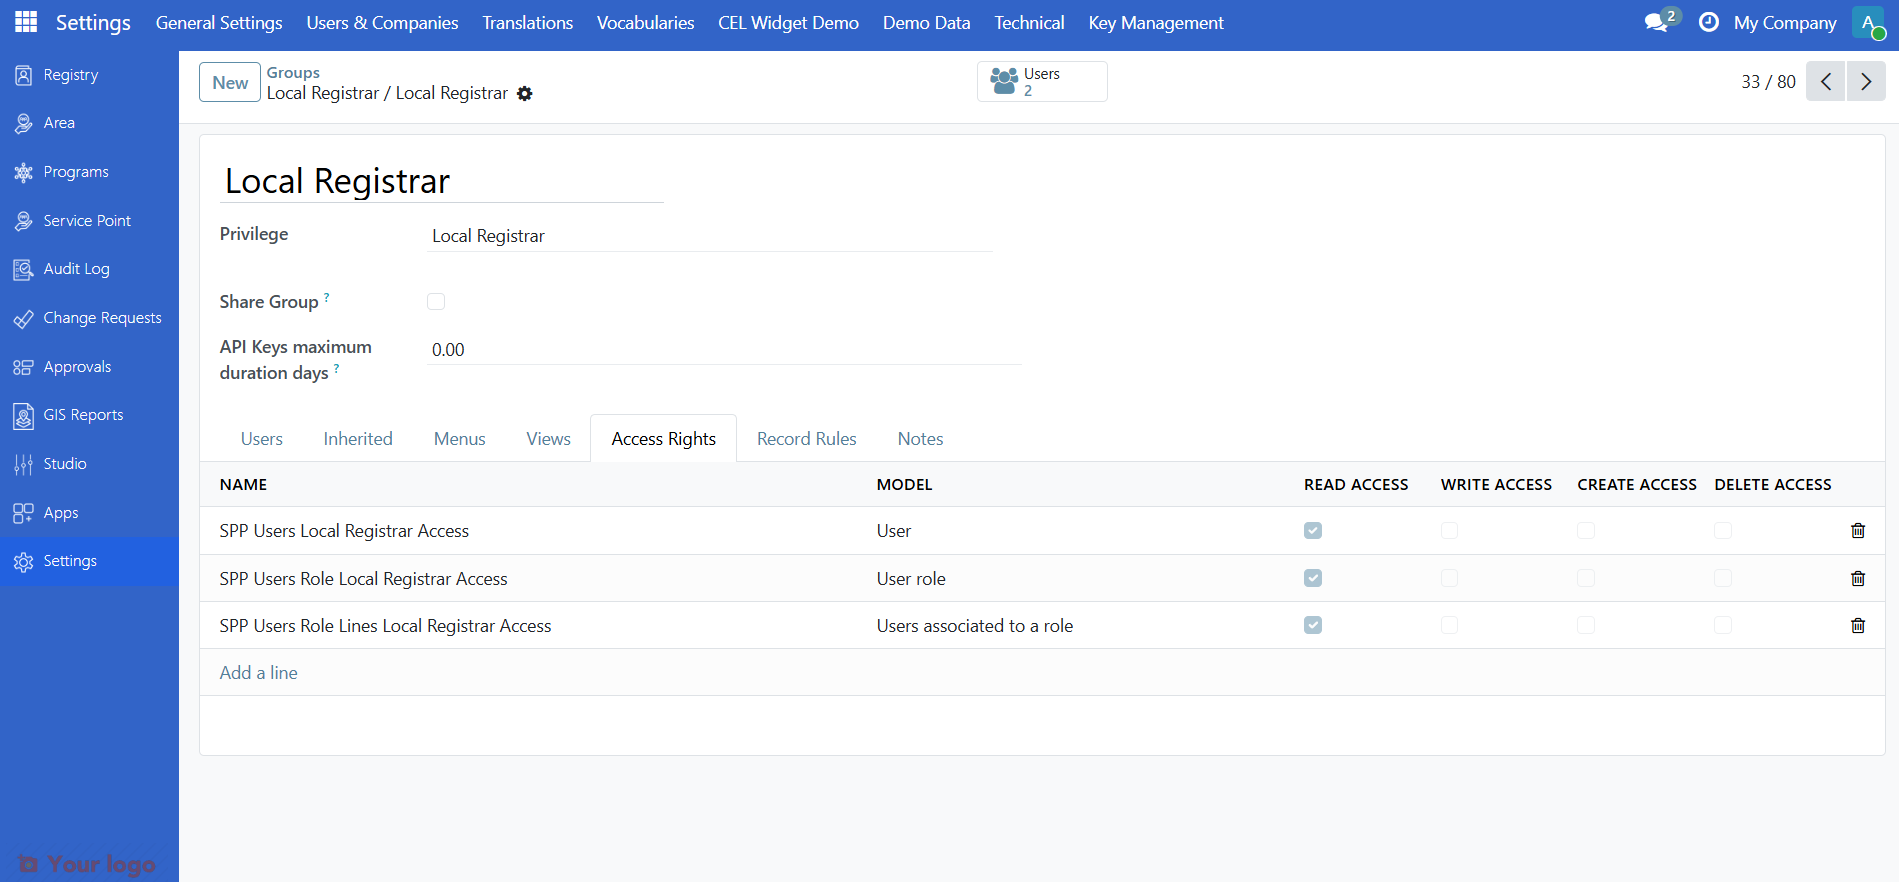
Under Users & Companies, open Groups. Create new groups with New, or open an existing group to edit it.
On a group form, use the Access Rights tab to change which models and rules the group has. Click directly and adjust the checkboxes or entries, then Save.
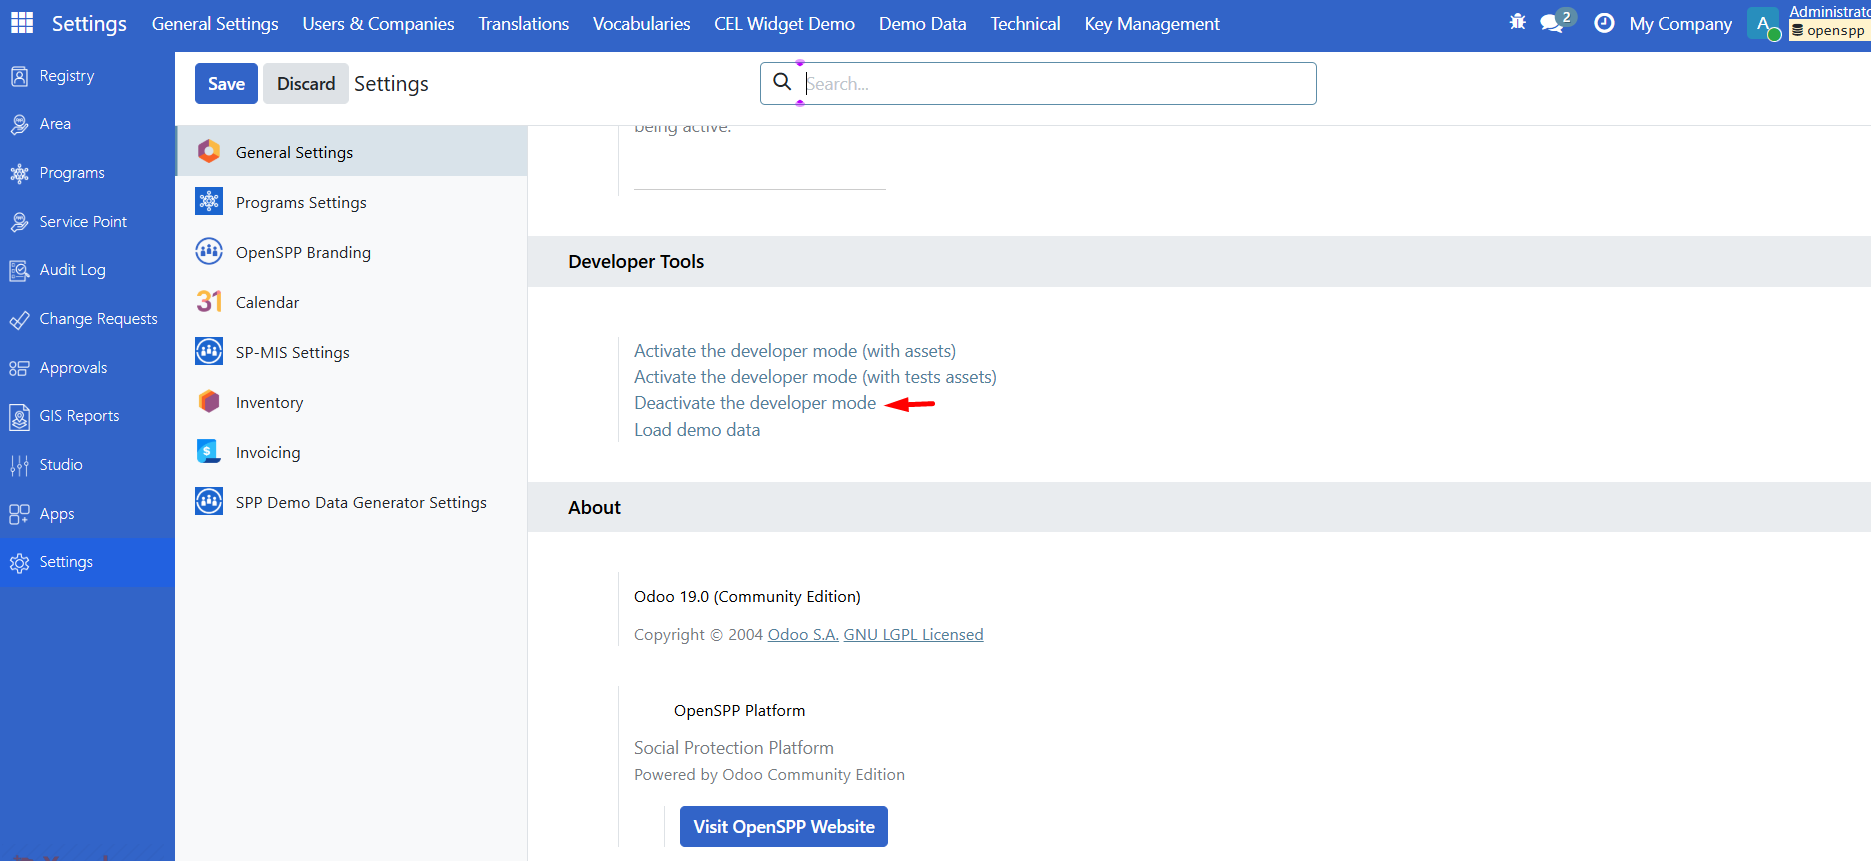
When finished, go back to Settings, scroll to the bottom, and click Deactivate the developer mode.
Tip
For long-term maintainability, prefer defining new roles and groups in an OpenSPP module (data/XML or CSV) rather than only in the UI.
Summary: users, roles, and groups#
OpenSPP access works in three layers:
Users — People who log in. Each user can have one or more roles assigned (on the user's Roles tab). You manage users under Settings → Users & Companies → Users.
Roles — Named sets of permissions (e.g. "System Admin", "Field Officer"). Each role is linked to one or more groups (on the role's Groups tab). A role can be Global (no area restriction) or Local (limited to selected center areas). You manage roles under Settings → Users & Companies → Roles.
Groups — Define the actual access rights (which menus, models, and actions a user can see and use). Roles grant groups to users; a user gets the combined permissions of all groups from all of their roles. Groups are usually defined in modules; you can adjust them under Settings → Users & Companies → Groups when Developer mode is on.
In short: User → has Role(s) → each role grants Group(s) → groups define what the user can do. Assigning a role to a user gives them all permissions from that role's groups (and optionally restricts them by area for Local roles).
Next steps#
Role configuration — Implementer-focused role configuration and area scoping.
Navigating the OpenSPP interface — Log in and navigate the interface.
Registry — Register individuals and groups.