Navigating the OpenSPP interface
Contents
Navigating the OpenSPP interface#
Applies to: Social Registry, SP-MIS, DRIMS
What you will do#
Learn how to log in to OpenSPP, navigate the interface, and perform common actions like creating, editing, and saving records.
Logging in#
Step 1: Open OpenSPP in your browser#
Open your web browser and go to your organization's OpenSPP address. This is typically something like https://openspp.yourorganization.gov.
Note
Your administrator will provide you with the exact web address to use.
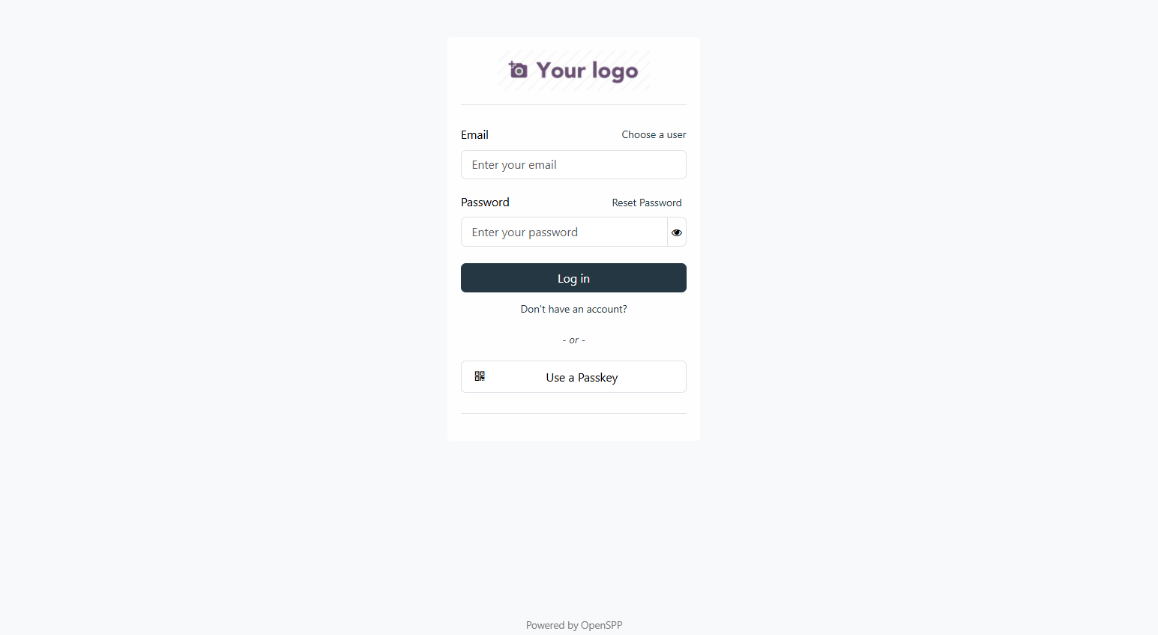
Step 2: Enter your credentials#
Type your username in the Email field.
Type your password in the Password field.
Click the Log in button.
Step 3: First-time login#
If this is your first time logging in, you may be asked to change your password:
Enter your current (temporary) password.
Enter your new password.
Confirm your new password by typing it again.
Click Change password.
Tip
Choose a password that is easy for you to remember but hard for others to guess. Use a mix of letters, numbers, and symbols.
Note
You can also change your password at any time by going to your User Menu (top right), selecting My Preferences and then opening the Security tab.
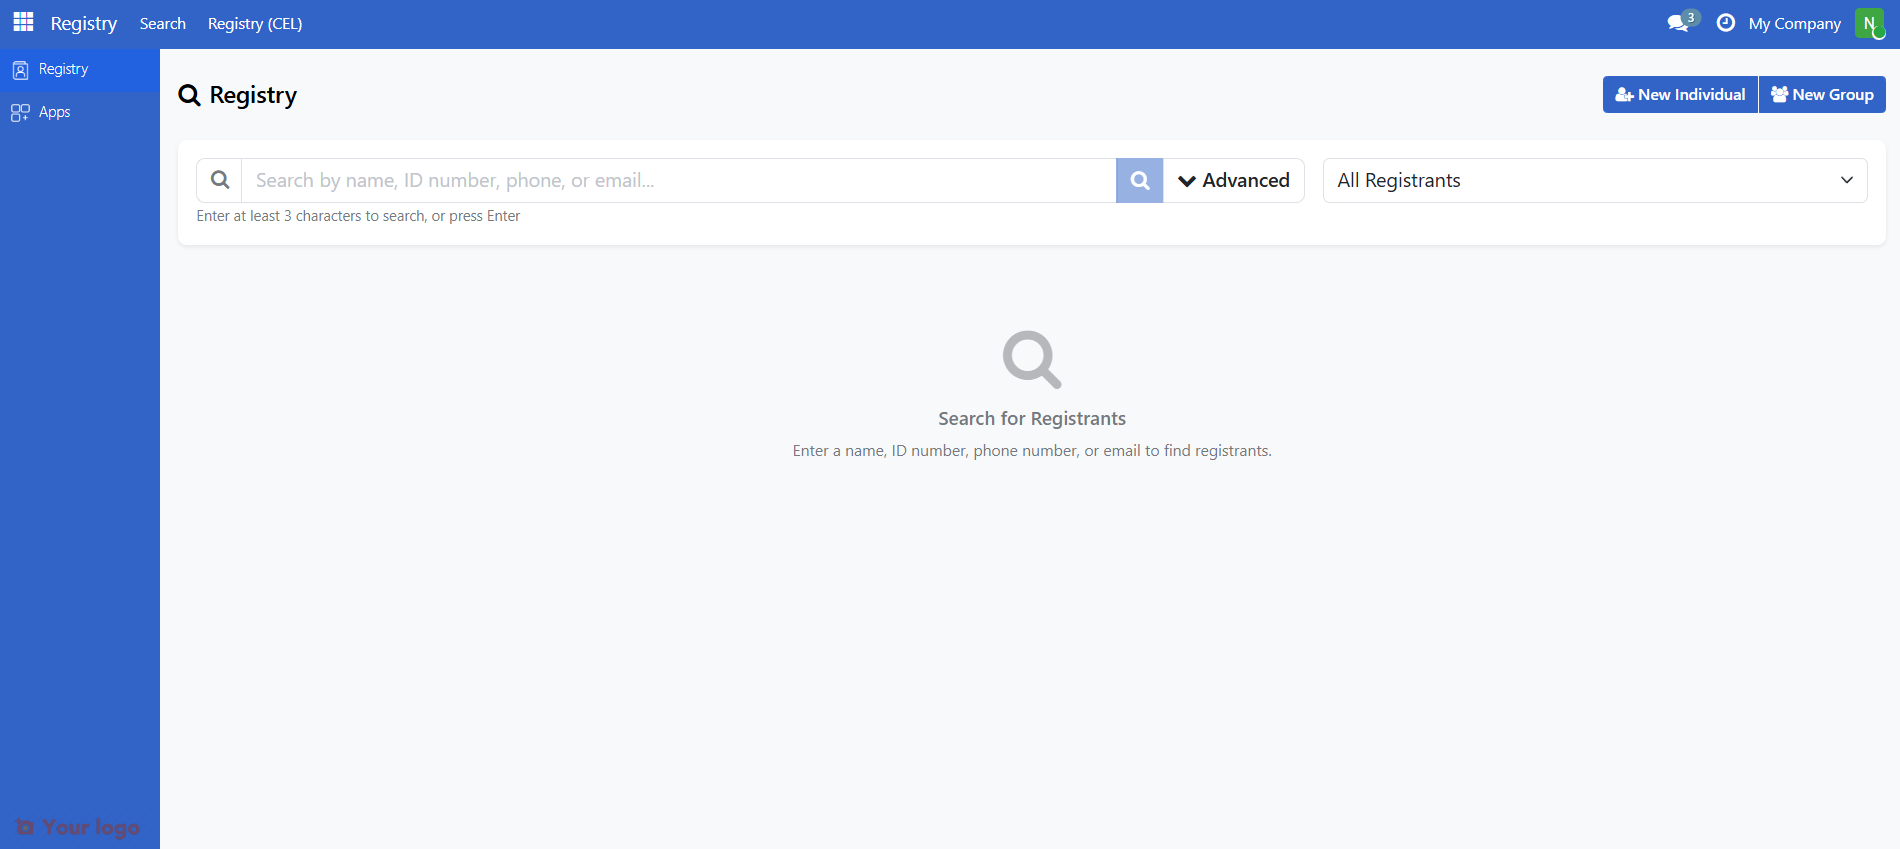
The main interface#
After logging in, you will see the main OpenSPP interface. Here are the key areas:
Area |
Name |
What it does |
|---|---|---|
1 |
App menu |
Switch between different parts of OpenSPP |
2 |
Main menu |
Access features within the current section |
3 |
Search bar |
Search for records |
4 |
User menu |
Access your profile and settings |
5 |
Main content area |
Where you view and work with data |
6 |
Breadcrumbs |
Shows where you are and lets you go back |
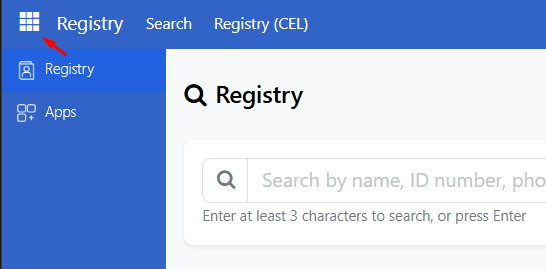
The app menu#
The app menu appears at the top left of the screen. Click it to see all the sections available to you.
Common sections include:
Section |
What you will find |
|---|---|
Registry |
Individuals, groups, and households |
Programs |
Social protection programs and enrollment |
Payments |
Payment processing and service points |
Settings |
System configuration (if you have access) |
Note
You may see different sections depending on your role and permissions.
The main menu (sidebar)#
Once you select a section from the App Menu, the Main Menu on the left shows features within that section.
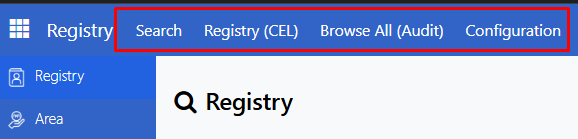
For example, in the Registry section you might see:
Search
Registry (CEL)
Browse All (Audit)
Configuration
Click any item to open it in the main content area.
The user menu#
Click your name or profile icon in the top right corner to open the User Menu.

Option |
What it does |
|---|---|
My Preferences |
View and update your account information, change your password, and customize your OpenSPP view |
OpenSPP Documentation |
Access the OpenSPP documentation |
OpenSPP Support |
Visit the OpenSPP official website for support |
Log out |
Sign out of OpenSPP |
Understanding breadcrumbs#
Breadcrumbs appear below the top menu bar. They show where you are in the system and let you go back to previous pages.

For example: .. / Food Assistance / Beneficiaries
Click .. to go back to the first page
Click Food Assistance to go back to the program's page
Click Beneficiaries to go back to beneficiary list page
Martinez, Miguel is where you are now
Finding your way around#
Using search#
The search bar at the top lets you quickly find records.
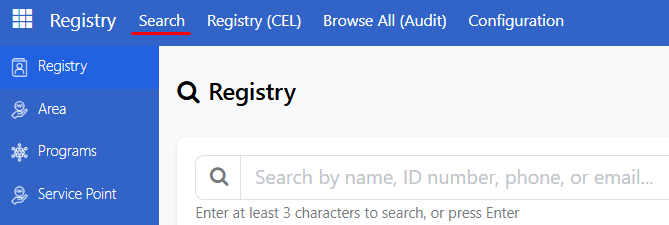
Click in the search bar.
Type what you are looking for (a name, ID number, Phone or email).
Press Enter or click the search icon.
Filtering lists#
When viewing a list of records, you can filter to find what you need.
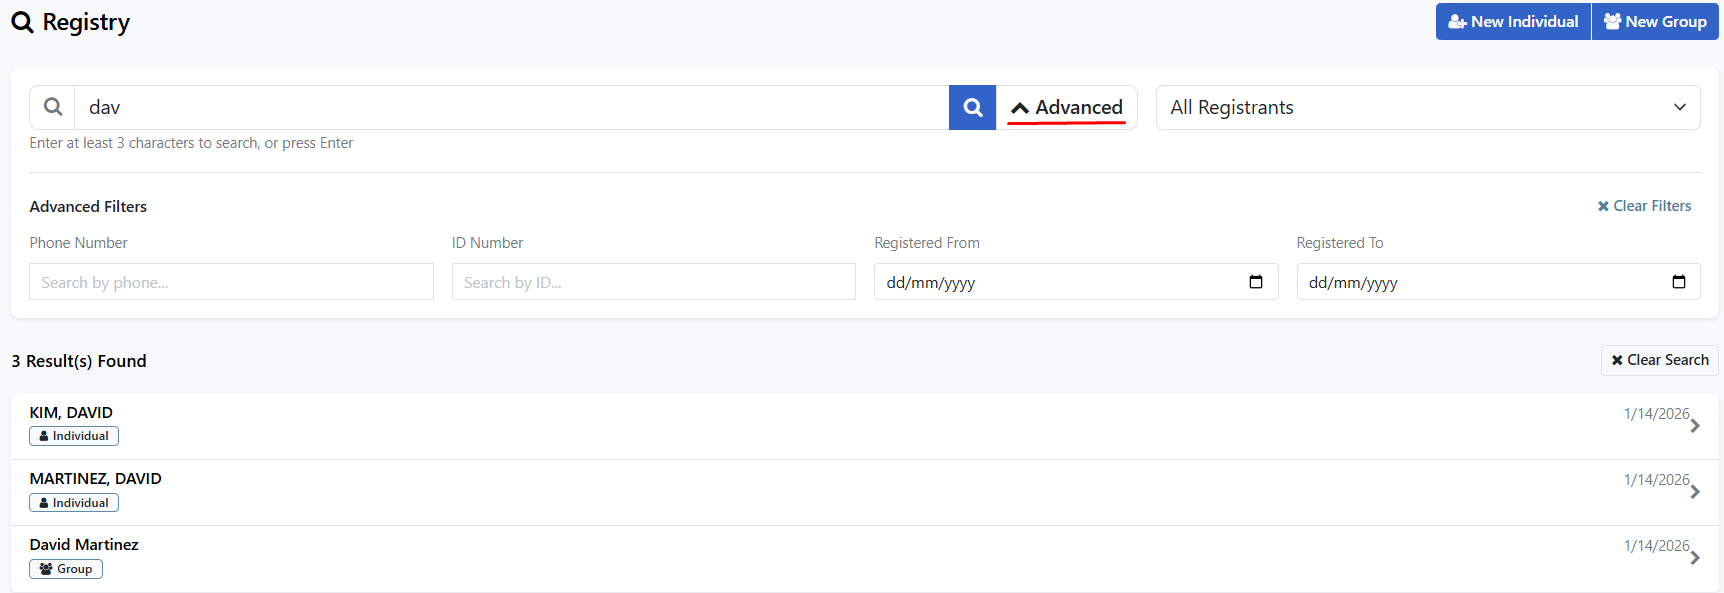
Click the Advanced dropdown above the list.
Select a filter option.
The list updates to show only matching records.
To remove filters, click the X Clear Filters button.
Common actions#
Creating a new record#
Navigate to the section where you want to create a record (for example, Registry > Individuals).
Click the New button in the top left corner.

A blank form opens. Fill in the required fields (marked with a bold label or asterisk).
Click Save when finished.
Editing an existing record#
Find and open the record you want to change.
Click on a field and edit directly.
Note
Edit functionality may only be available for certain user roles. If you cannot edit a record, contact your administrator to check your permissions.
Make your changes.
Click Save to keep your changes.
Saving changes#
After creating or editing a record, click the Save button to store your changes.

Note
If you navigate away without saving, your changes will automatically be saved.
Discarding changes#
If you made changes you do not want to keep:
Click the Discard button before saving.
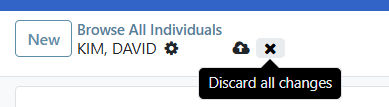
The record returns to its previous state.
Deleting records#
Warning
Deleting records is permanent. Make sure you really want to remove the record before proceeding.
Open the record you want to delete.
Click the Action menu (Gear icon).
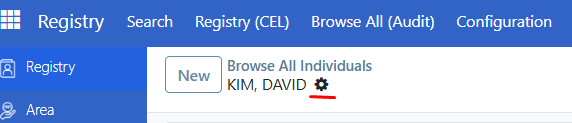
Select Delete.
Confirm when prompted.
Note
You may not be able to delete certain records if they are linked to other data in the system. If you see an error, contact your administrator.
Getting help#
In-app guidance#
Some screens include help text and tooltips:
Hover over a field label to see a description of what to enter
Look for information icons next to complex fields
Contacting your administrator#
If you need help with:
Issue |
Who to contact |
|---|---|
Login problems |
System Administrator |
Permission issues |
System Administrator |
How to do a specific task |
Your supervisor or training lead |
System errors |
IT Support |
Tip
When reporting a problem, note down any error messages you see and what you were trying to do. This helps your support team resolve the issue faster.
Are you stuck?#
Cannot find the menu you need? Your access depends on your role. If you need access to a feature you cannot see, ask your administrator to check your permissions.
The page shows "Access Denied"? You do not have permission to view this page. Contact your administrator if you believe you should have access.
Clicked the wrong button and lost your work?
If you have not saved yet, try pressing Ctrl + Z to undo in text fields. For larger mistakes, you may need to re-enter the information.
The system is slow or unresponsive? Try these steps:
Refresh the page (press F5)
Clear your browser cache
Try a different browser
Contact IT support if the problem continues
Forgot your password? Click "Forgot Password" on the login page to reset it. If that option is not available, contact your administrator.
Next steps#
Now that you know how to navigate OpenSPP, you are ready to start working with the system.
Registry - Learn how to register individuals and groups
Programs - Learn about managing programs
Change Requests - Learn how to submit and process change requests