Manage grievances
Contents
Manage grievances#
This guide is for users — GRM officers, supervisors, and intake staff who receive, investigate, and resolve complaints in OpenSPP.
What you will do#
Log a complaint, assign it to a team, investigate, record a decision, and close the ticket. Optionally escalate to case management when a complaint requires longer-term support.
Before you start#
You need one of these roles:
Role |
What you can do |
|---|---|
GRM Officer |
Create and manage tickets assigned to you |
GRM Supervisor |
Review, approve, and reassign tickets |
Field Officer |
Submit tickets during field visits |
If you cannot see the Helpdesk menu, contact your administrator to assign you a GRM role.
Initial setup (case managers only)#
A GRM manager or an admin must complete this configuration before your team can receive complaints. If this has already been done, skip to Step 1.
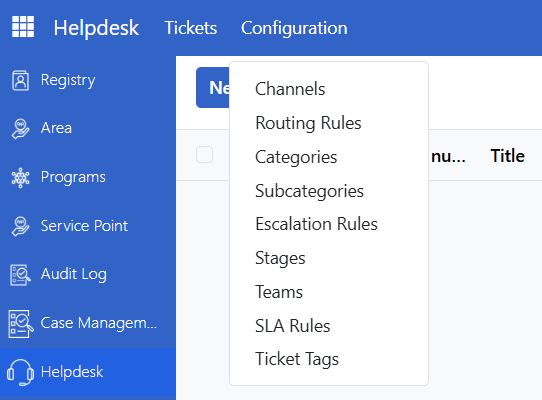
Categories and subcategories
Go to Helpdesk > Configuration > Categories. Create the complaint categories your organization uses (for example, Eligibility, Payment, Benefits). Add subcategories under each.
Channels
Go to Helpdesk > Configuration > Channels. Define how complaints come in — Walk-in, Phone Call, Email, Portal. These record the intake method on each ticket.
Teams
Go to Helpdesk > Configuration > Teams. Create teams of handlers. Assign a manager, members, and optionally the geographic areas each team covers.
Steps#
Step 1. Log the complaint#
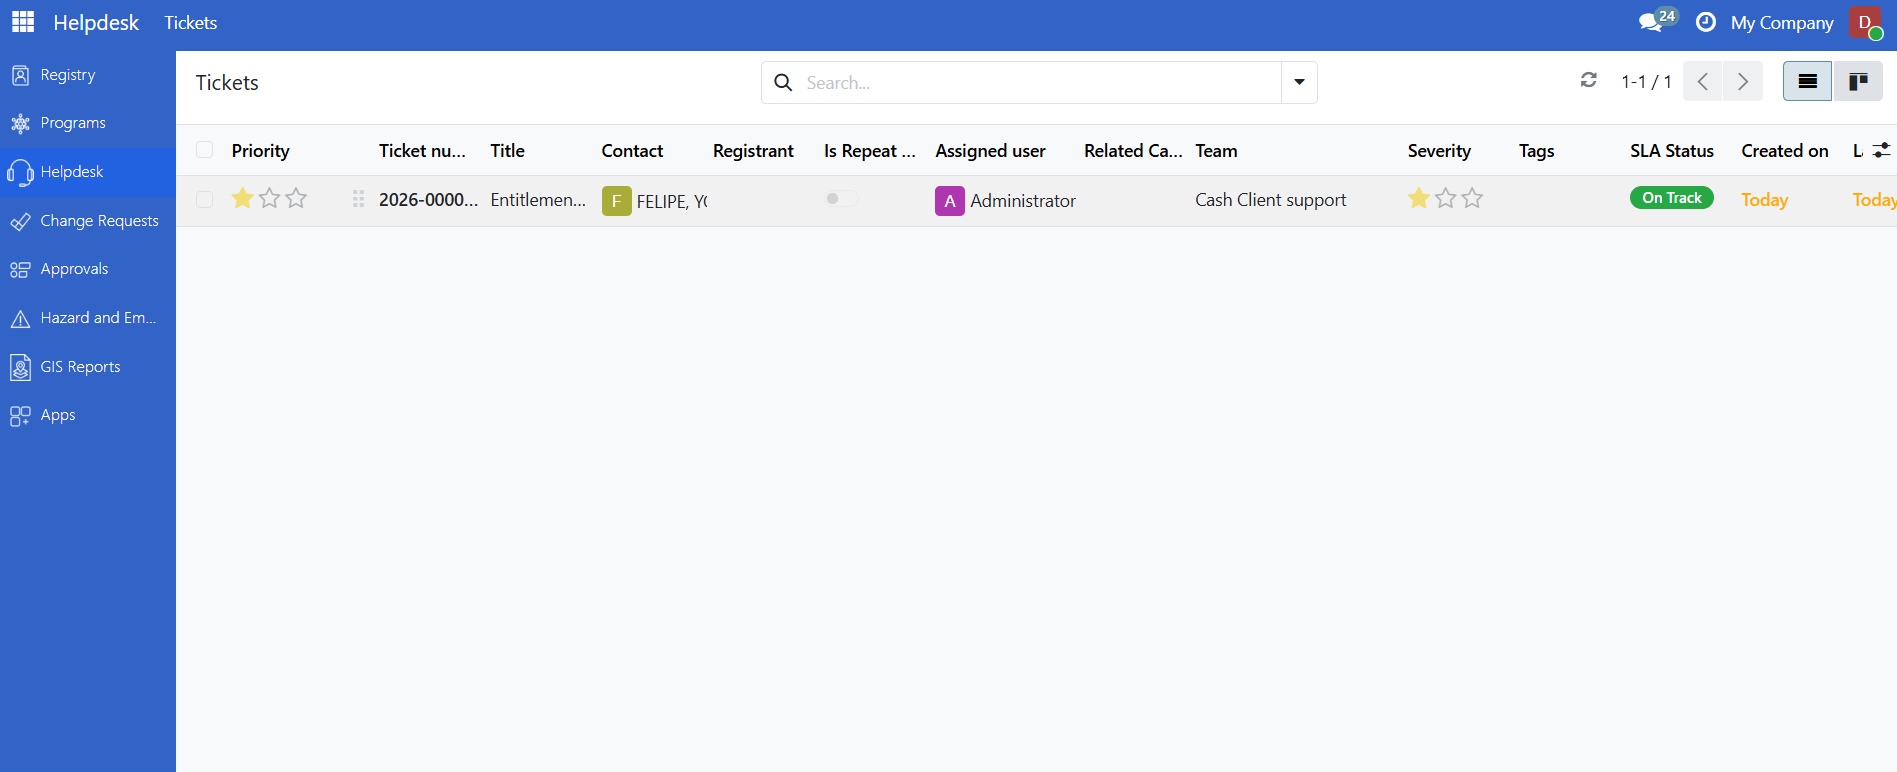
As Admin, GRM or Field officer, Go to Helpdesk > Tickets and click New.
Fill in the ticket form:
Field |
What to enter |
|---|---|
Subject |
A short description of the complaint |
Category |
What the complaint is about |
Subcategory |
More specific classification |
Channel |
How it was received (Walk-in, Phone, Email, Portal) |
Registrant |
Search and link to the affected person or household |
Description |
Full details of the complaint |
Click Save. The ticket is now in the New stage.

Step 2. Assign the ticket#
On the ticket, select the Team responsible for this complaint.
Assign a specific Handler (GRM officer) from the team.
The assigned officer receives a notification.
Tip
If CEL routing rules are configured, the team may be assigned automatically based on the ticket's category or the registrant's area.
Step 3. Investigate and move through stages#
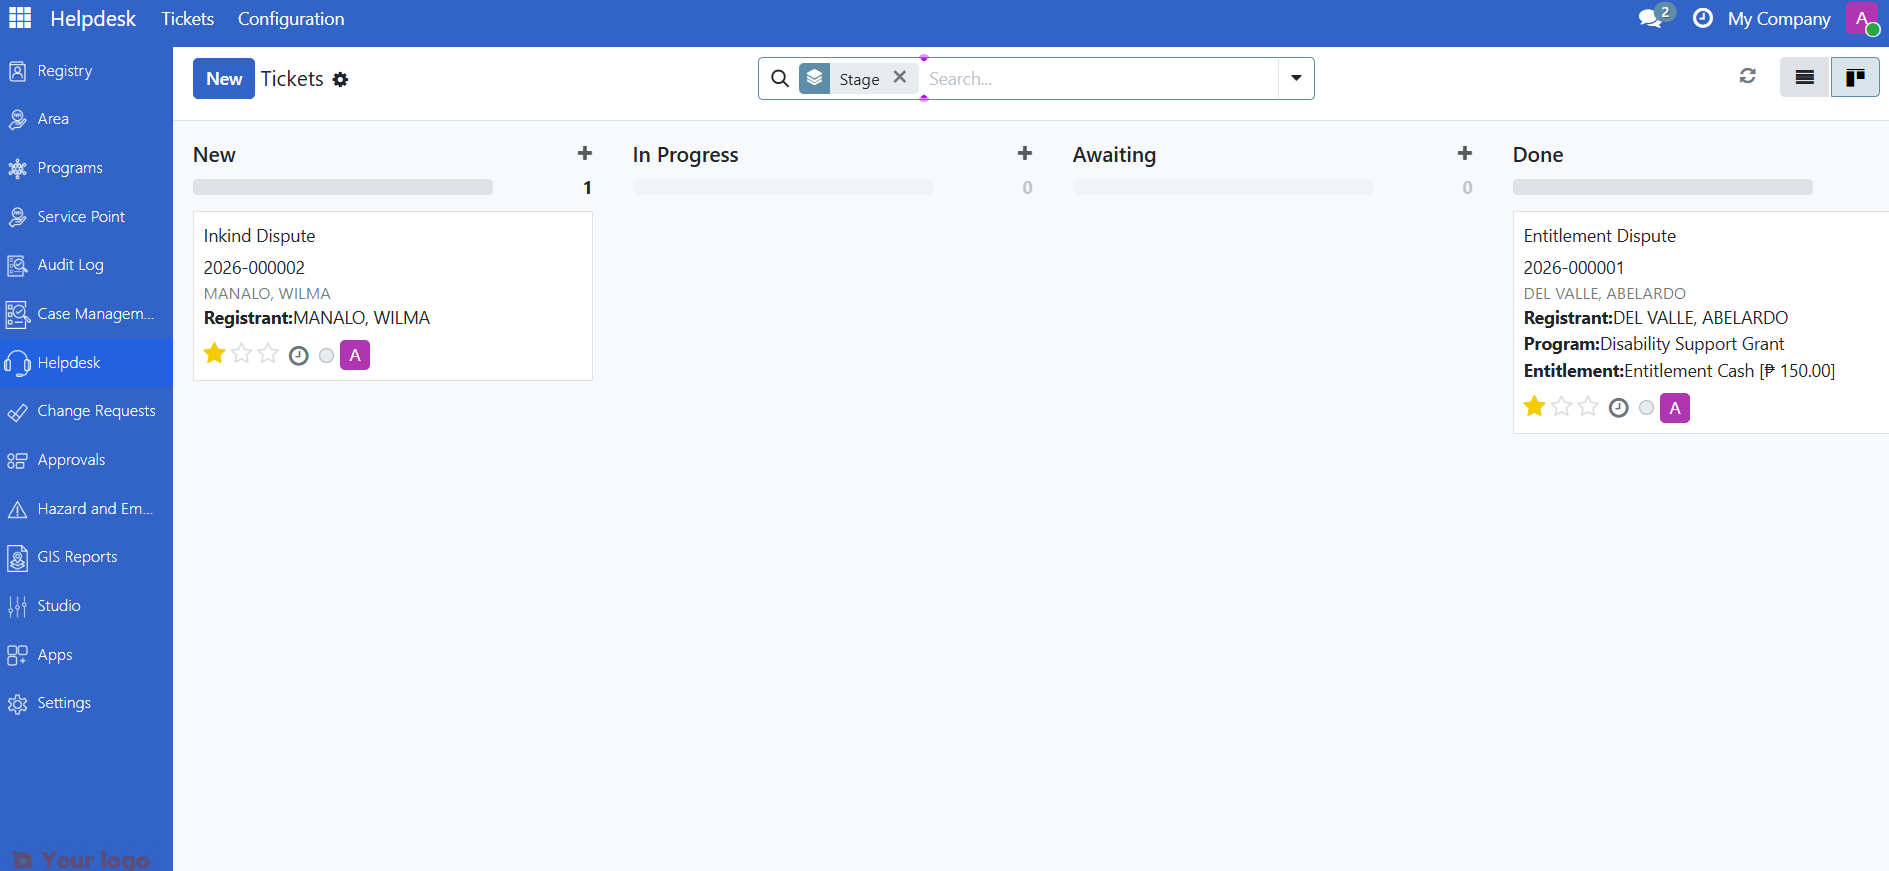
The standard ticket workflow is:
New → In Progress → Resolved → Closed
Move the ticket to In Progress when you begin working on it.
Use the chatter at the bottom of the ticket to record notes, attach documents, and communicate internally.
If the complaint involves a program or payment, check the linked program and entitlement details in the Resolution tabs.
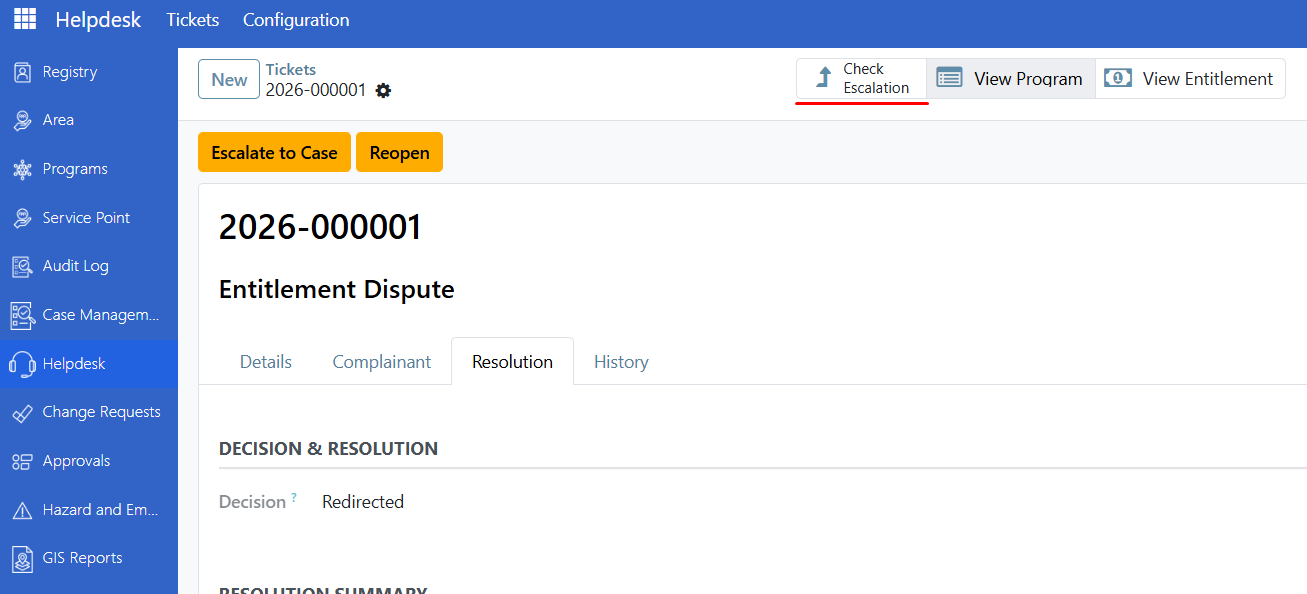
Step 4. Record the decision#
When the investigation is complete:
Set the Decision field on the ticket:
Decision |
When to use |
|---|---|
Upheld |
The complaint is valid and the beneficiary is right |
Partially upheld |
The complaint is valid in part |
Rejected |
The complaint is not valid |
Withdrawn |
The beneficiary withdrew the complaint |
Redirected |
The complaint was transferred to another officer |
Referred |
The complaint was sent to another body |
Add a Resolution note explaining the outcome.
Move the ticket to Resolved by clicking Resolve.
Step 5. Escalate to case management (optional)#
Use this step when the complaint reveals a need for longer-term support (for example, a vulnerable household needs follow-up assistance). If no escalation is needed, skip to Step 6.
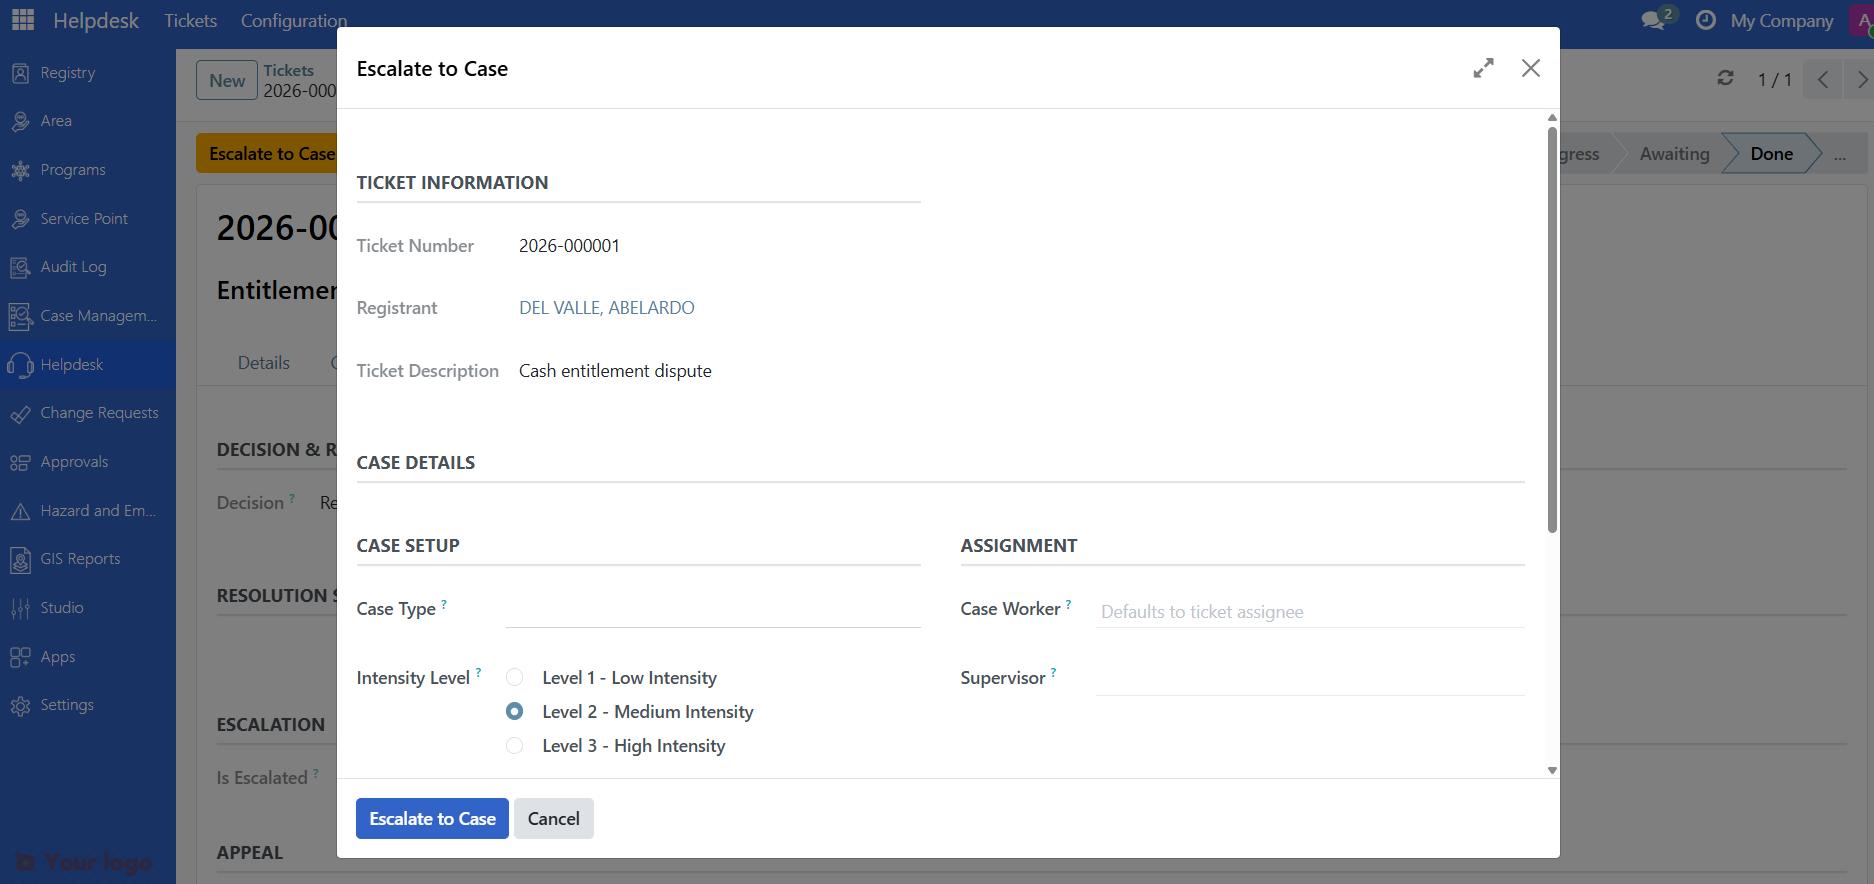
On the ticket, click Escalate to Case.
In the wizard, choose or confirm the case type and assigned case worker.
Click Escalate. A linked case is created automatically.
The ticket and case remain linked — navigate between them using the smart button at the top of each record.
Step 6. Close the ticket#
The ticket is automatically marked Done when clicking resolve.
The ticket becomes read-only and the outcome is recorded for reporting.
Are you stuck?#
The Helpdesk menu is missing.
The module may not be installed, or you do not have a GRM role.
Ask your administrator to check your user role. You need at least GRM Viewer.
The ticket is not routing to the right team.
Automatic routing requires CEL routing rules to be configured.
If you are assigning manually, make sure the team is set up in Configuration > Teams with the correct areas and members.
The Escalate button is missing.
This button only appears when the Case Management module (
spp_case_base) is installed.Ask your administrator to install Case Management.
I cannot change the ticket's stage.
Some stage transitions are restricted by role.
Check with your GRM manager — certain stages require manager approval before advancing.