Register a group
Contents
Register a group#
Applies to: Social Registry, SP-MIS, Farmer Registry
What you will do#
Create a new group (such as a household) and add individual members to it.
Before you start#
You need Registry Officer or Administrator access
Individuals should already be registered before adding them to a group
Have the group information ready (name, type, address)
Understanding groups#
A group represents a collection of related individuals, typically a household. Groups are important because:
Many programs target households rather than individuals
Benefits may be calculated based on household composition
One member is usually designated as the household head
Steps#
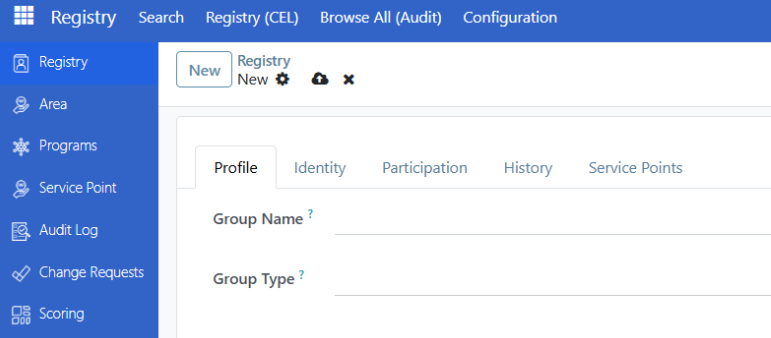
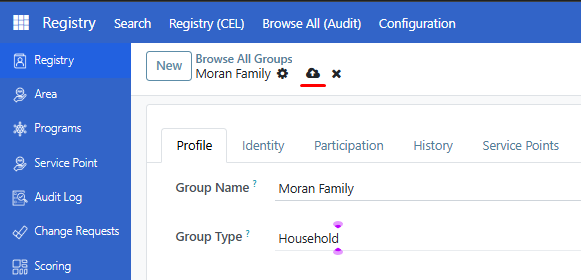
Step 3. Enter group information#
Fill in the Profile tab with the group's basic information.
Field |
Required |
What to enter |
|---|---|---|
Group Name |
Yes |
Name to identify this group (for example, "Santos Household") |
Group Type |
No |
Type of group (Household, Family, etc.) |
Registration Date |
Auto |
Date of registration (defaults to today) |
Step 4. Add contact information#
In the Contact Information section, enter the group's address and contact details.

Field |
Required |
What to enter |
|---|---|---|
Address |
No |
Physical address of the group |
No |
Contact email address |
Add phone numbers#
To add a phone number for the group:
In the Phone Numbers section, click Add a line
Enter the phone number
Select the country (optional)

Step 5. Add tags (optional)#
In the Tags section, add labels to categorize this group.
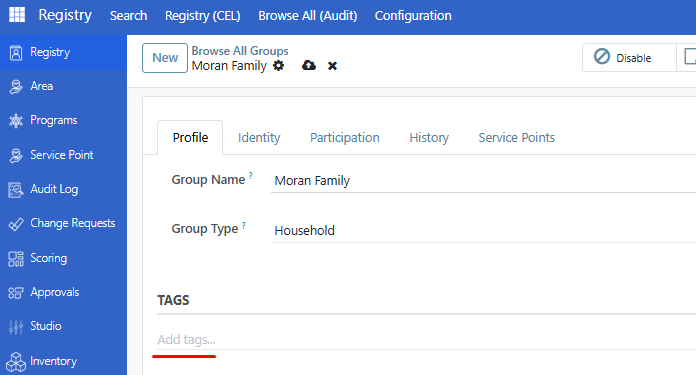
Note
If no tags appear in the dropdown, they may need to be configured by your administrator first. Contact your administrator to set up tags for your organization.
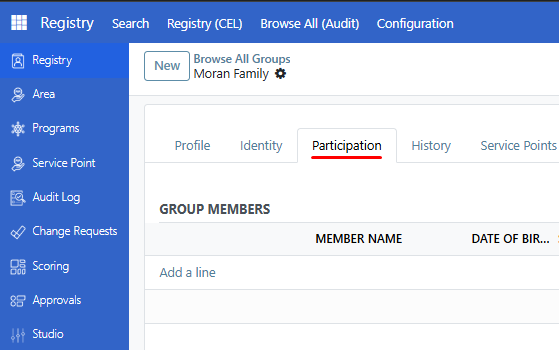
Step 7. Add members to the group#
After saving, add individuals as members of this group.
Click the Participation tab
In the Group Members section, click Add a line
Select an individual from the Member Name column dropdown.
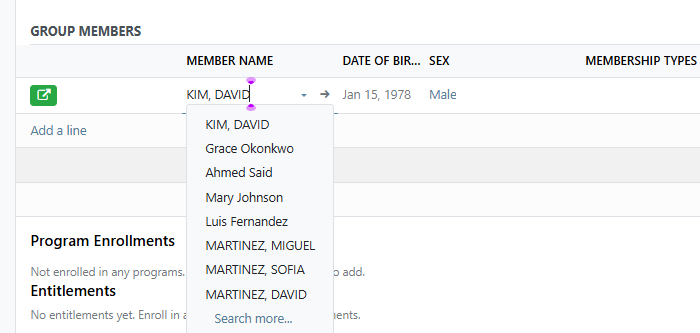
Fill in the membership details:
Field |
Required |
What to enter |
|---|---|---|
Member Name |
Yes |
Select the individual to add |
Membership Types |
No |
Role in the group (Head, Spouse, Child, etc.) |
Start Date |
Auto |
When membership began (defaults to now) |
End Date |
No |
Leave empty for active members |

Repeat to add more members
Click Save to save all members
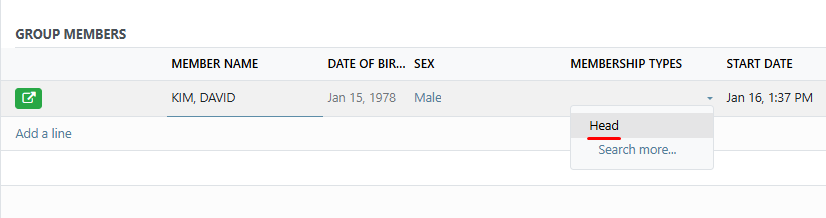
Step 8. Designate a household head#
One member should be designated as the household head:
Click the membership row for the head of household
In Membership Types, select Head
Click Save
Note
Only one member can be the Head per group. If you try to set a second Head, you will see an error message.
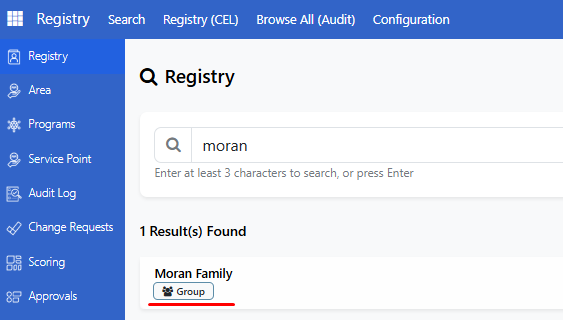
Step 9. Verify the group#
Search for the group in the Registry Search Portal to confirm it was created with all members.
Note
If you are registering a farm household, there are additional tabs to complete on the group record. See Manage farm data for details.
Viewing group membership#
From the group record#
Open the group and click the Participation tab to see all members.
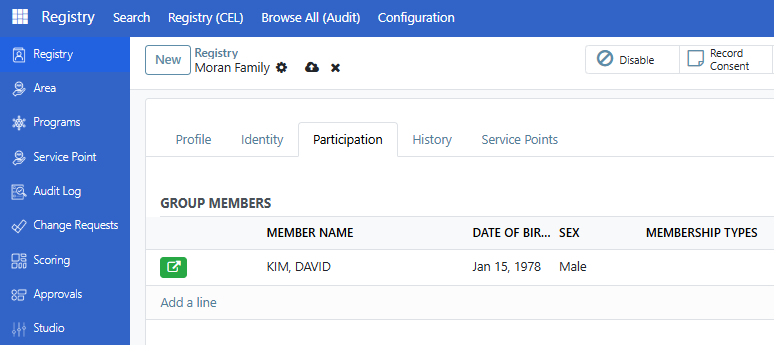
Each row shows:
Member name
Date of birth
Gender
Membership type
Start and end dates
Status (active or inactive)
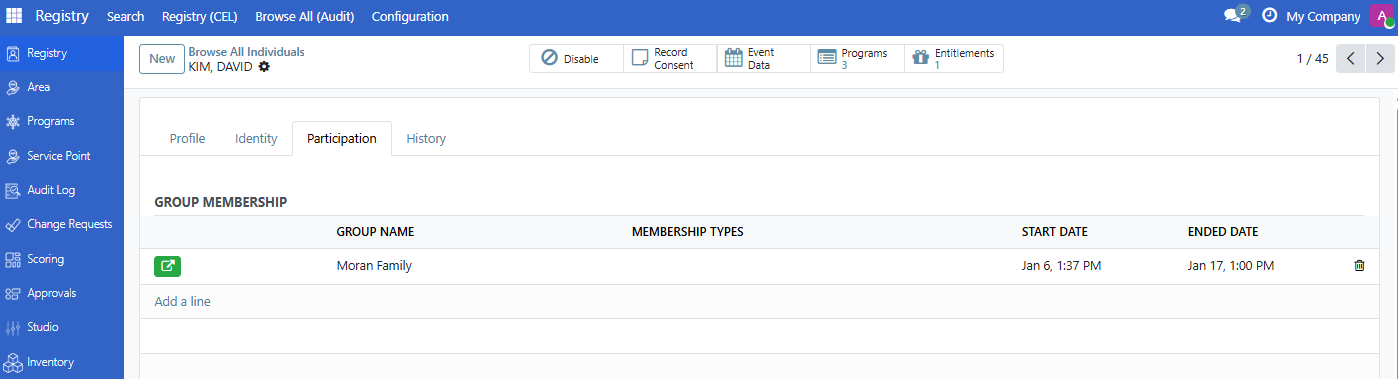
From an individual record#
Open an individual and click the Participation tab to see which groups they belong to.
Ending a membership#
To remove someone from a group without deleting their individual record:
Open the group
Click the Participation tab
Find the member and click their row
Set an End Date for the membership
Click Save
The membership status will change to Inactive.
Are you stuck?#
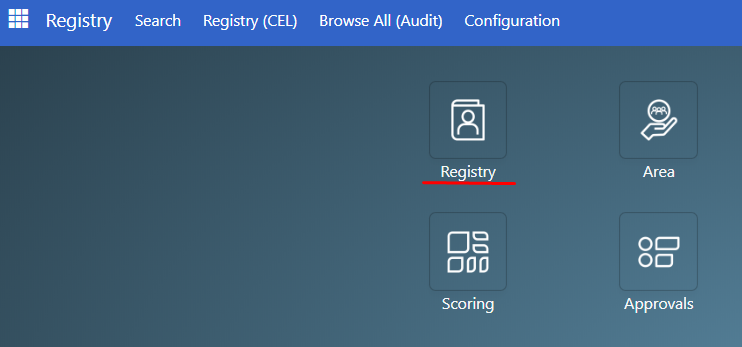
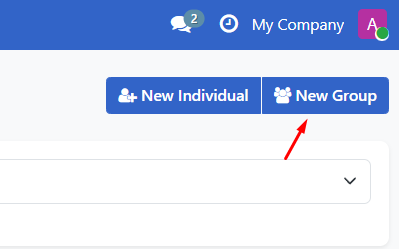
Cannot find the New Group button?
Verify you have Registry Officer or Administrator access
Contact your administrator if you need access
Cannot find an individual to add as a member?
The individual must be registered first
Use Register an individual to register them, then return to add them to the group
Check your search term if using Search More
Error: "Only one Head is allowed per group"
Each group can only have one member with the Head membership type
Remove the Head type from the current head before assigning it to someone else
Error: "Duplication of Member is not allowed"
Each individual can only be added to a group once
Check if the person is already listed in the Group Members section
Members not showing after save?
Make sure you clicked Save after adding members
Refresh the page if members still do not appear
Group Type options are missing?
Group types come from configured vocabularies
Contact your administrator to add more group types
Next steps#
Search and filter registrants - Learn how to search for groups and individuals
Register an individual - Register more individuals to add to groups