Work with program cycles
Contents
Work with program cycles#
Applies to: SP-MIS
What you will do#
Learn how to navigate, understand, and manage program cycles in OpenSPP.
Before you start#
You need Program Validator, Program Manager, Program Cycle Approver, or Administrator roles assigned to your user account
The program must be in Active state
At least one beneficiary must be enrolled in the program
An implementer must configure approval workflows before cycles can be submitted for approval. See Approval workflows overview.
What is a cycle?#
A cycle represents a distribution period within a program. For example:
Monthly cash transfers have 12 cycles per year (one per month)
Quarterly food assistance has 4 cycles per year
One-time emergency payments have a single cycle
Each cycle:
Has a start and end date
Contains beneficiaries copied from the program
Generates entitlements for each beneficiary
Goes through an approval workflow before distribution
Cycle states#
Cycles progress through these states:
State |
Meaning |
What happens next |
|---|---|---|
Draft |
Cycle is being prepared |
Copy beneficiaries, prepare entitlements |
To Approve |
Waiting for approval |
Validator reviews and approves or rejects |
Approved |
Ready for distribution |
Prepare and send payments |
Distributed |
Benefits have been sent |
Mark as ended when complete |
Cancelled |
Cycle was rejected or cancelled |
Can be reset to draft |
Ended |
Cycle is complete |
Read-only |
![]()
View program cycles#
Click Programs > Programs in the main menu.
Click on a program to open it.
View cycles using either method:
From the Overview tab: The Recent Cycles section shows the most recent cycles.
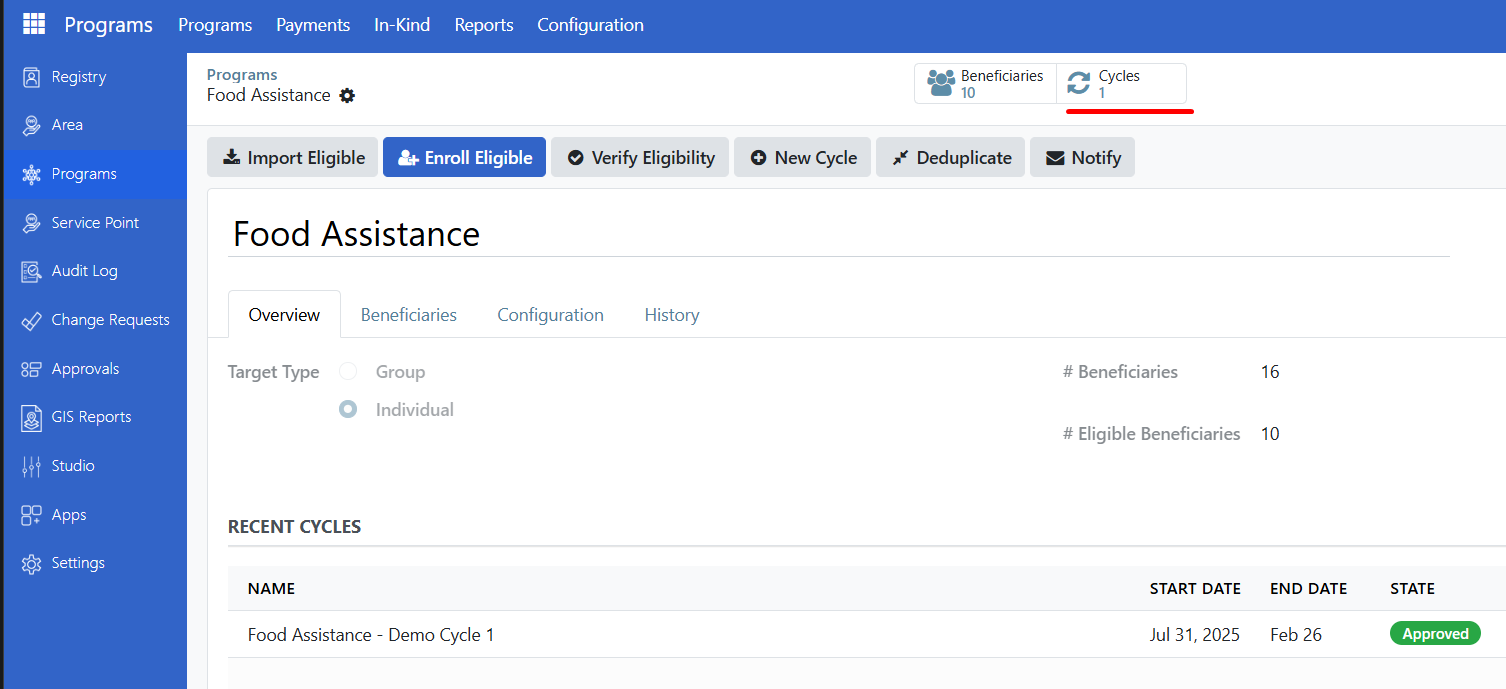
Using the smart button: Click the Cycles smart button to see all cycles.
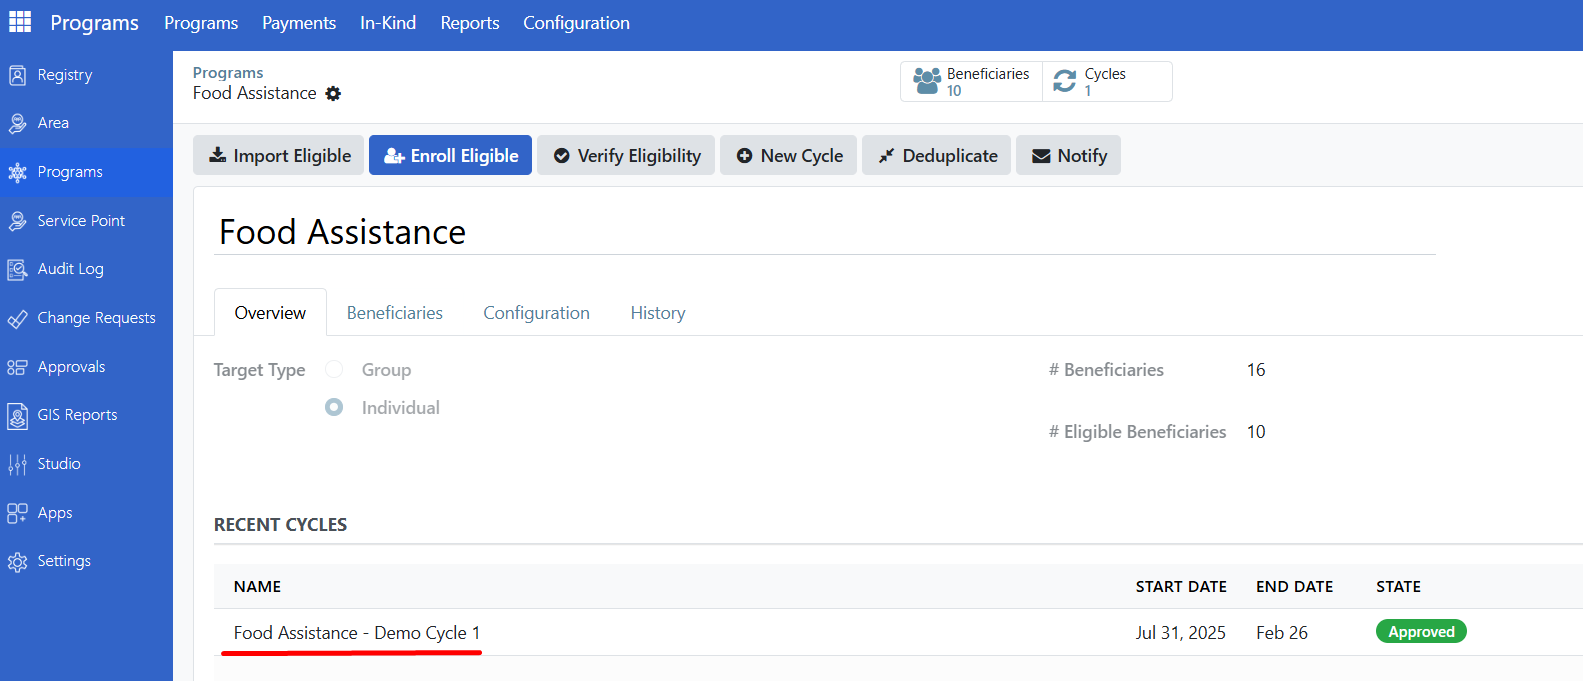
Click on a cycle row to open the cycle form.
Understand the cycle form#
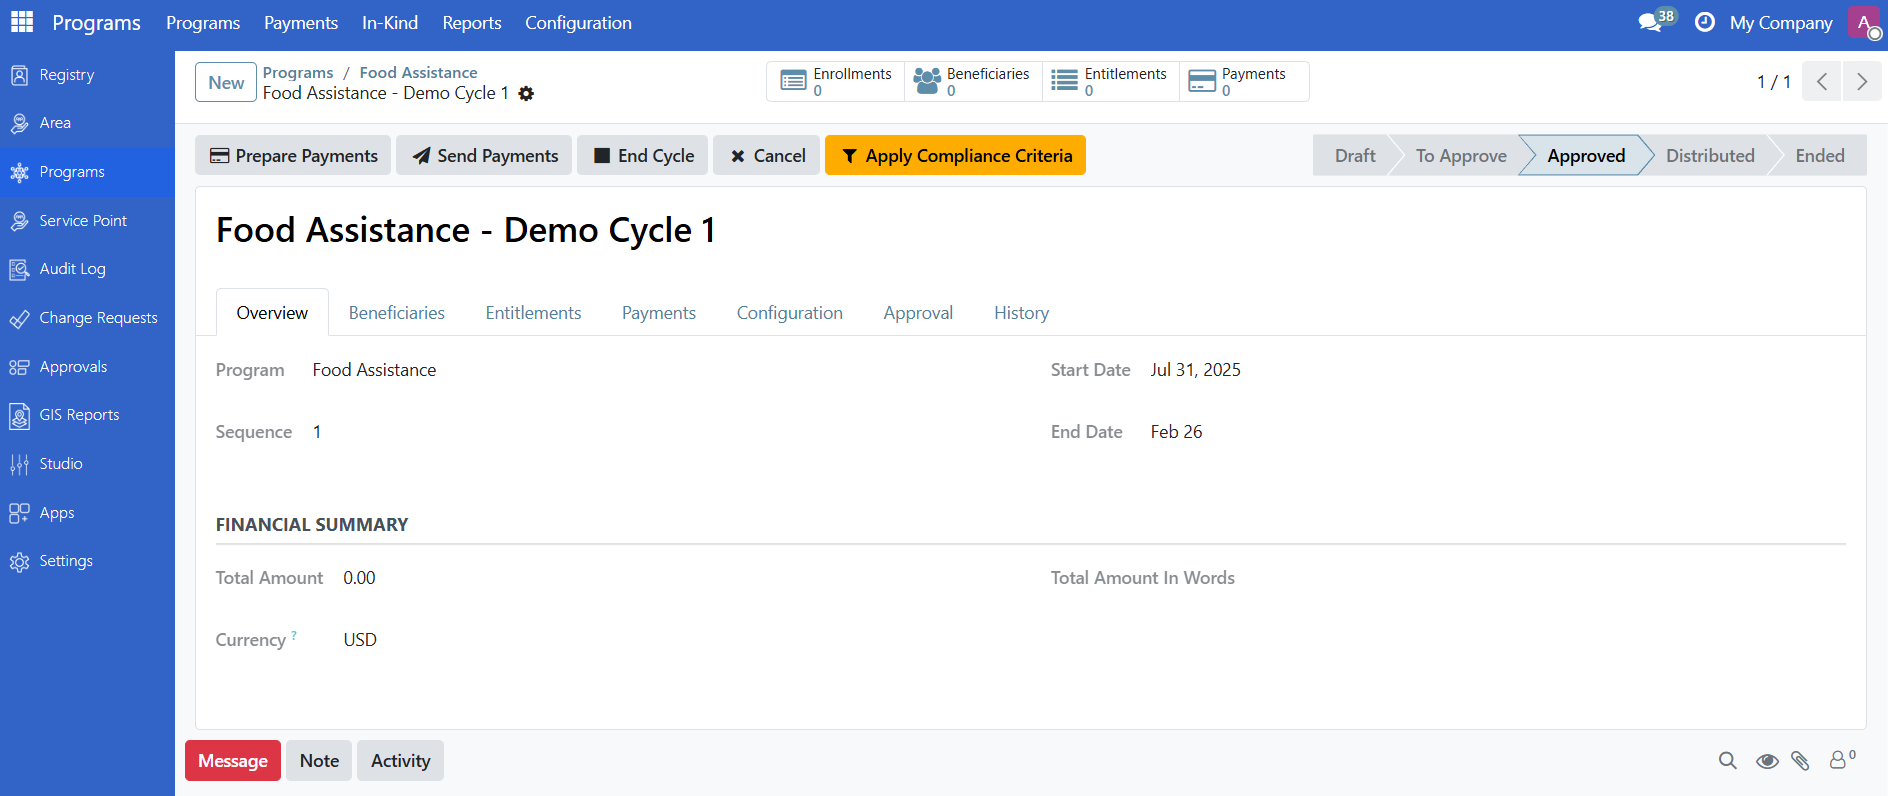
Overview tab#
Field |
Description |
|---|---|
Name |
Cycle name (e.g., "January 2025") |
Program |
Parent program |
Sequence |
Order of this cycle (1, 2, 3, etc.) |
Start Date |
When the cycle begins |
End Date |
When the cycle ends |
Total Amount |
Sum of all entitlements in this cycle |
Smart buttons#
Button |
Shows |
|---|---|
Beneficiaries |
Enrolled beneficiaries in this cycle |
Entitlements |
Generated entitlements |
Payments |
Payment batches (if configured) |
Create a new cycle#
Open the program where you want to create a cycle.
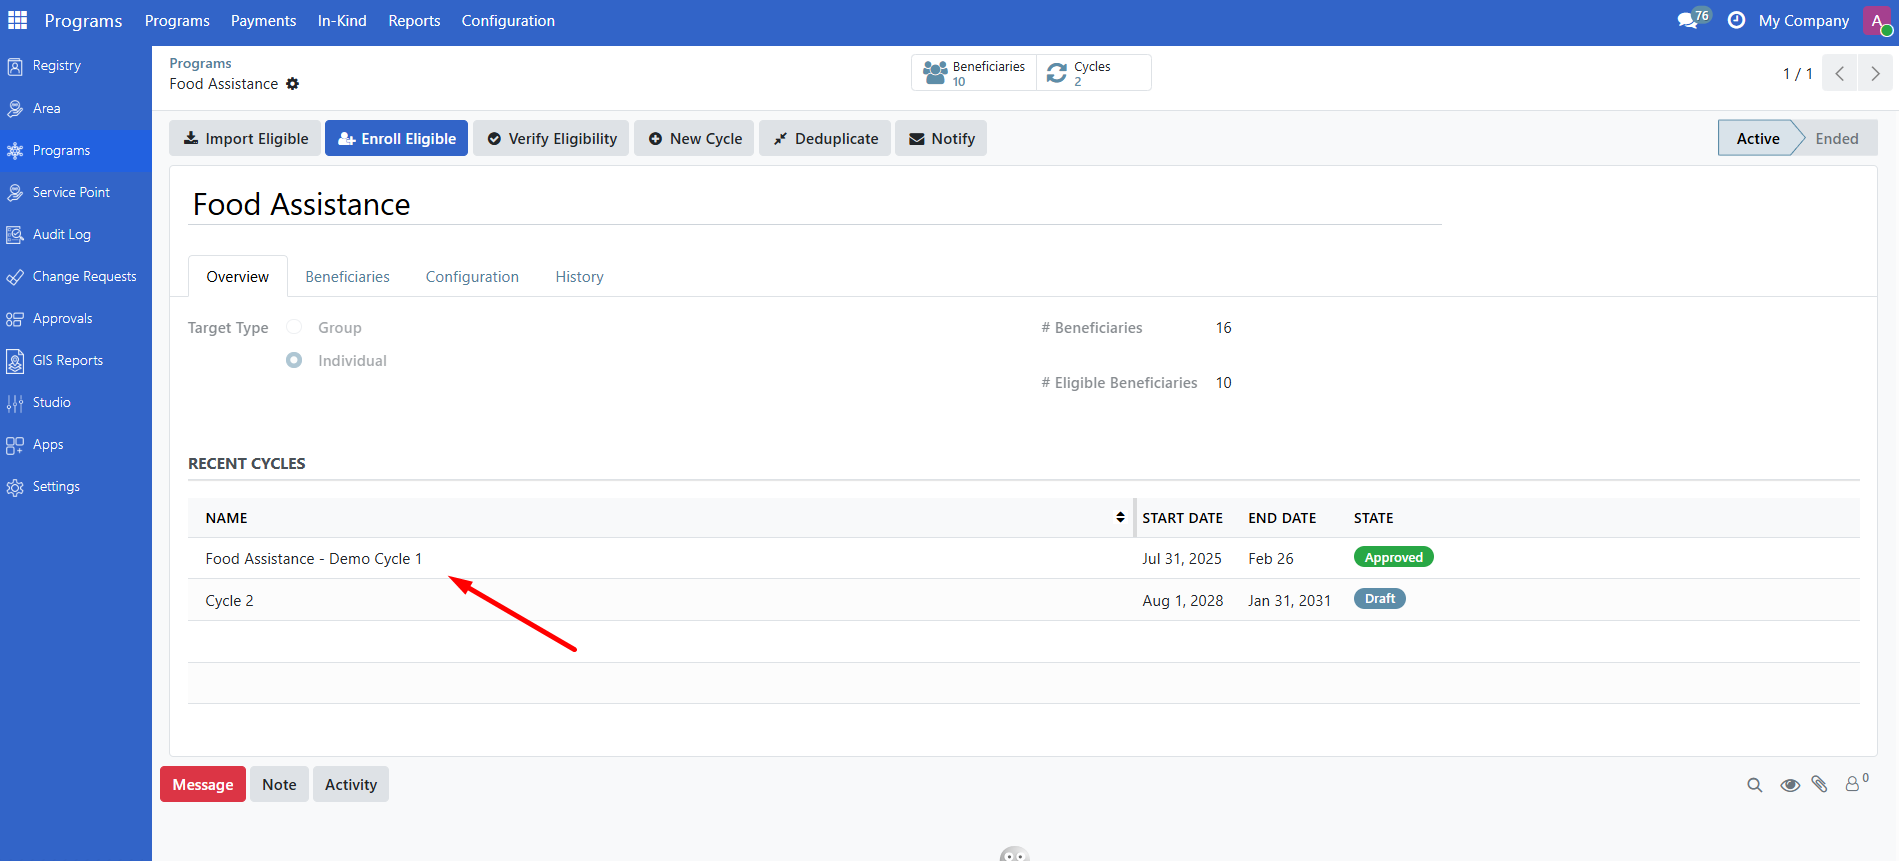
Click the New Cycle button in the header.
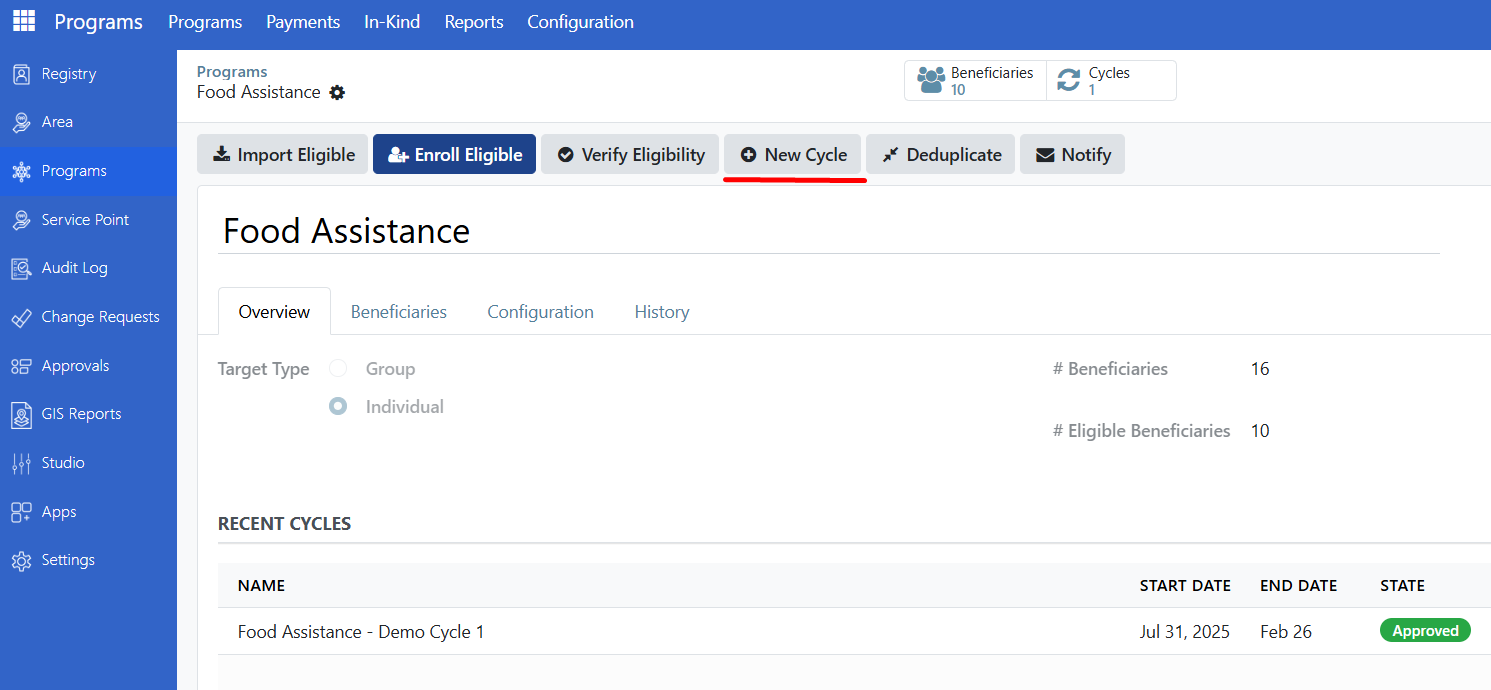
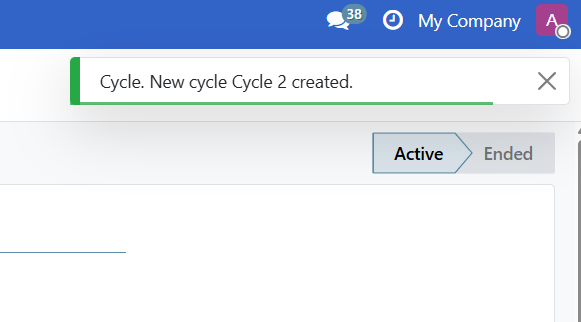
A notification confirms the new cycle was created.
Click the Cycles smart button and select the new cycle to open it.
Cycle workflow#
Cycles follow this workflow: Draft → To Approve → Approved → Distributed → Ended
Step 1: Copy beneficiaries#
When a cycle is first created, it automatically copies all currently enrolled beneficiaries from the program.
If new beneficiaries are enrolled after the cycle was created:
Open the cycle (must be in Draft state).
Click Copy Beneficiaries to add the newly enrolled beneficiaries to the cycle.

Note
This function only adds newly enrolled beneficiaries. It does not remove beneficiaries who no longer meet eligibility criteria.
Step 2: Prepare entitlements#
Generate entitlements for all beneficiaries in the cycle:
Click Prepare Entitlements.
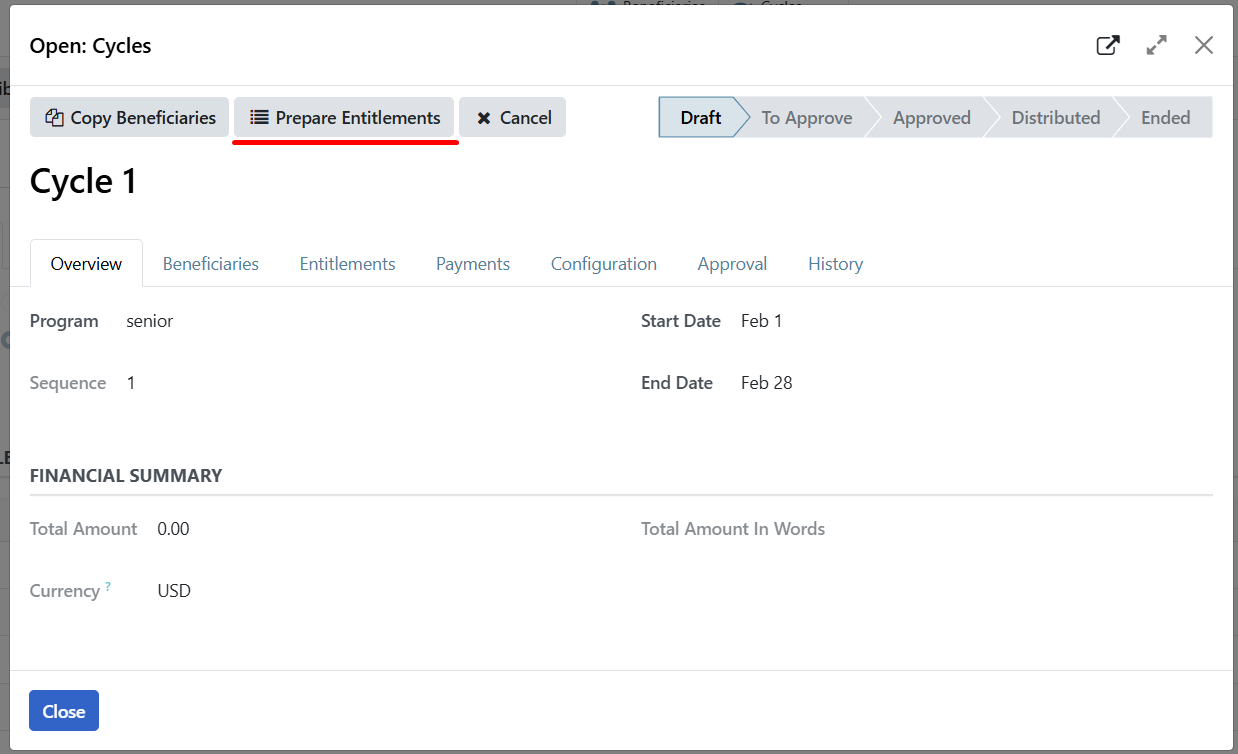
The system calculates benefit amounts based on the program rules.
View generated entitlements in the Entitlements tab.
Step 3: Submit for approval#
When entitlements are ready:
Review the Total Amount in the Overview tab to verify it is correct.
Click Submit for Approval.
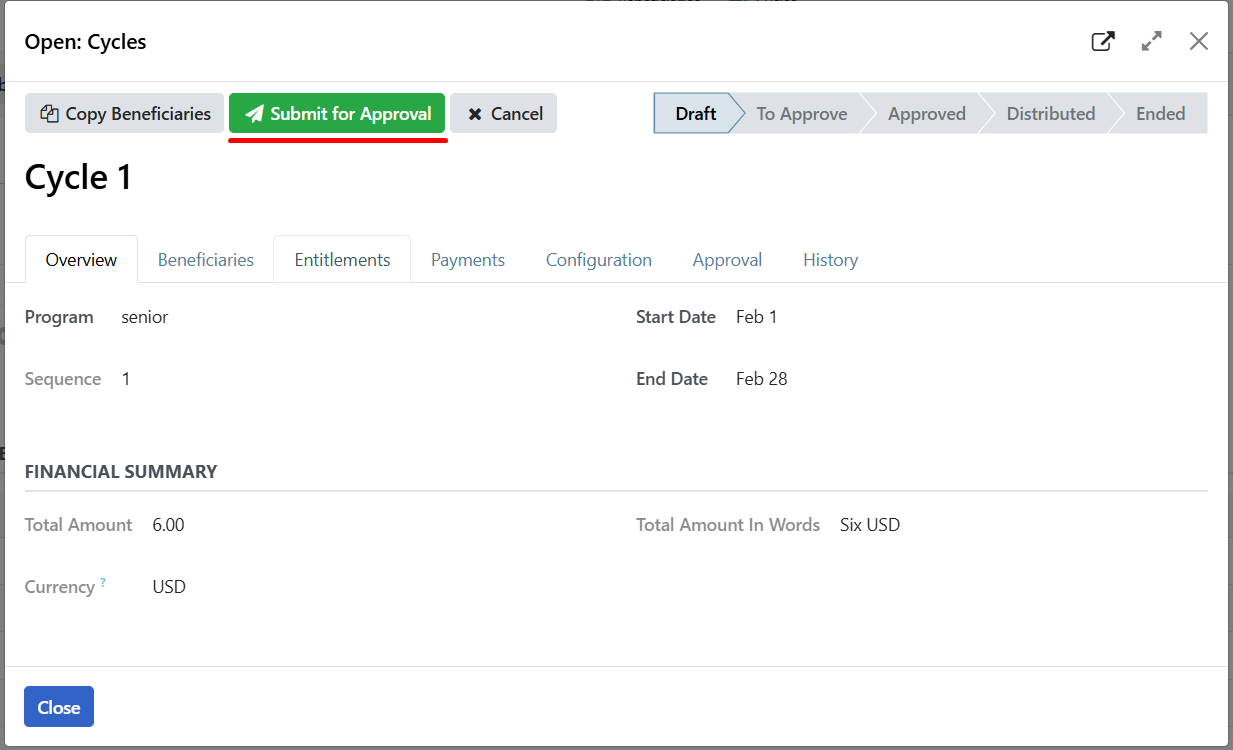
The cycle state changes to To Approve.
Step 4: Approve the cycle#
Note
Only users who belong to the group configured as Cycle Approver in the program's cycle configuration can approve the cycle. This is set when the program is created or in the program's Configuration tab under the Schedule settings.
Review the cycle and entitlements.
(Optional) Click Validate Entitlements to approve individual entitlements before approving the cycle. This requires the Entitlement Approver role.
Click Approve Cycle to approve the entire cycle.
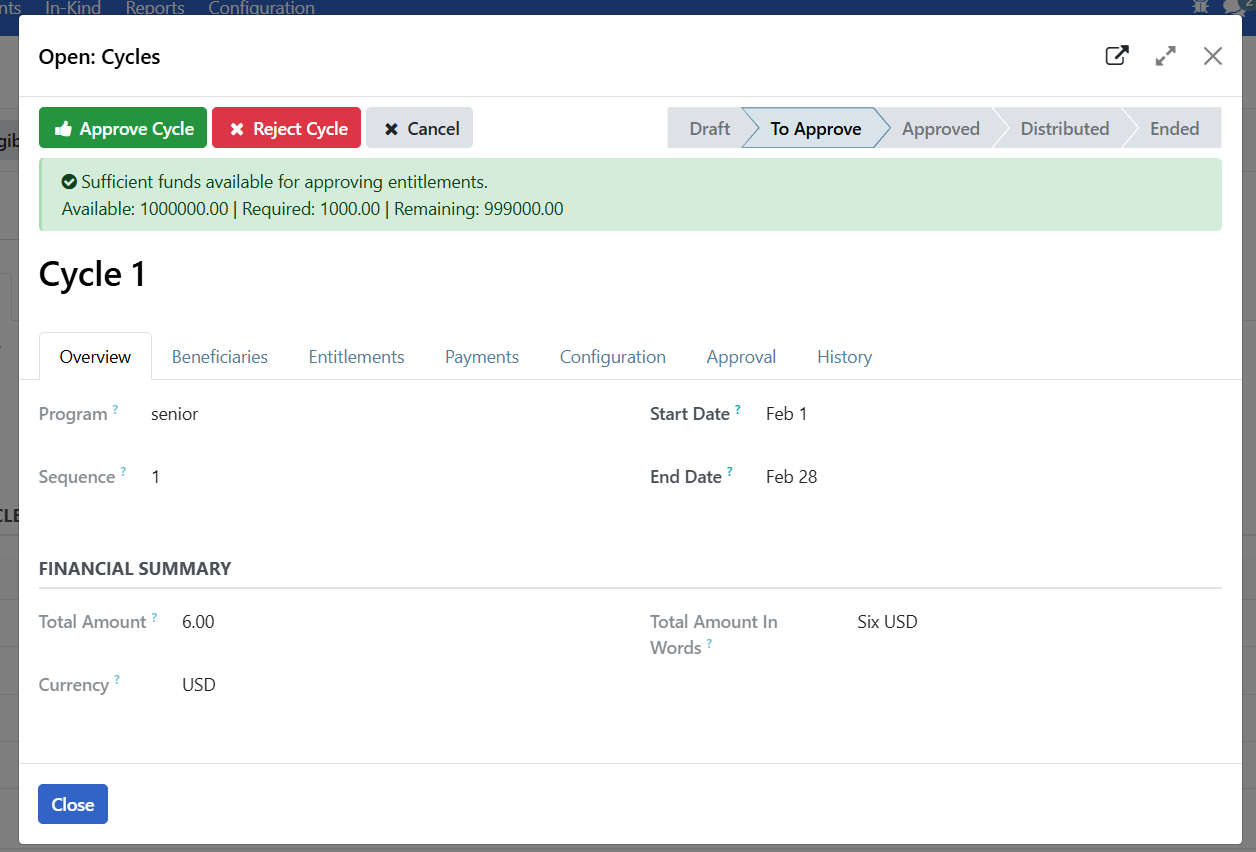
The cycle state changes to Approved and is ready for distribution.
Reject a cycle#
If there are problems with the cycle during approval:
Click Reject.
Enter a reason for rejection.
The cycle state changes to Cancelled and can be reset to Draft if needed.
Complete a cycle#
After benefits are distributed:
Click Mark as Distributed when payments have been sent to beneficiaries. The cycle state changes to Distributed.
Click End Cycle when all distribution activities are complete and the cycle should be closed.
The cycle becomes read-only after ending and cannot be modified.
Cancel a cycle#
If a cycle should not proceed (before it reaches To Approve state):
Click Cancel.
The cycle and all its entitlements are cancelled. The cycle state changes to Cancelled.
Note
Use Reject if the cycle is already submitted for approval. Use Cancel if the cycle is still in Draft state.
Are you stuck?#
Cannot find the New Cycle button?
Verify you have Program Manager, Validator or admin role assigned to your user account.
Check that the program is in Active state
Ensure at least one beneficiary is enrolled
Copy Beneficiaries does nothing?
The program may have no newly enrolled beneficiaries since the cycle was created.
This function only adds newly enrolled beneficiaries to the cycle. It does not remove beneficiaries who no longer meet the program's eligibility criteria.
Prepare Entitlements fails?
Verify the cycle has beneficiaries (run Copy Beneficiaries first)
Check that the program has an entitlement manager configured
Contact your Program Manager if the problem persists
Cannot approve the cycle?
Verify you have the Program Cycle Approver role assigned to your account.
Confirm that a cycle approver role was selected during program configuration.
Cycle dates show a validation error?
Start date cannot be in the past
End date must be after start date
Next steps#
Manage entitlements - View and manage individual entitlements
Enroll beneficiaries - Add more beneficiaries to the program