Step 2: Create your first social protection program
Contents
Step 2: Create your first social protection program#
This tutorial is for users who want to learn how to set up a social protection program in OpenSPP.
What you'll do#
Create a Cash transfer for vulnerable families program that will provide monthly cash assistance to eligible families. You'll configure the basic program settings including the program name, target beneficiaries, currency, eligibility, amount and distribution schedule.
Before you start#
You completed Step 1: Access programs
Your registry has family and individual data
Sample data loaded for exploration (see Explore OpenSPP)
Allow 10-15 minutes to complete this step
The scenario#
You're creating a Cash transfer for vulnerable families program with these goals:
Target: Low-income families with young children
Benefit: Monthly cash transfer of 1200 PHP
Currency: Philippine Peso (PHP)
Distribution: Monthly recurring payments
Your program targets vulnerable families. To identify them, you'll use two criteria:
Income Test: Family earns less than 10,000 PHP per month
Child Test: Family has at least one child under 5 years old
Steps#
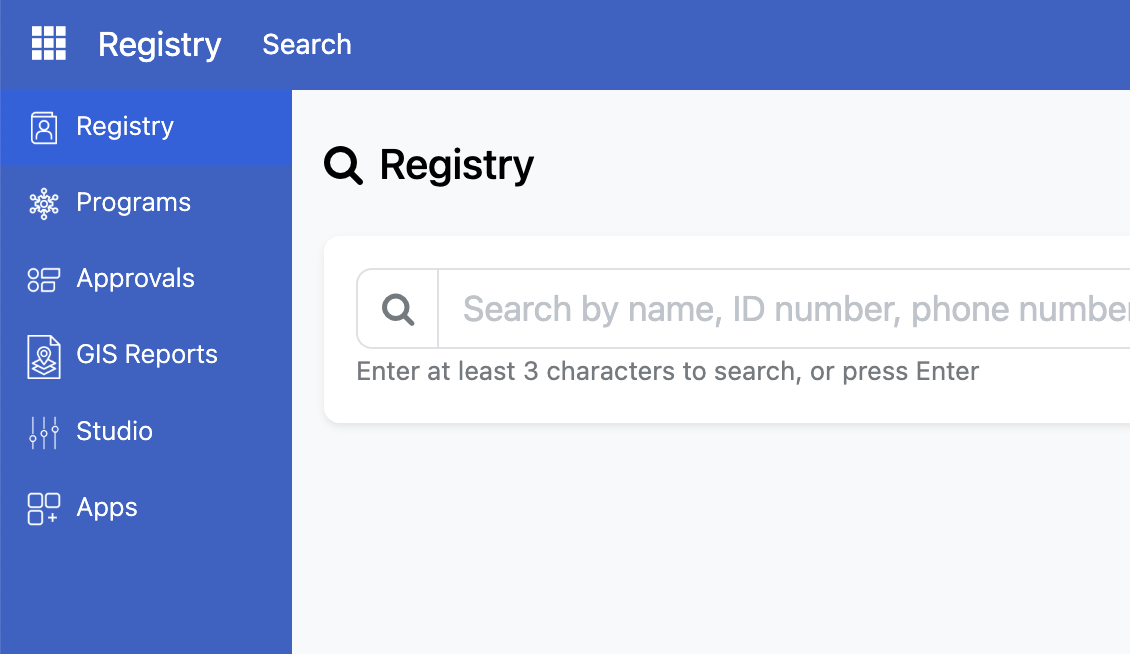
1. Sign in as a Program Manager#
In the installed sample data, use the following information:
User name: demo_manager
Password: demo
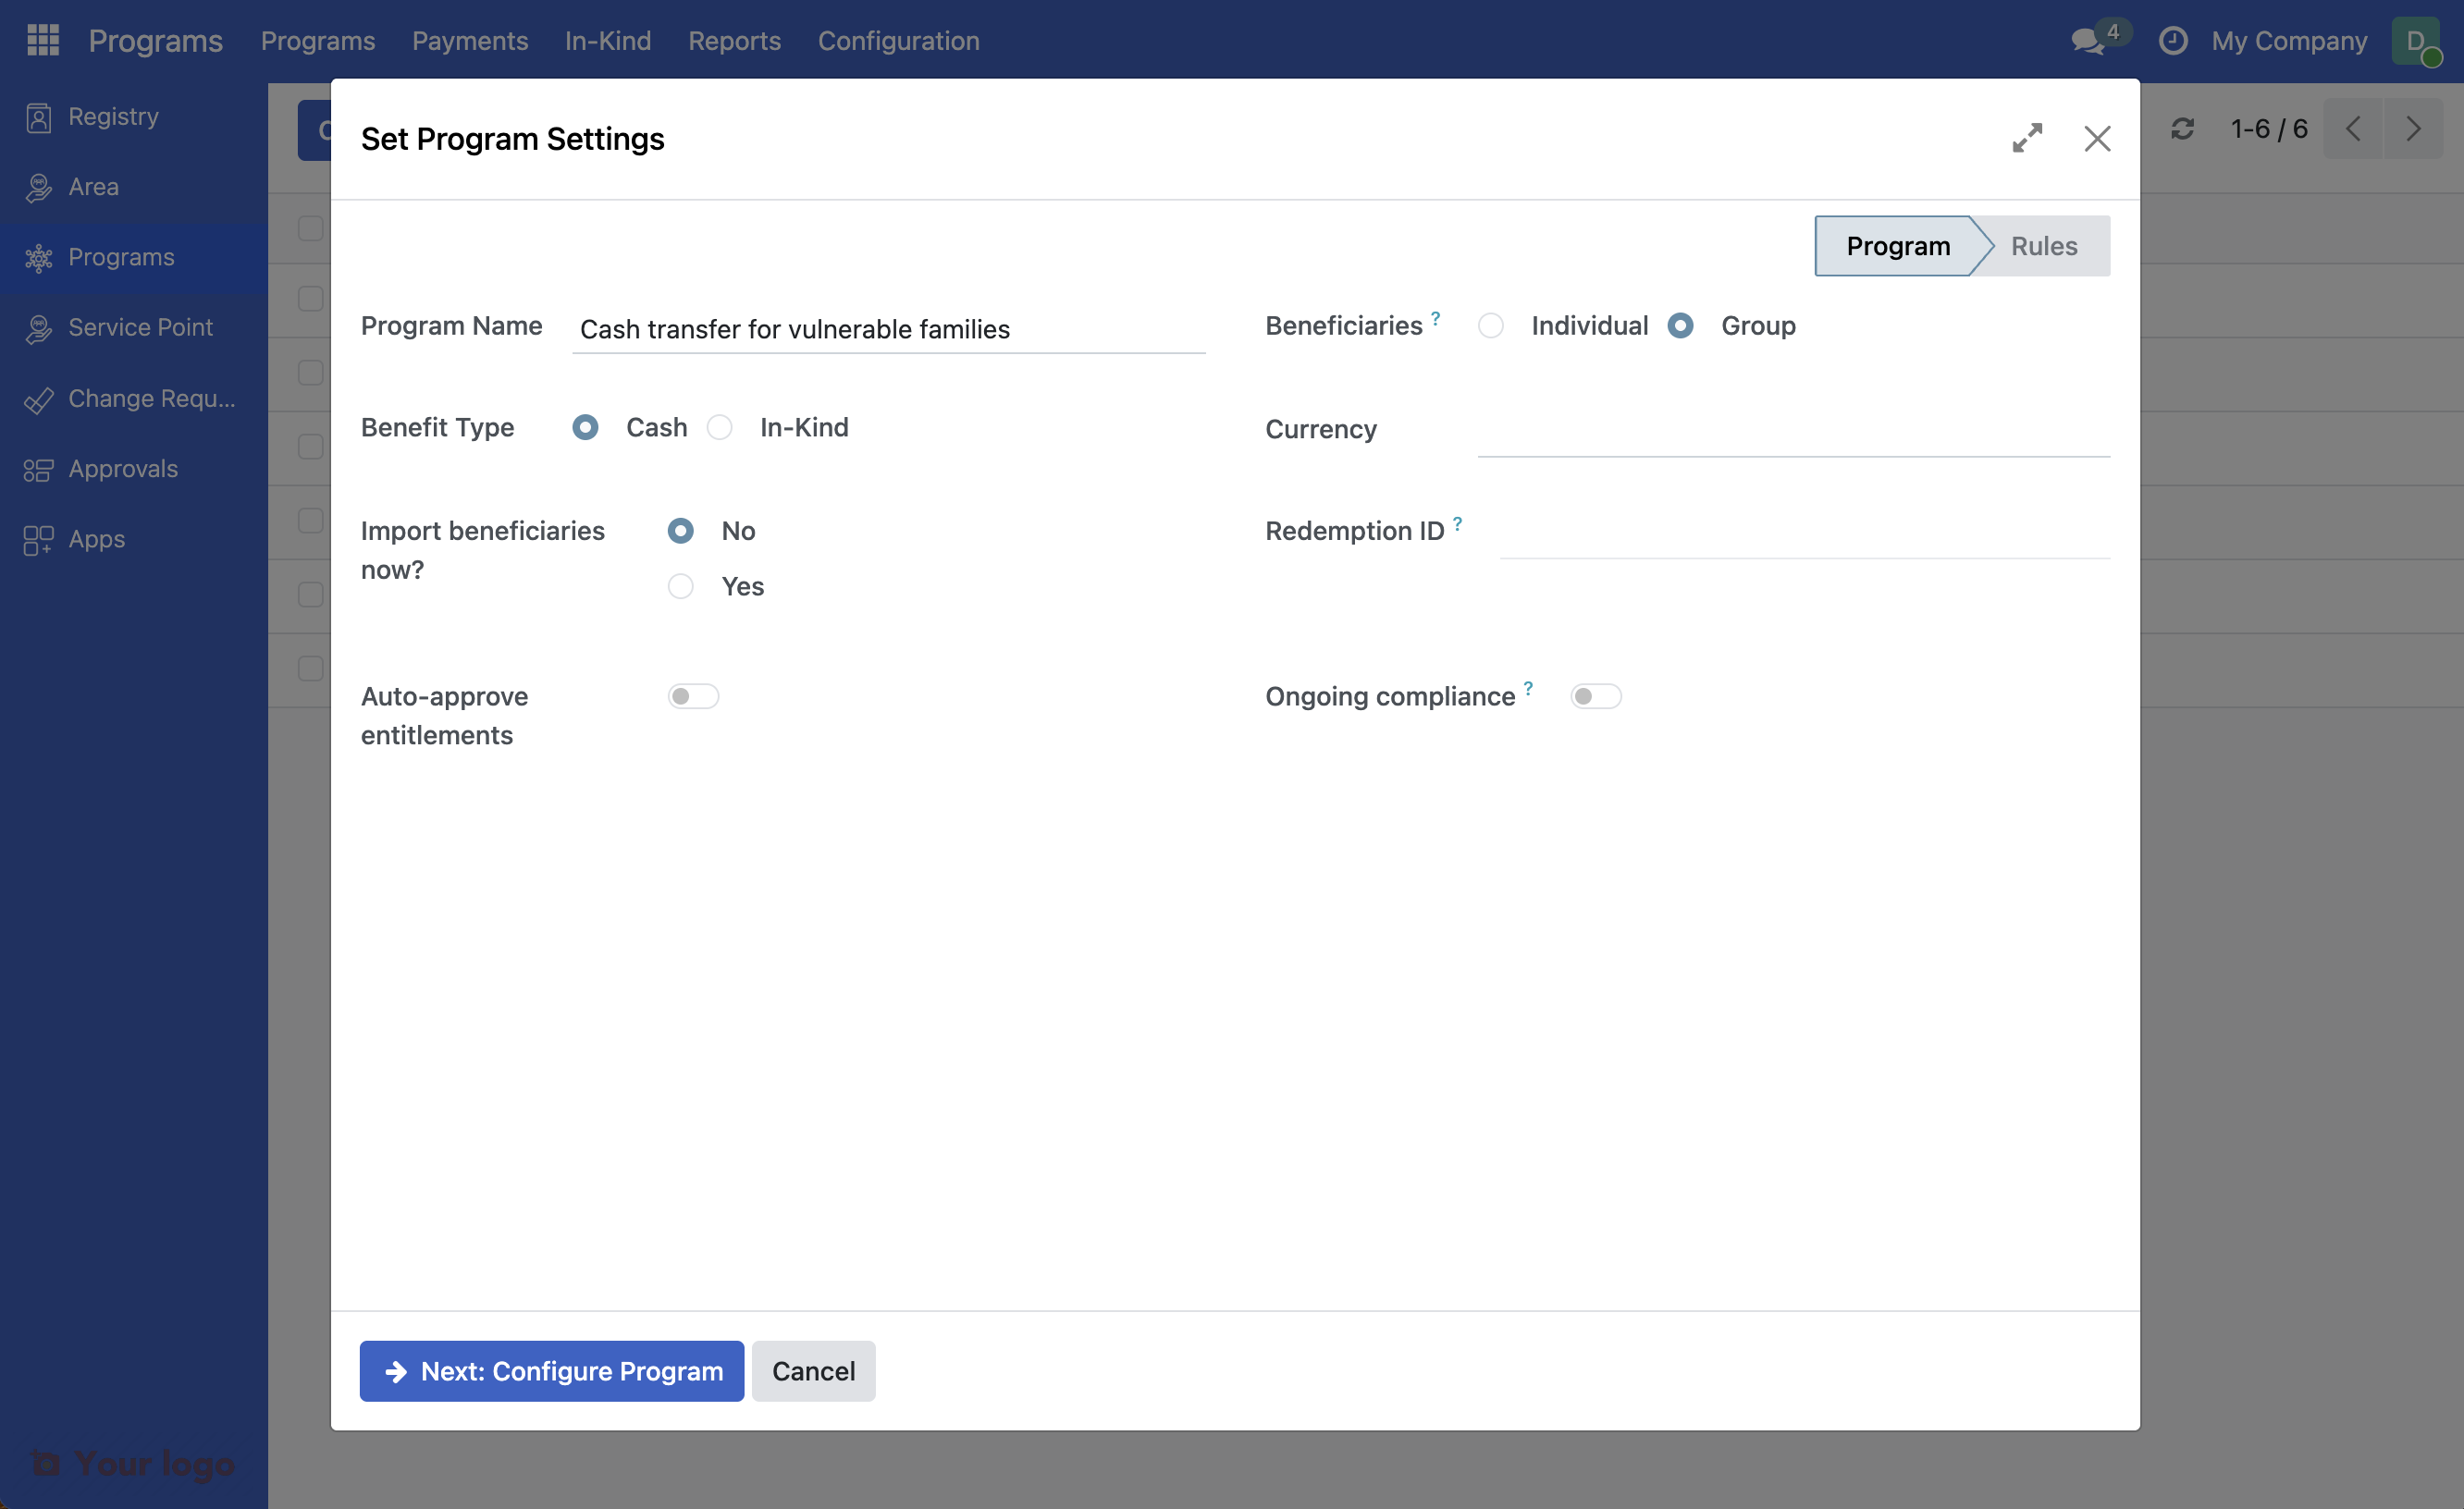
4. Enter basic program information#
You'll see the program creation form. Fill in the following basic information:
Program Name: Cash transfer for vulnerable families
Target Type: Select Group. This means the program will evaluate families (groups) for eligibility, not individual people.
Benefit Type: Make sure that Cash is selected.
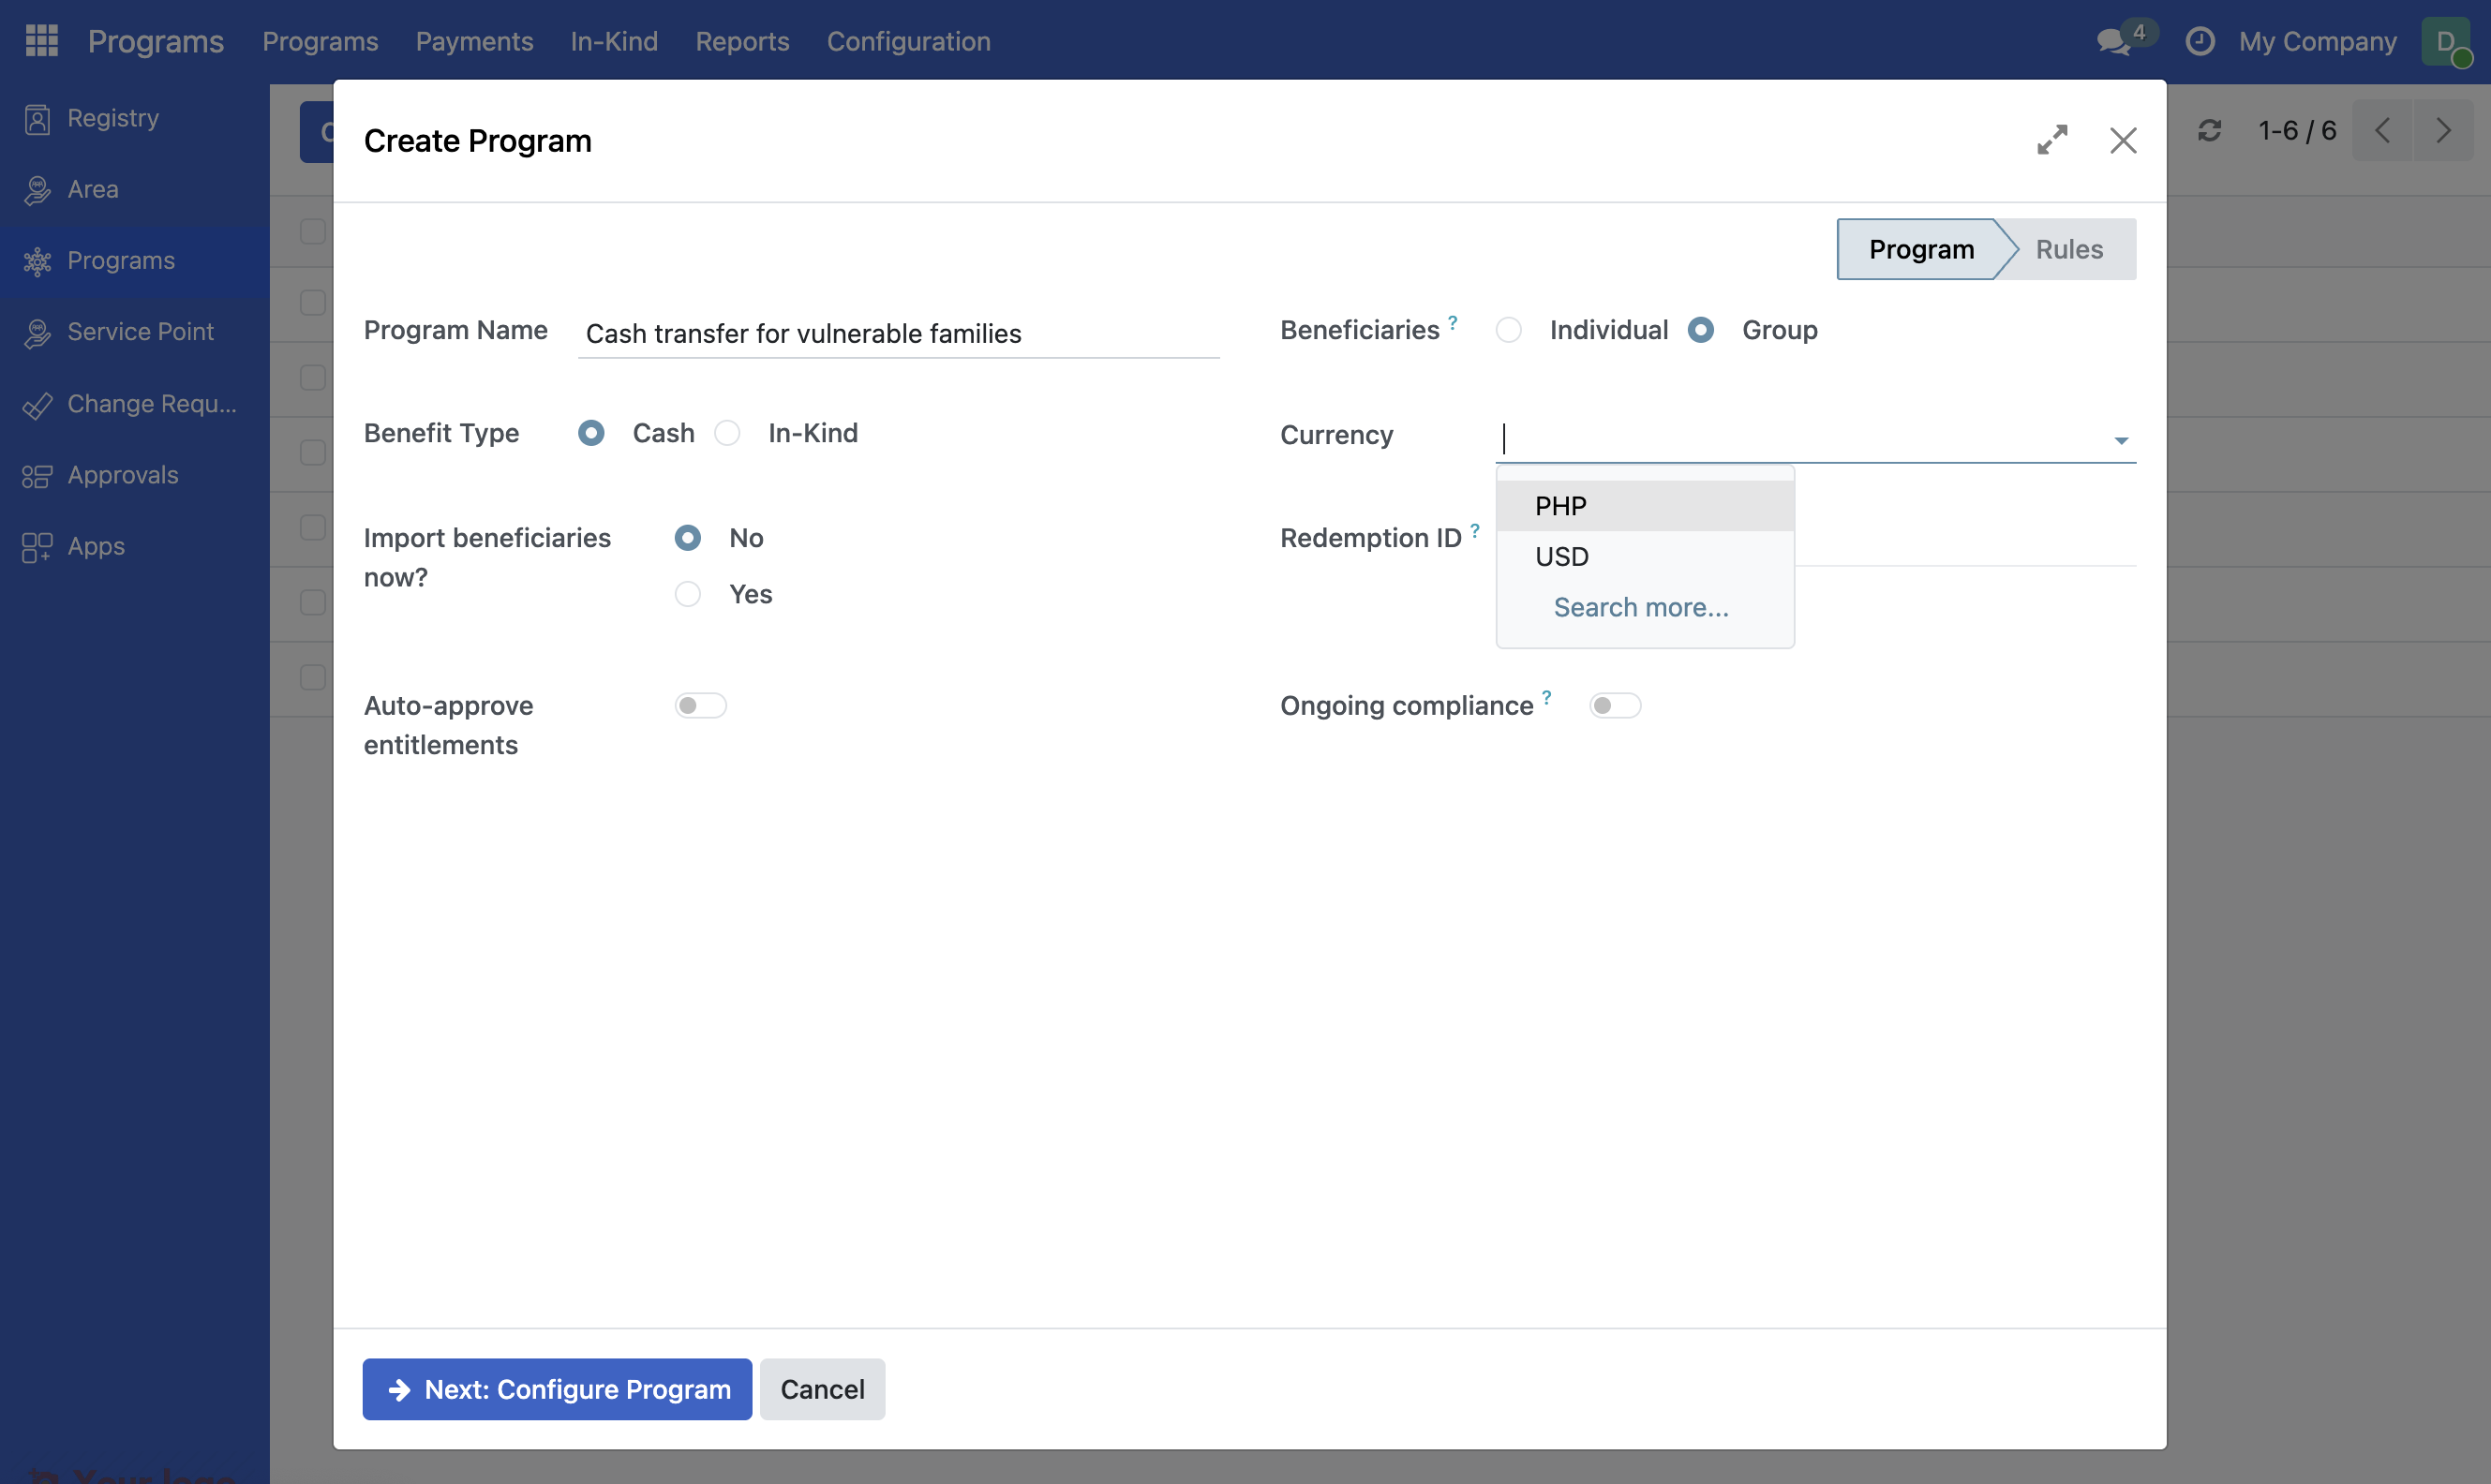
5. Set the currency#
Click the arrow on the Currency field and select PHP - Philippine Peso from the dropdown.
6. Configure the program#
Click Next: Configure Program to proceed with the configurations. Notice that there are several tabs at the top of the form:
Who Qualifies? (where you are now): Define the criteria that determine who can participate in this program
Entitlements: Configure what beneficiaries will receive from this program
Schedule: Set up how often benefits will be distributed
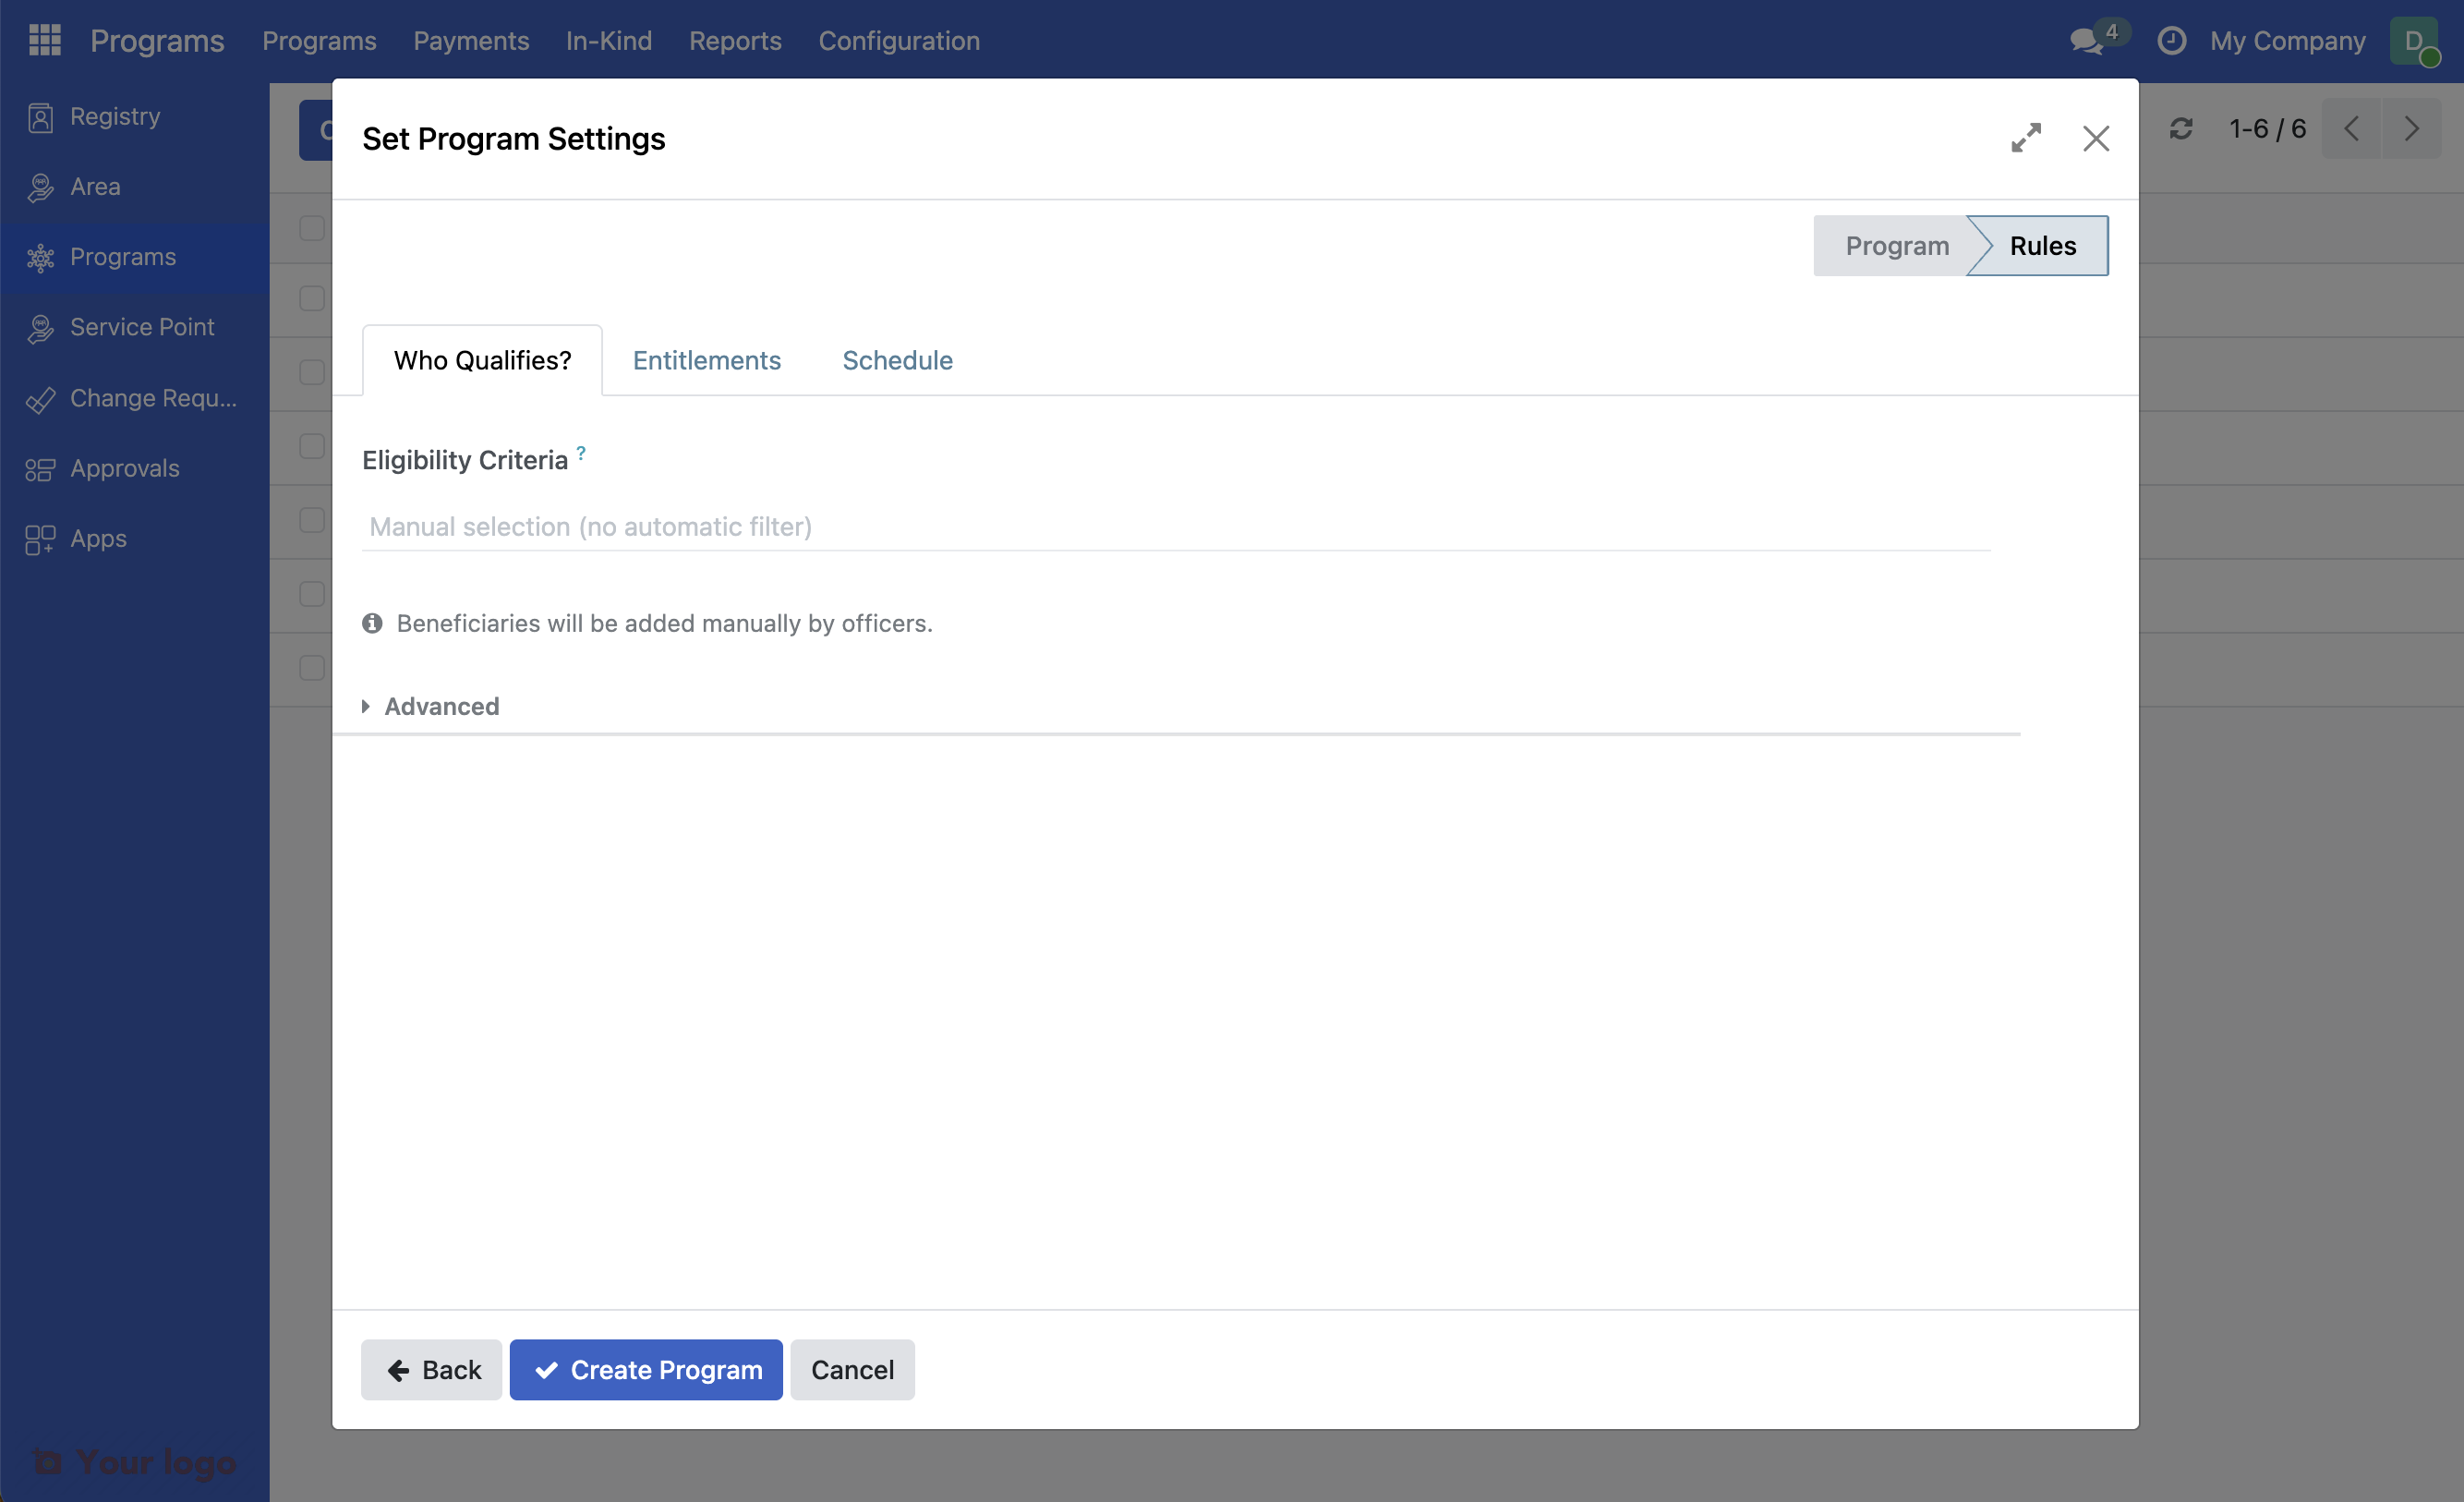
7. Configure eligibility#
Your program targets vulnerable families. To identify them, you'll use two criteria:
Income Test: Family earns less than 10,000 PHP per month
Child Test: Family has at least one child under 5 years old
OpenSPP comes with a set of predefined criteria that are selected from the dropdown. In addition, it is possible to extend the eligibility with more complex expressions making use of information in the registry. In this example we will make use of both methods.
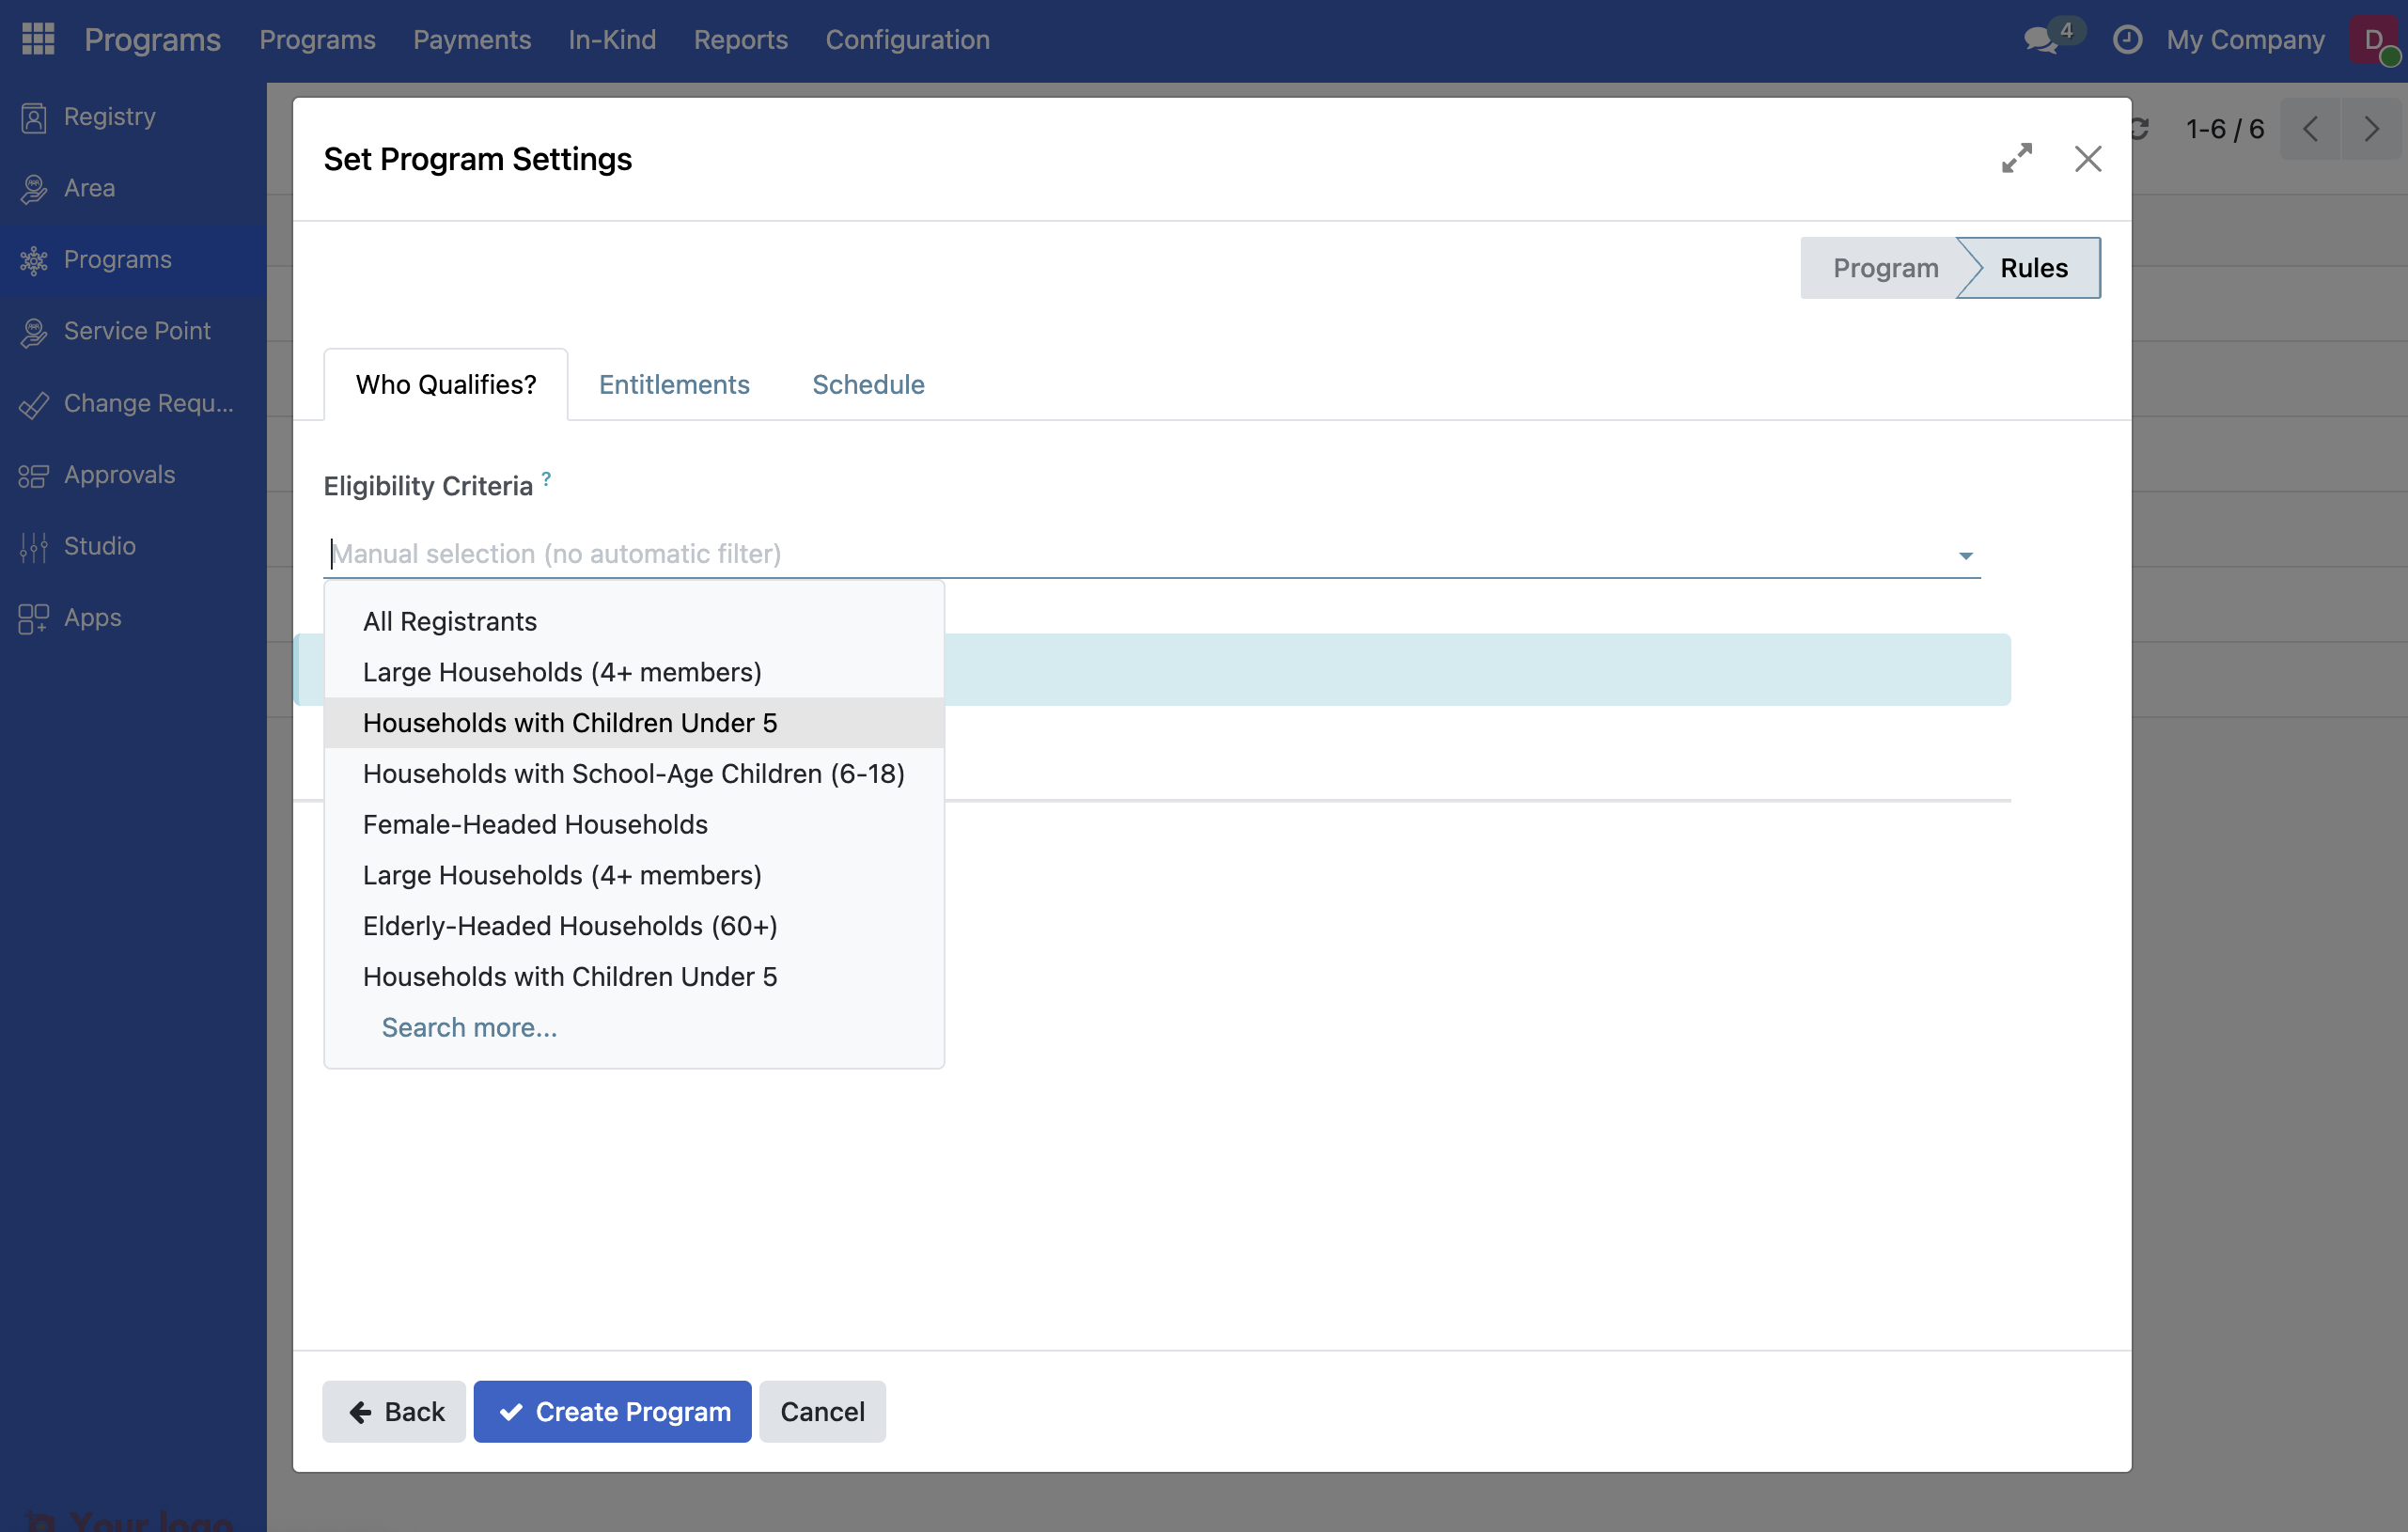
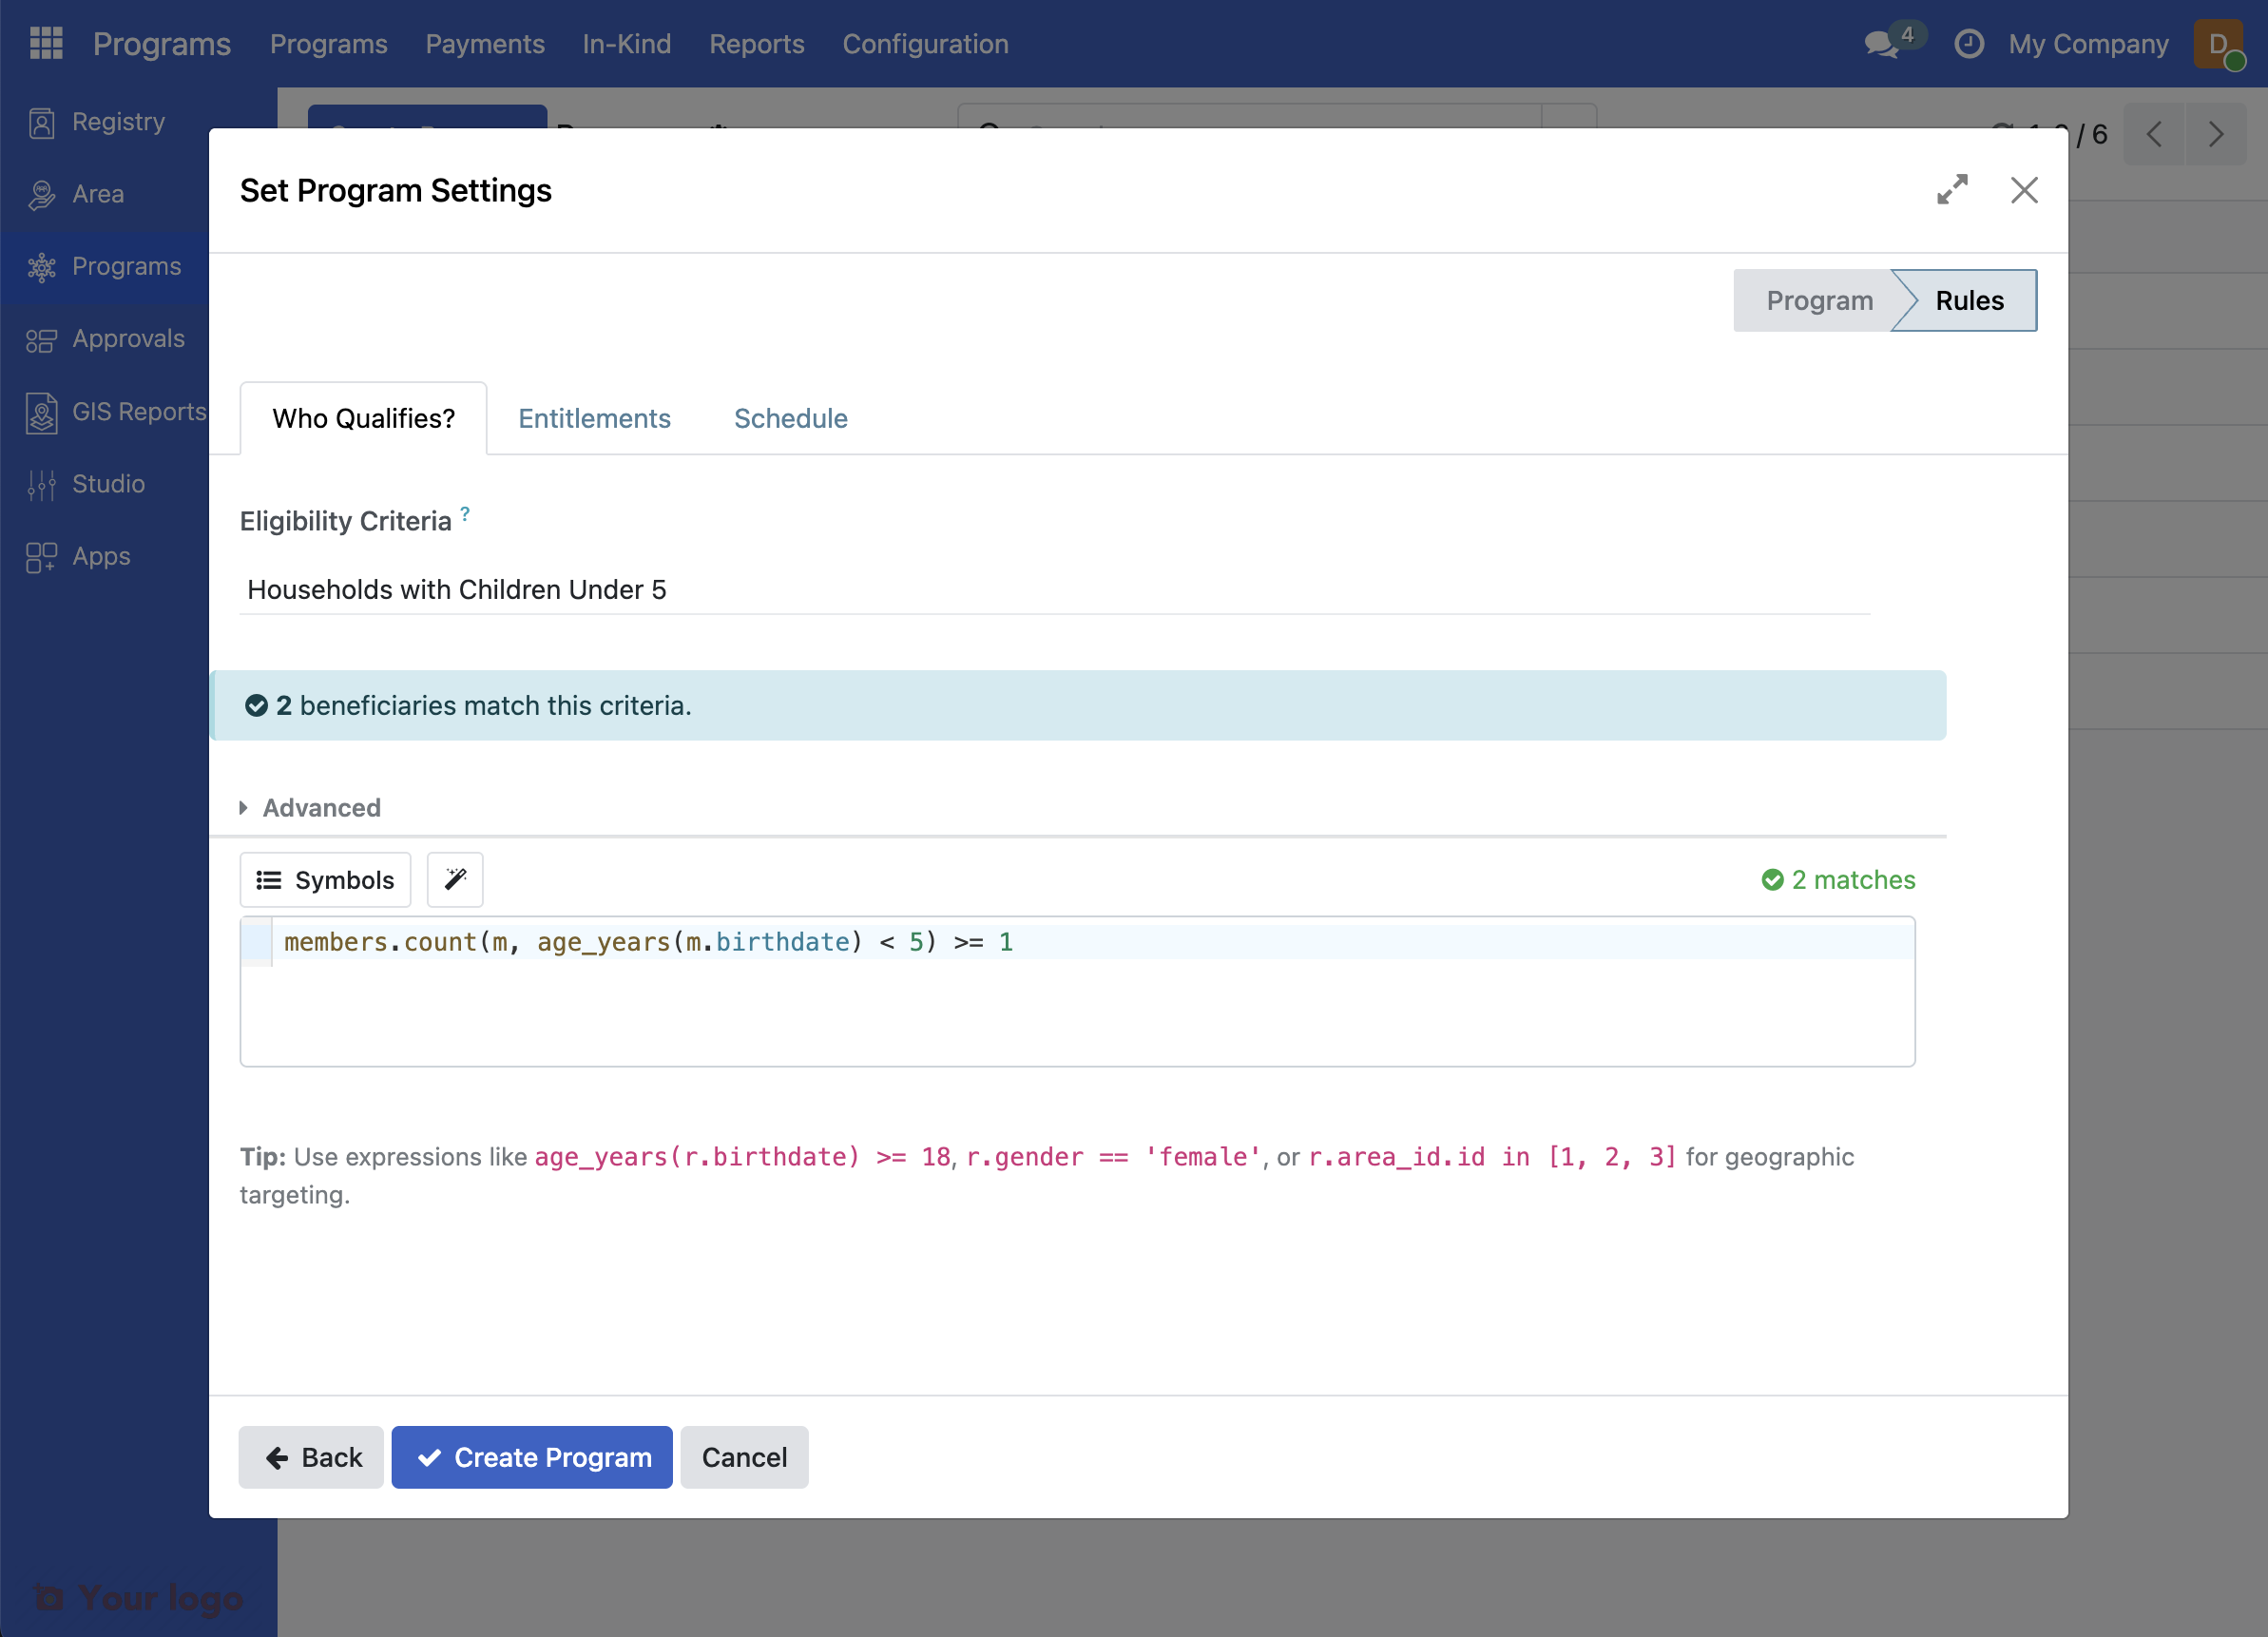
The criteria for having children under 5 years in the household is predefined. In order to select this, click the dropdown under Eligibility Criteria and select Households with Children Under 5.
The criteria for income needs to be manually added. In order to do this, first click Advanced. This will display a text field where the expression for the previously added child test is automatically added.
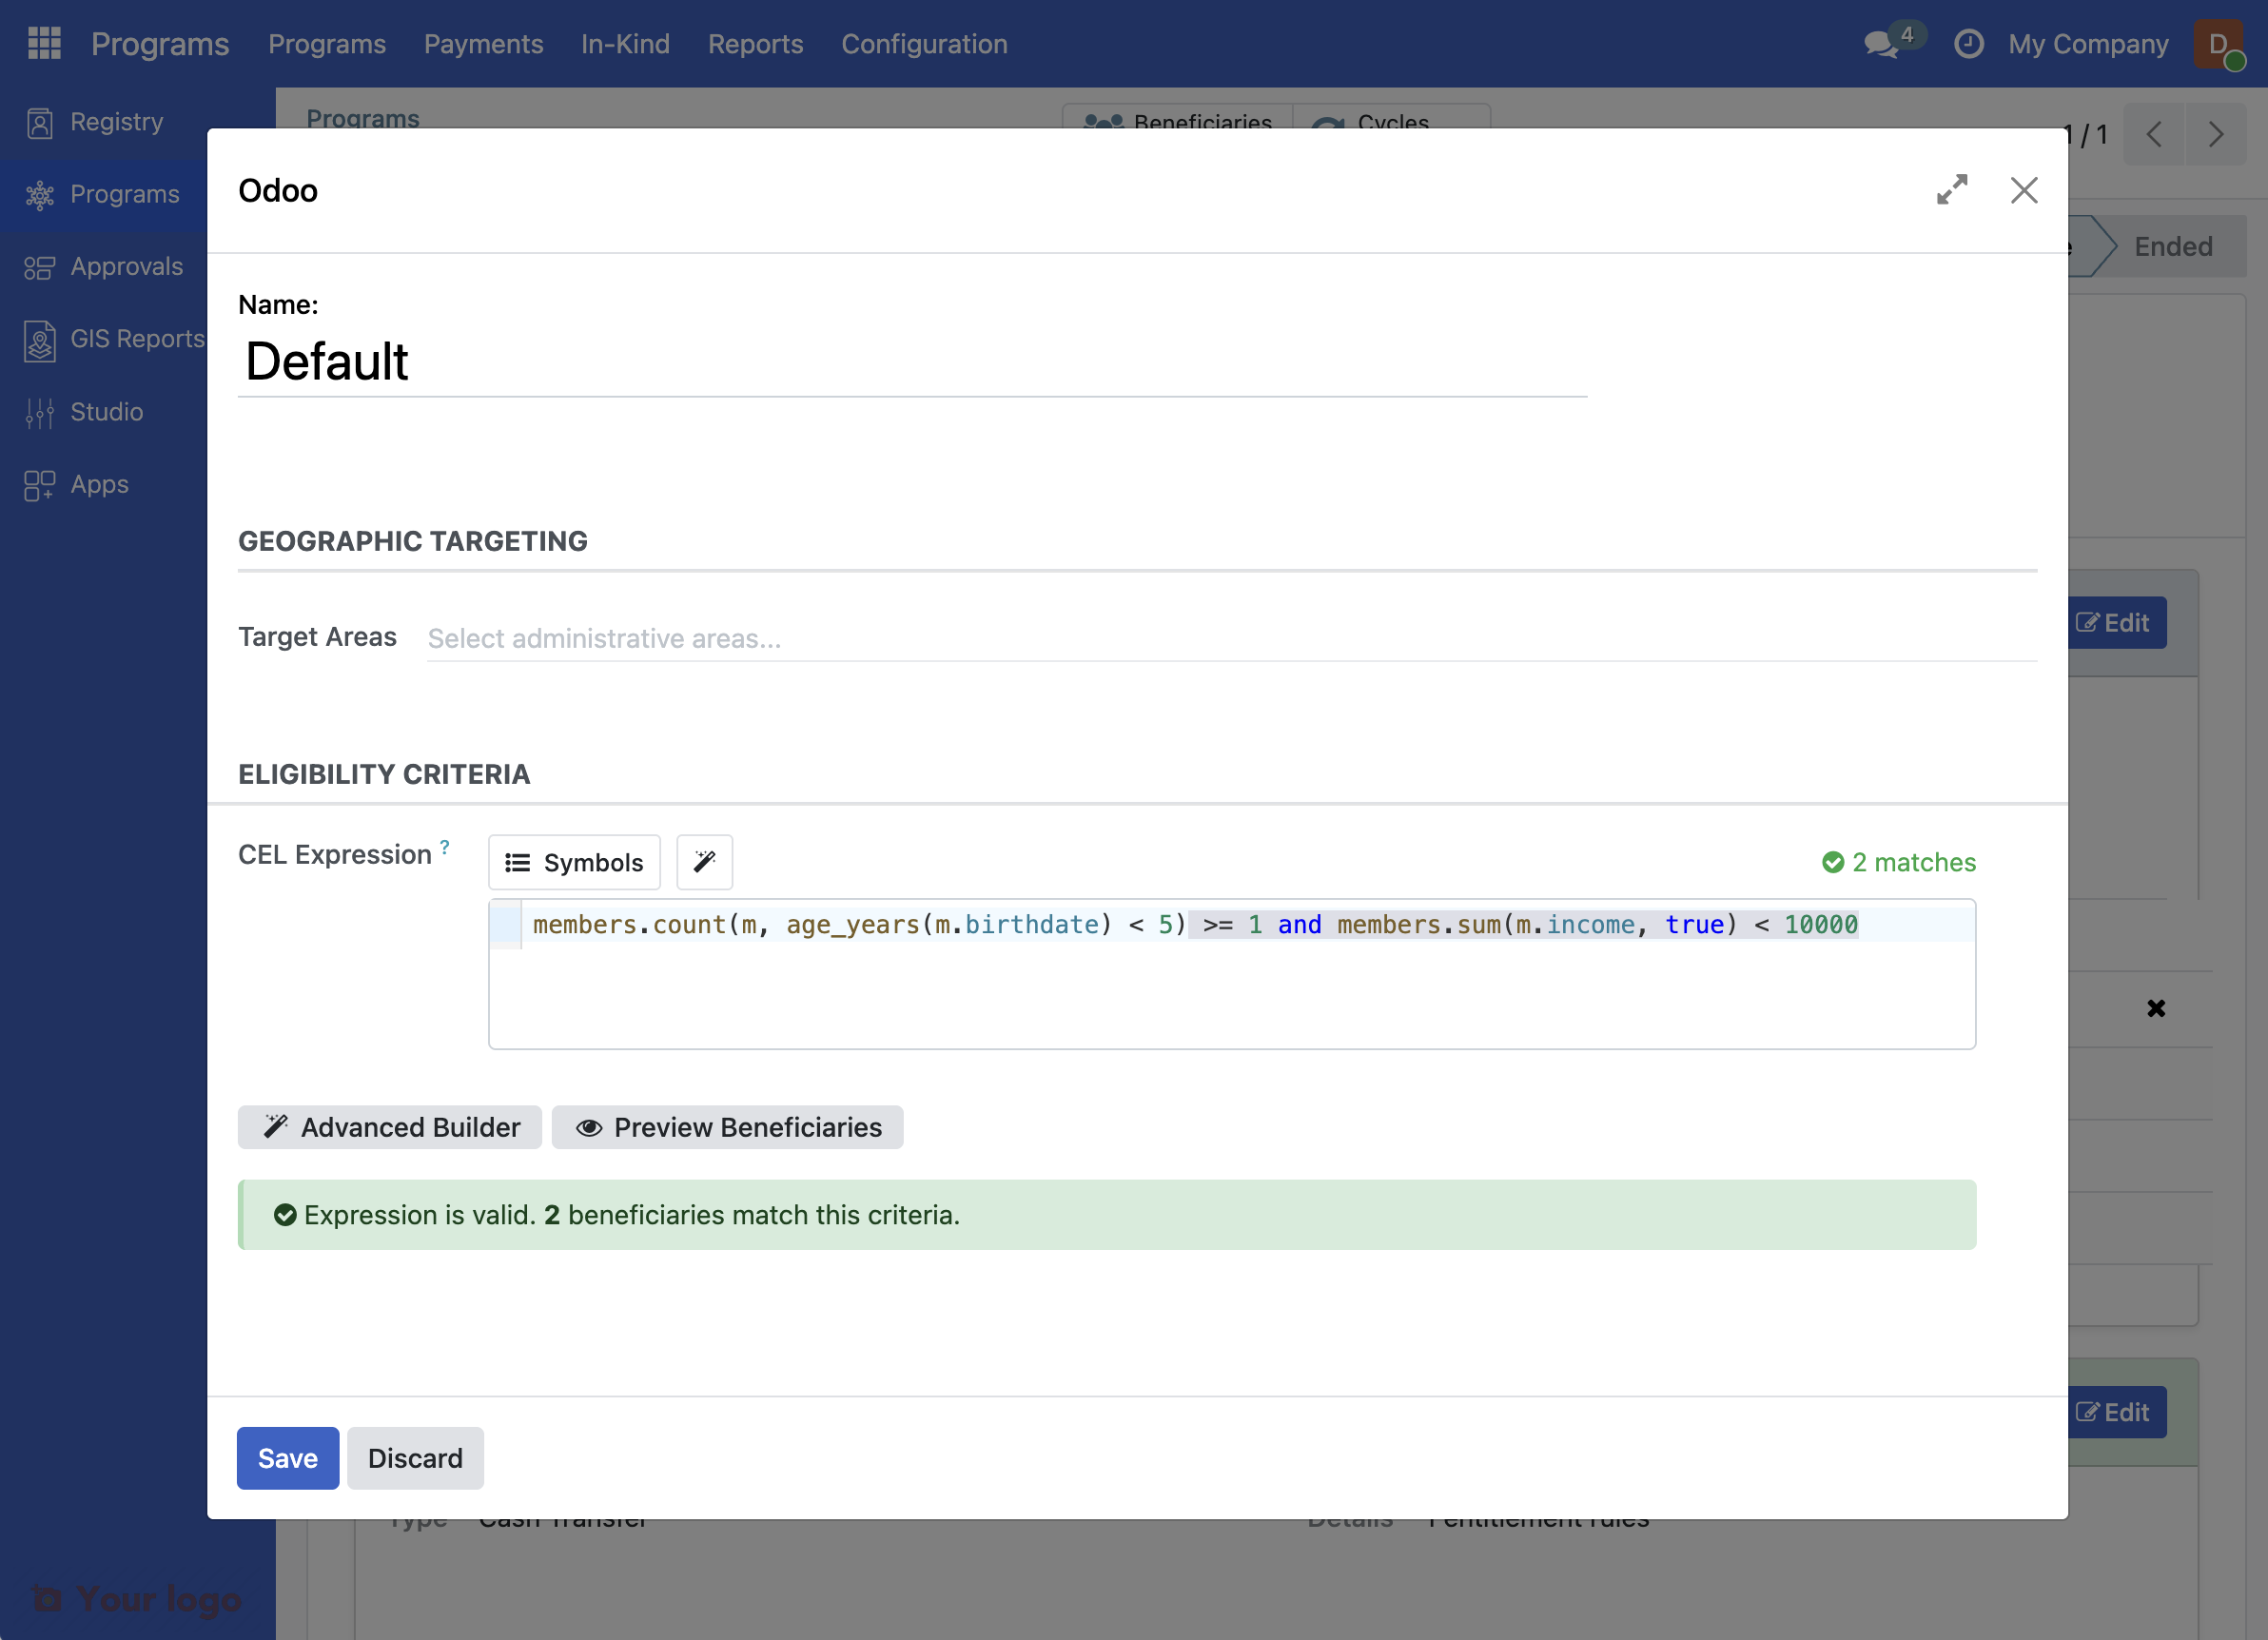
Click at the end of the already existing text in the advanced field and paste the following expression:
and members.sum(m.income, true) < 10000
Your advanced field should now look as in the screenshot below:
8. Configure amount to be distributed#
You want to distribute the fixed amount 1200 PHP to each family that fulfills the eligibility.
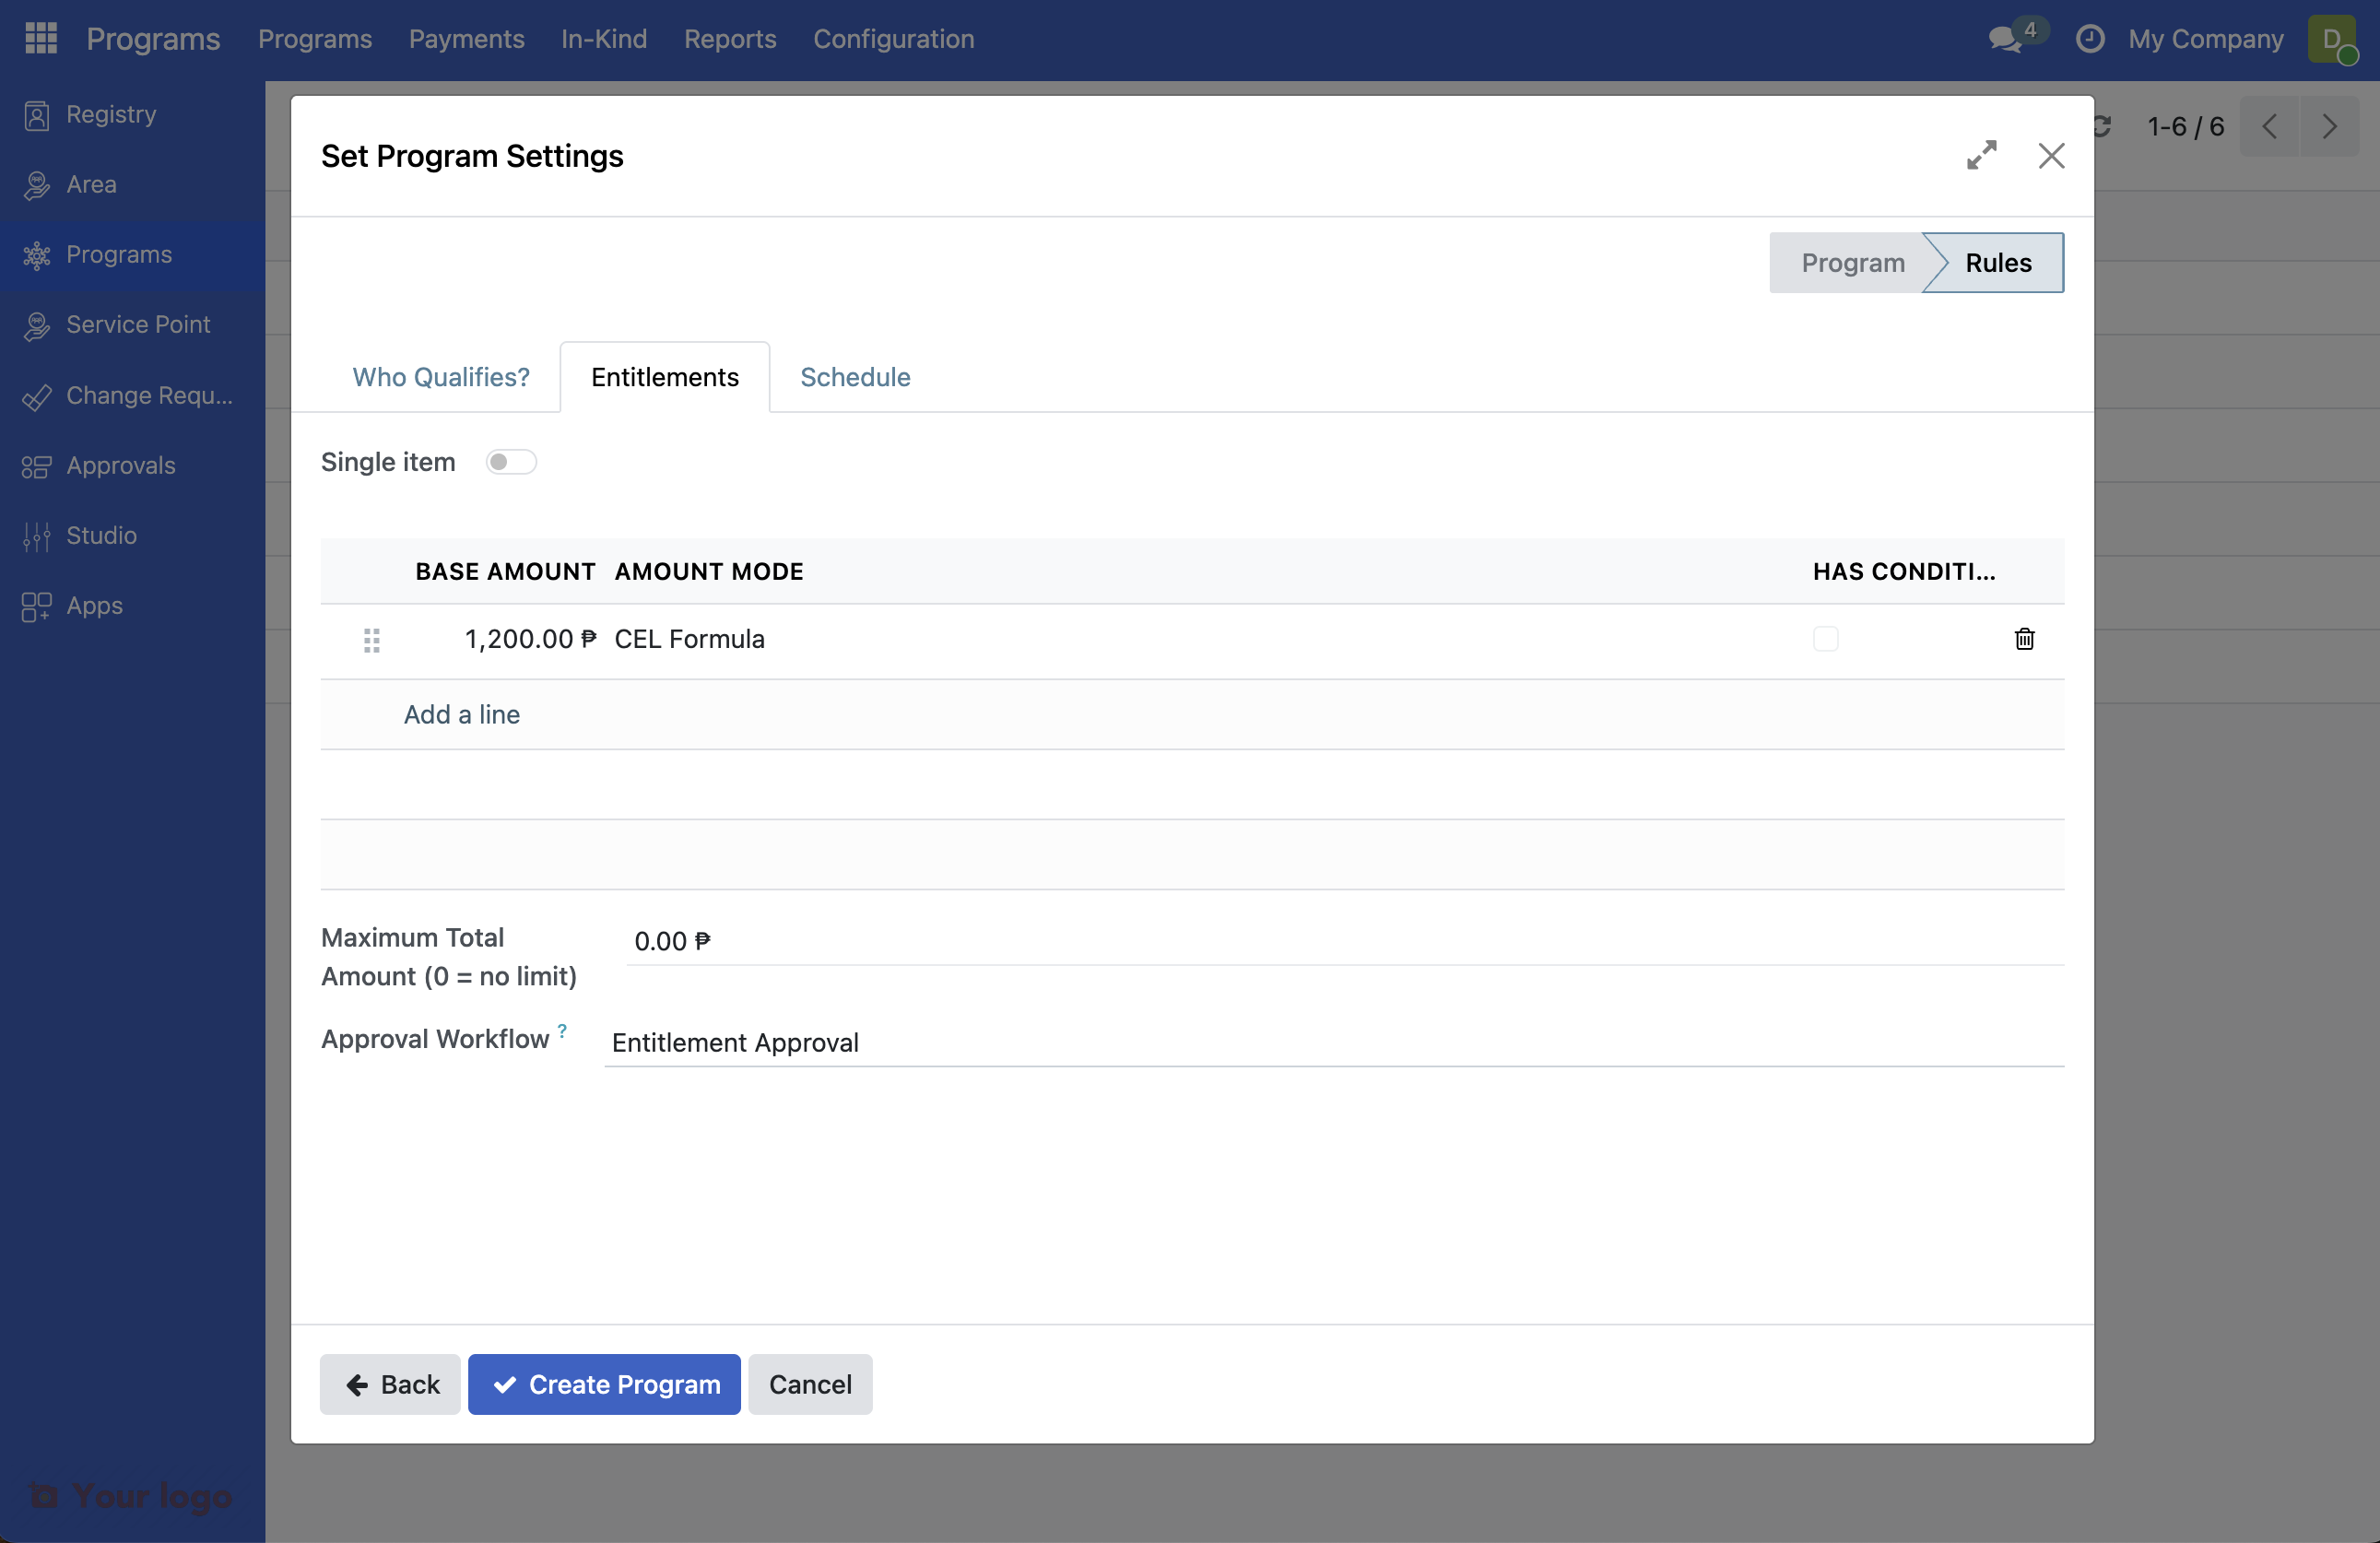
Click on tab Entitlements
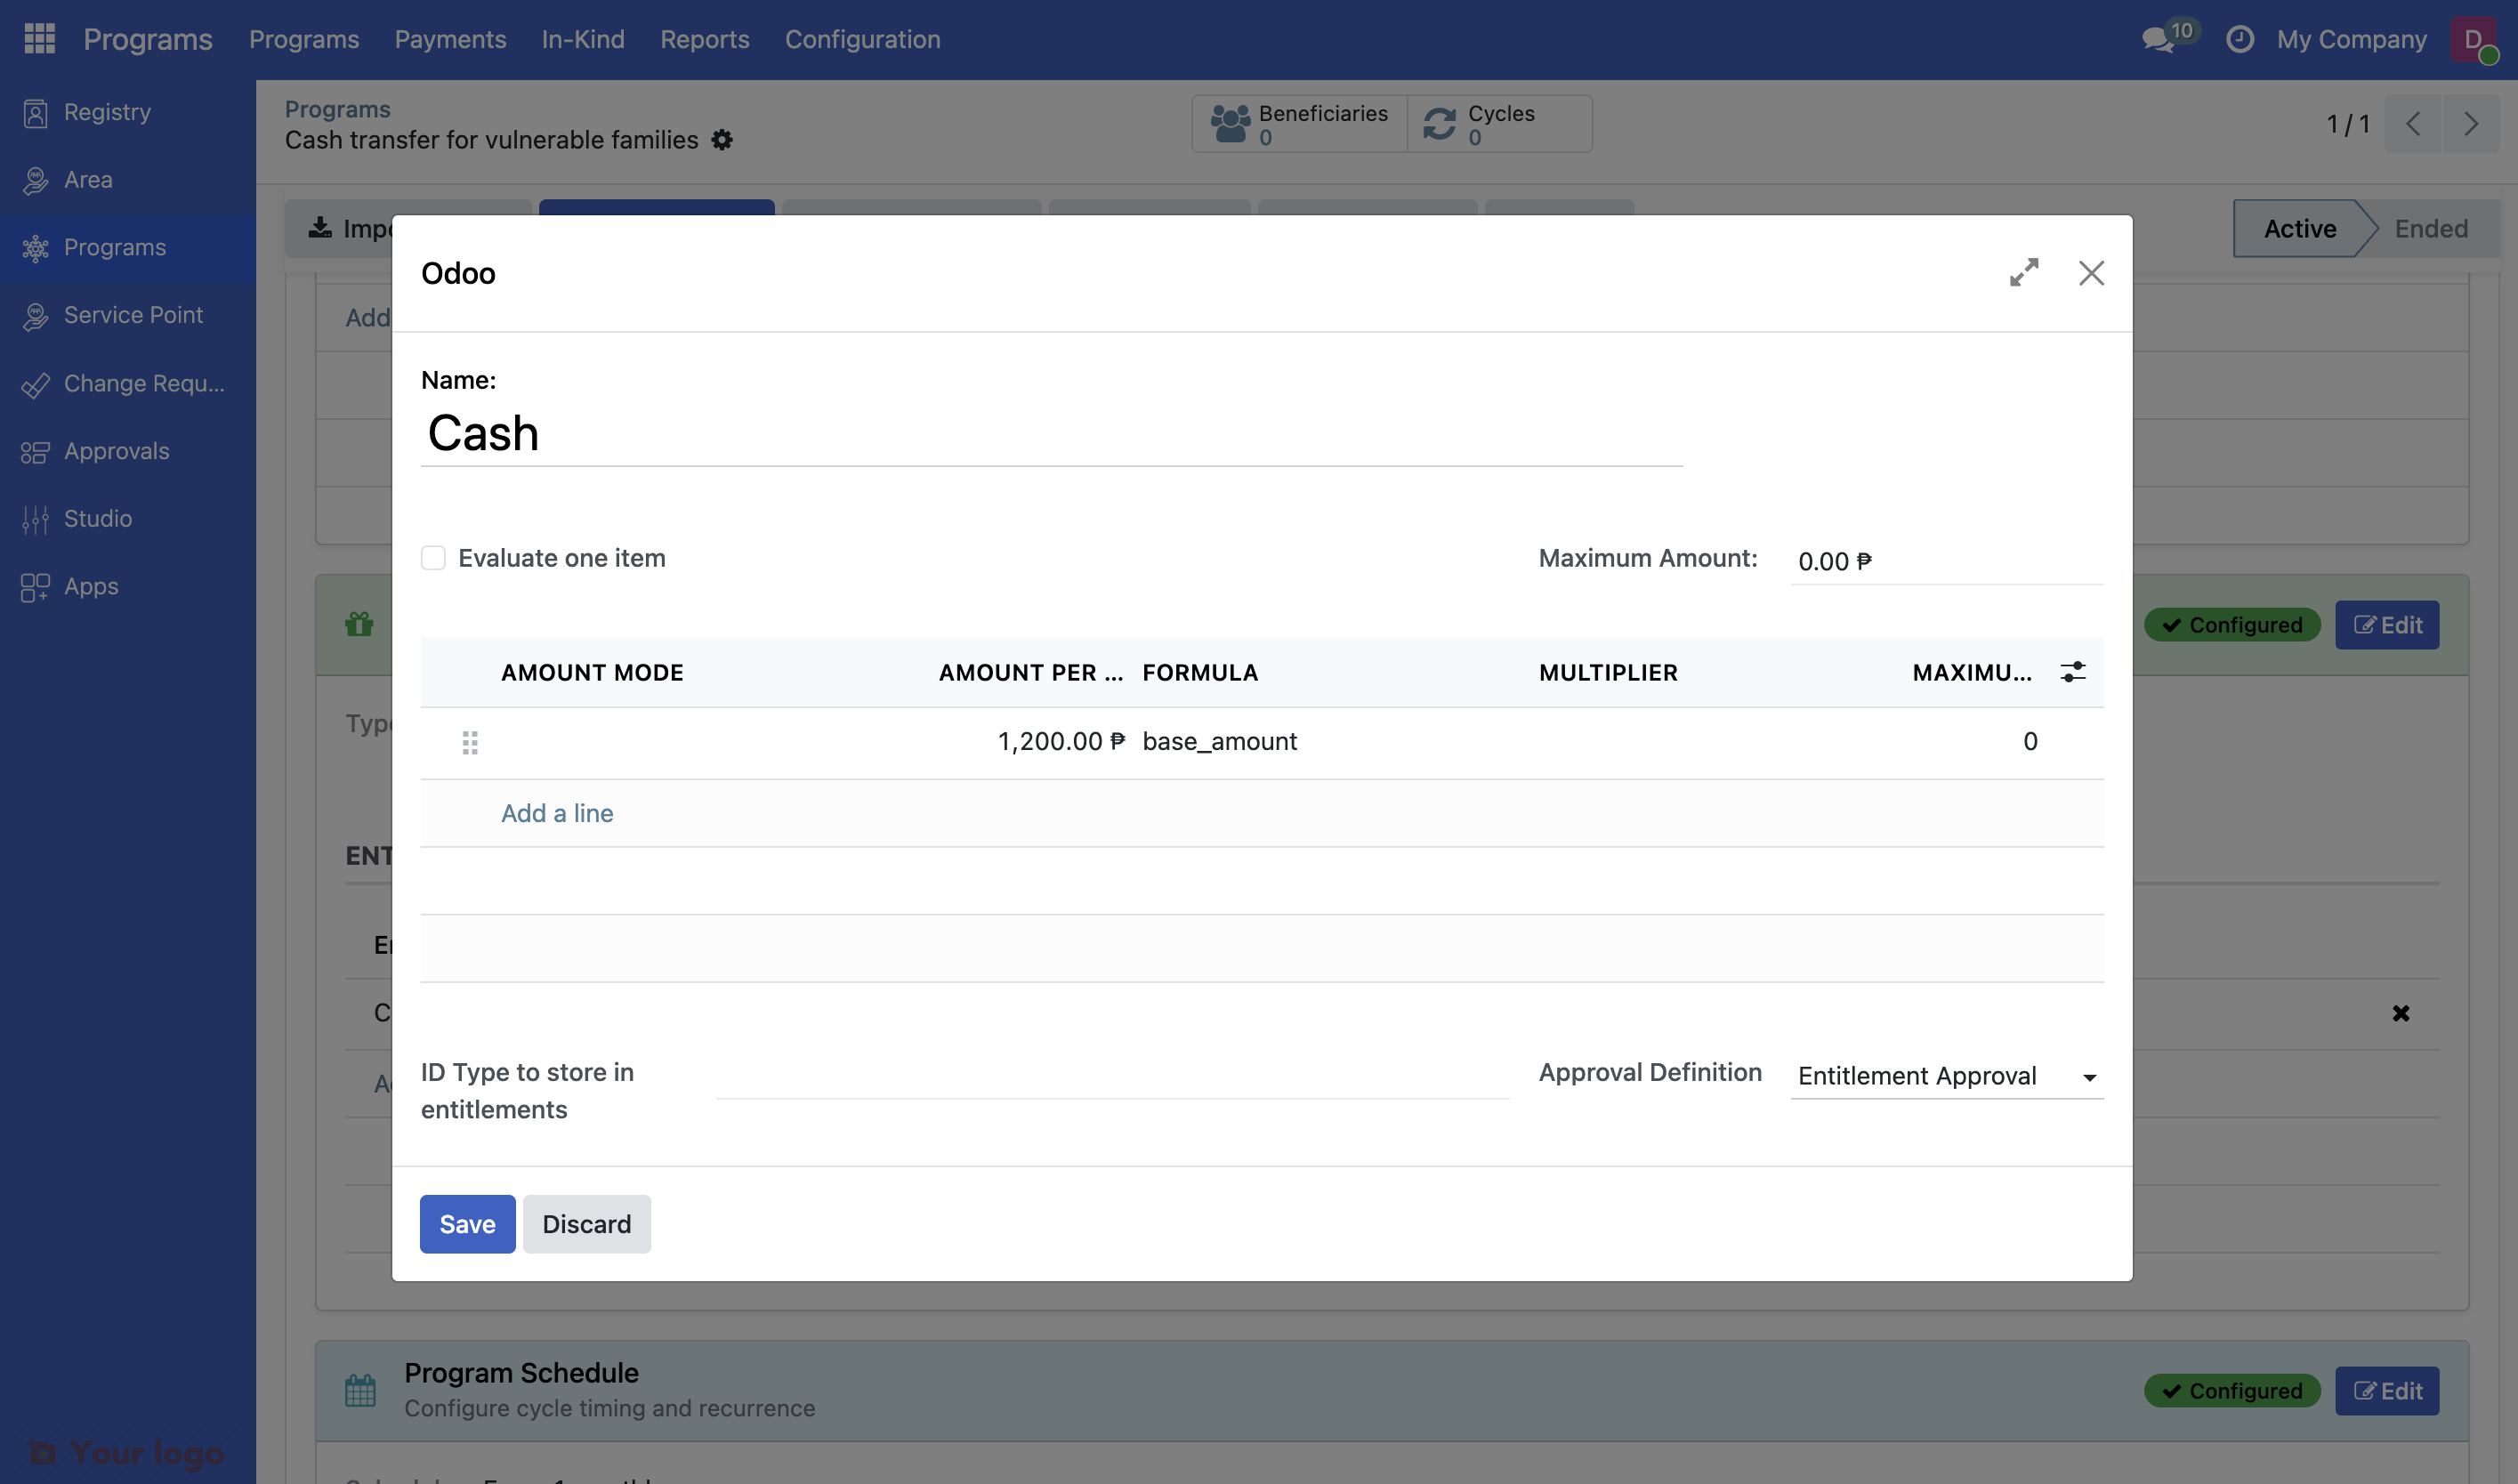
Click Add a line.
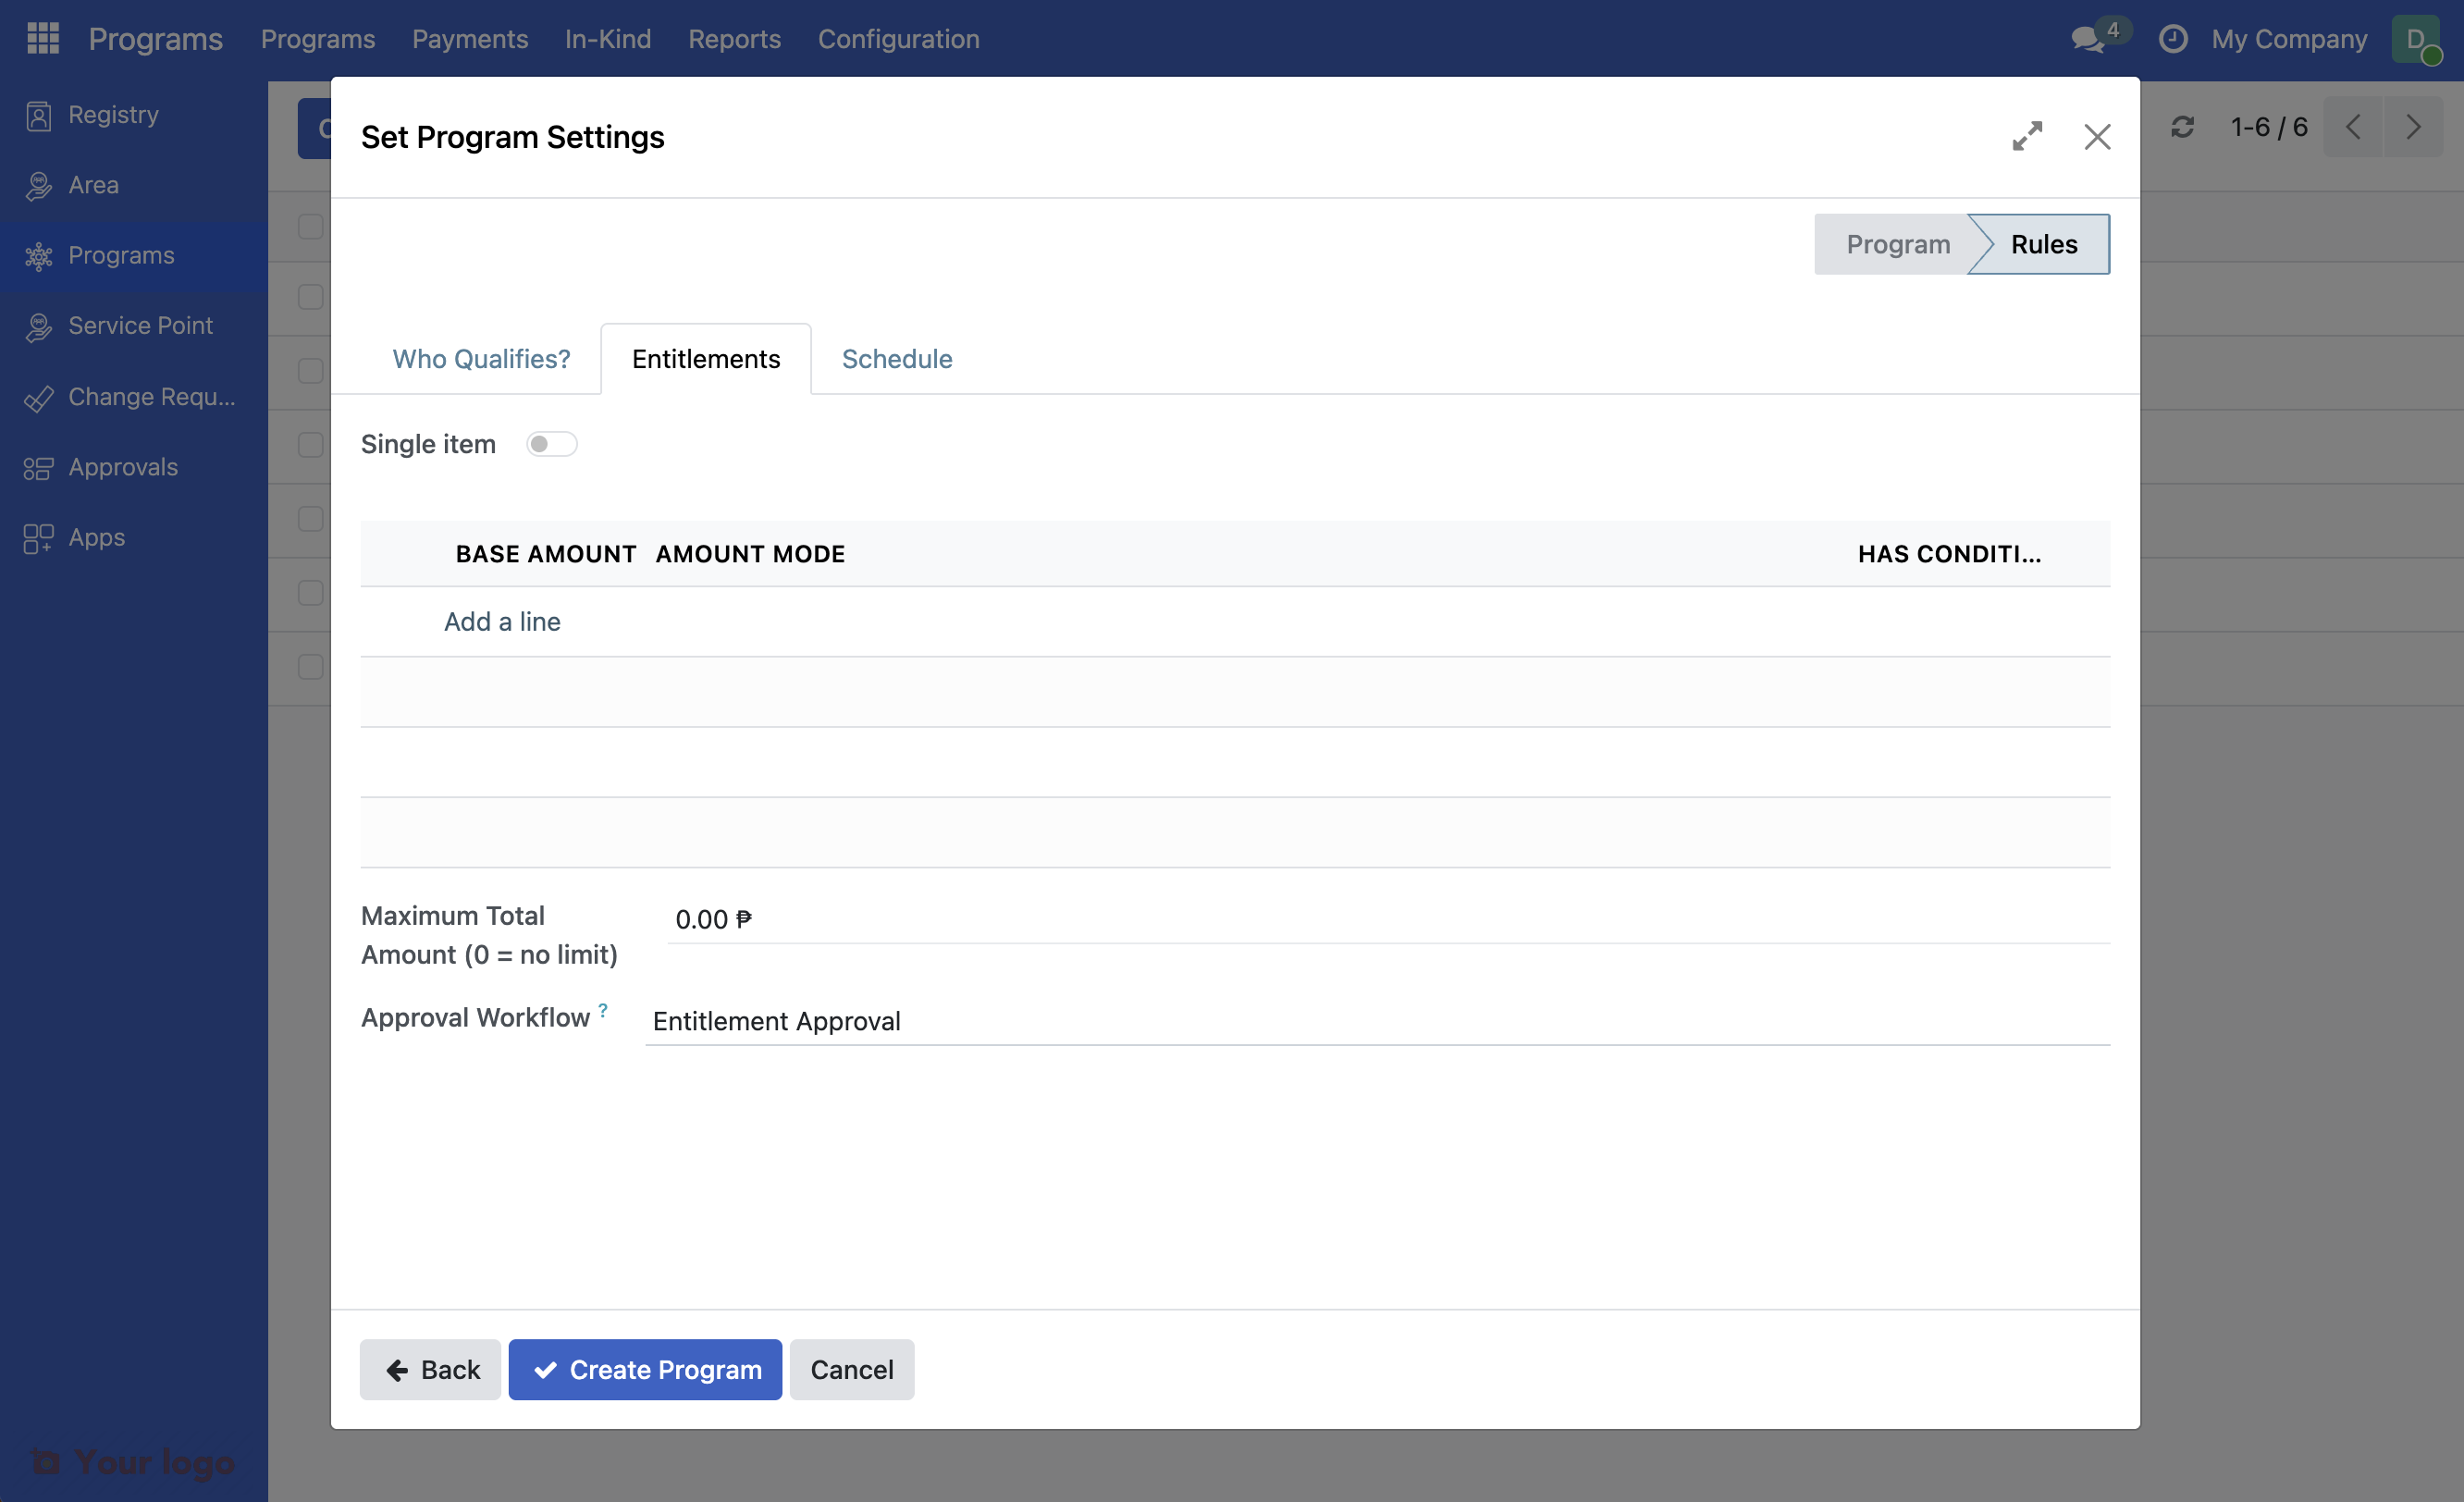
Note
Approval workflow: The role selected here is the one that will be able to approve your entitlements. Only users with that role see the Approve entitlement button; for others it is hidden.
In the popup window displayed, select Fixed Amount in the dropdown for Amount Formula. Enter 1200 in the field Base Amount.
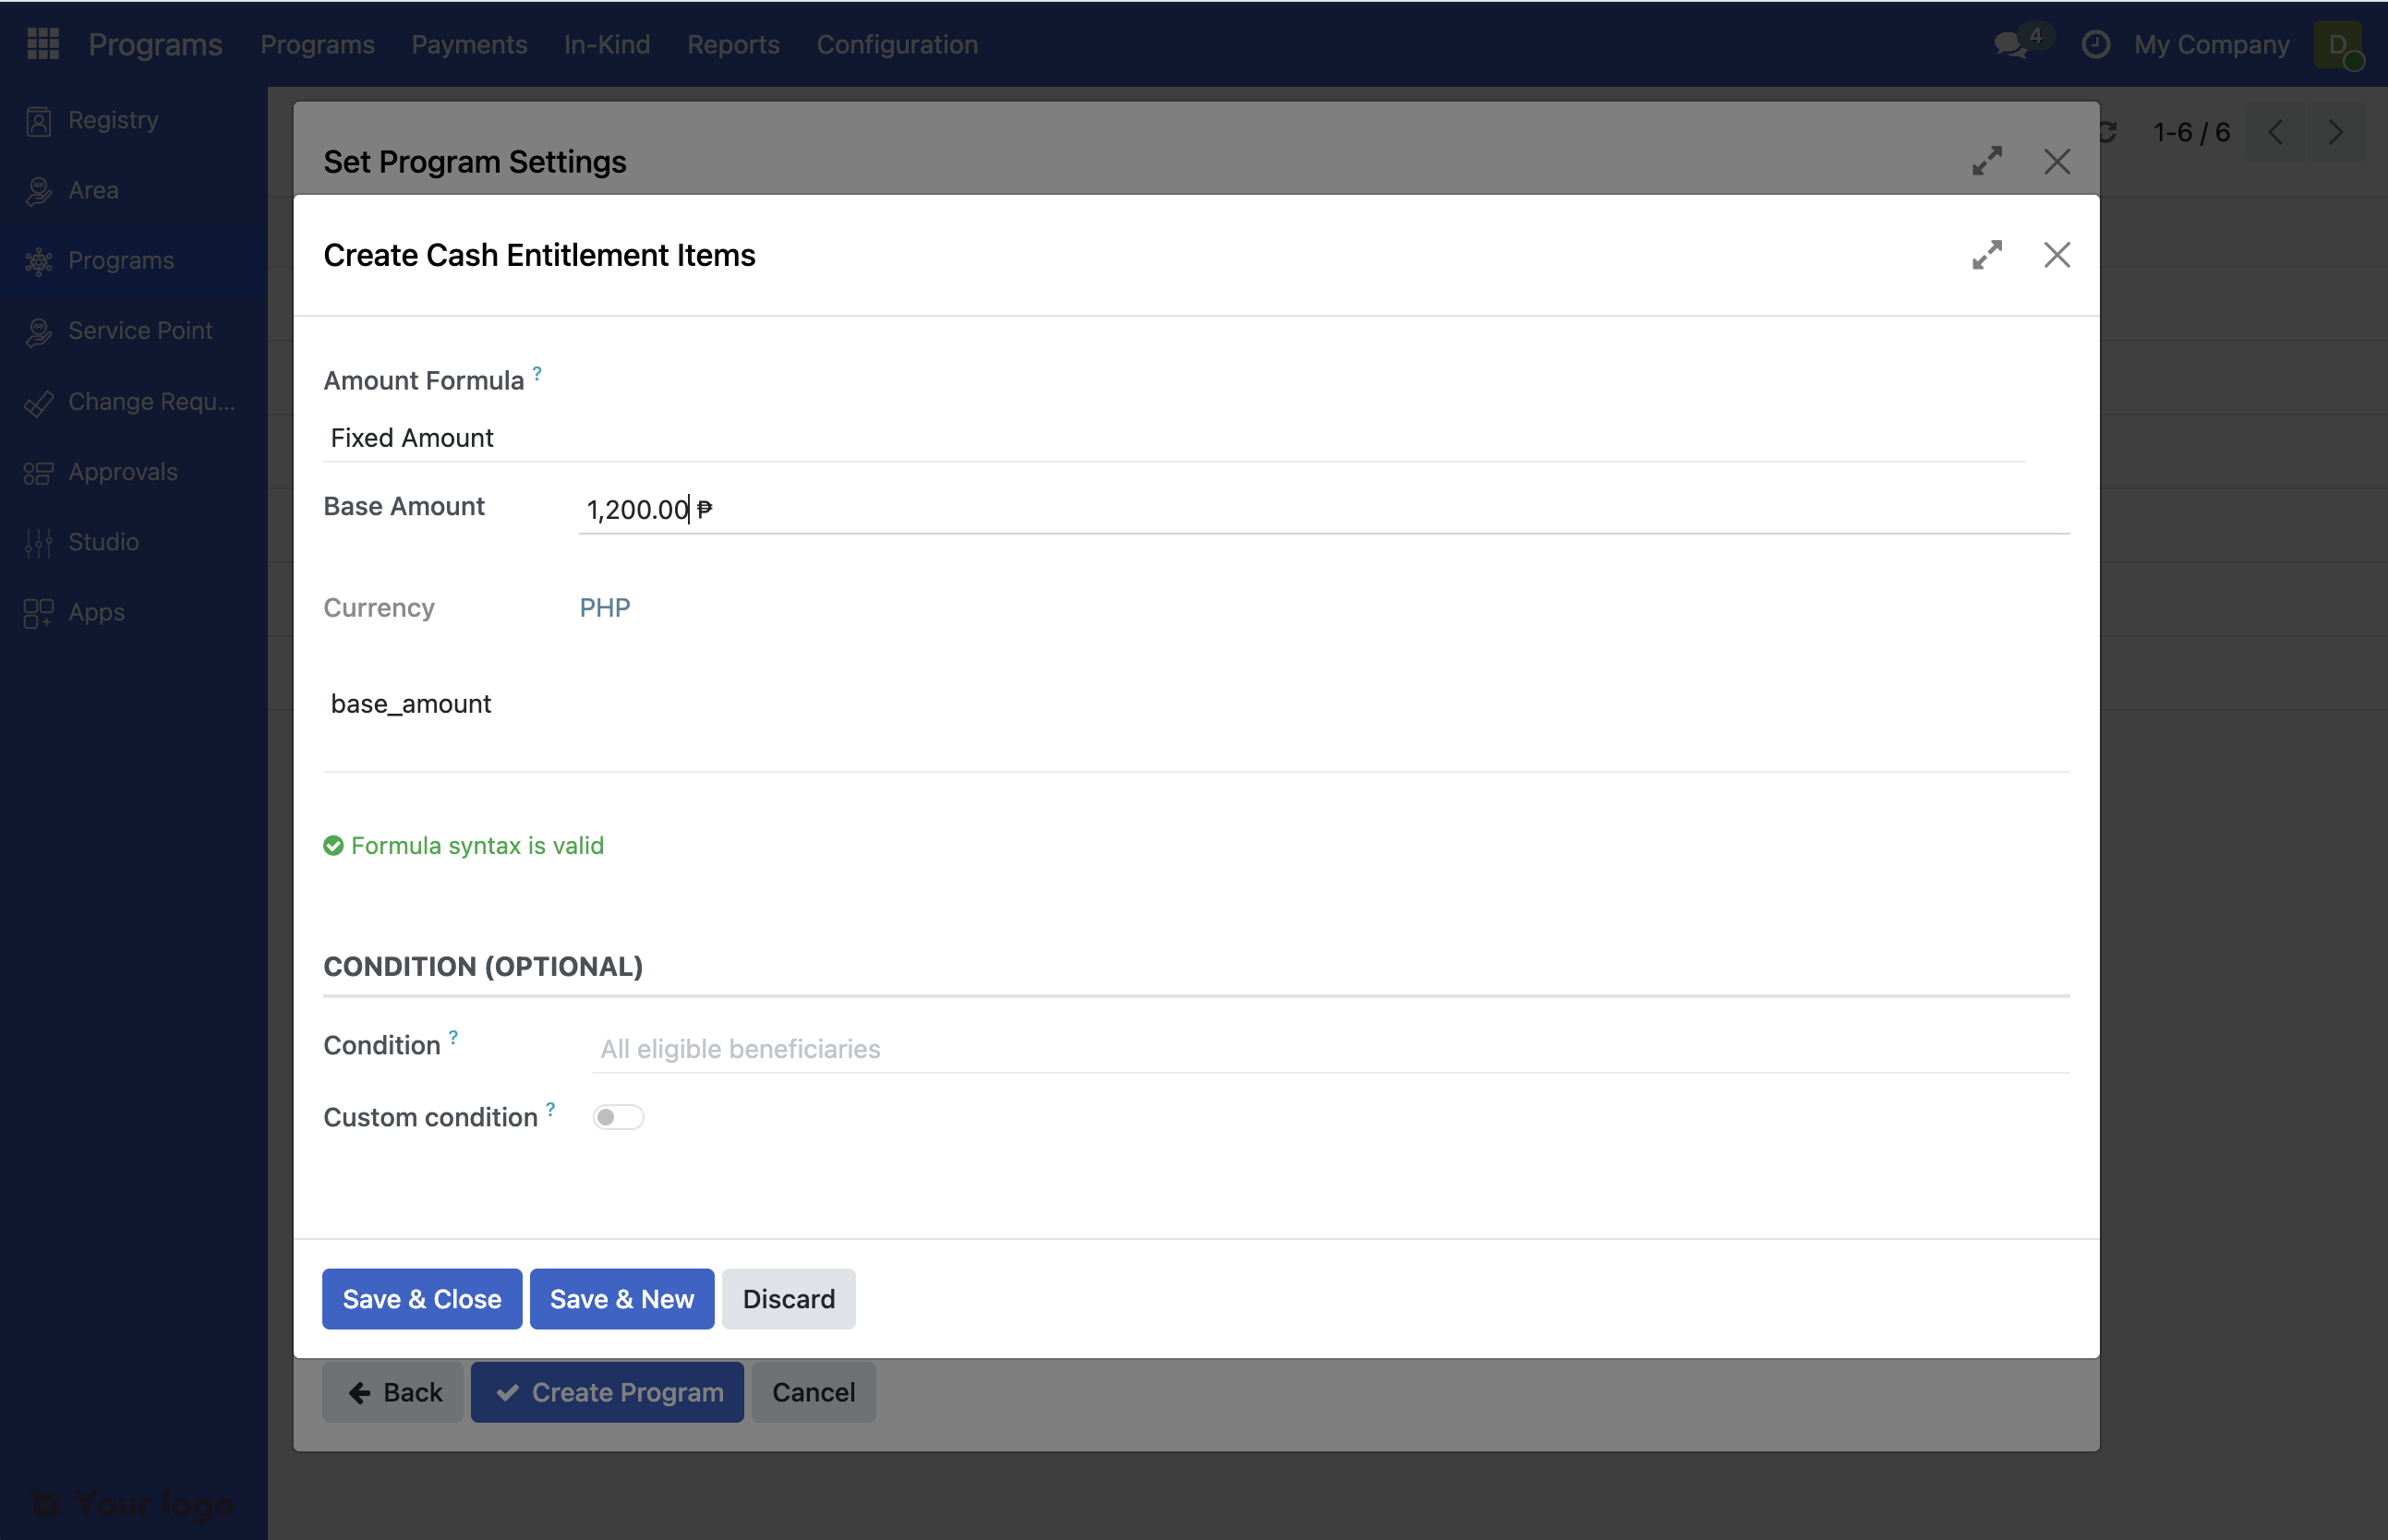
Click Save & Close.
9. Configure distribution schedule#
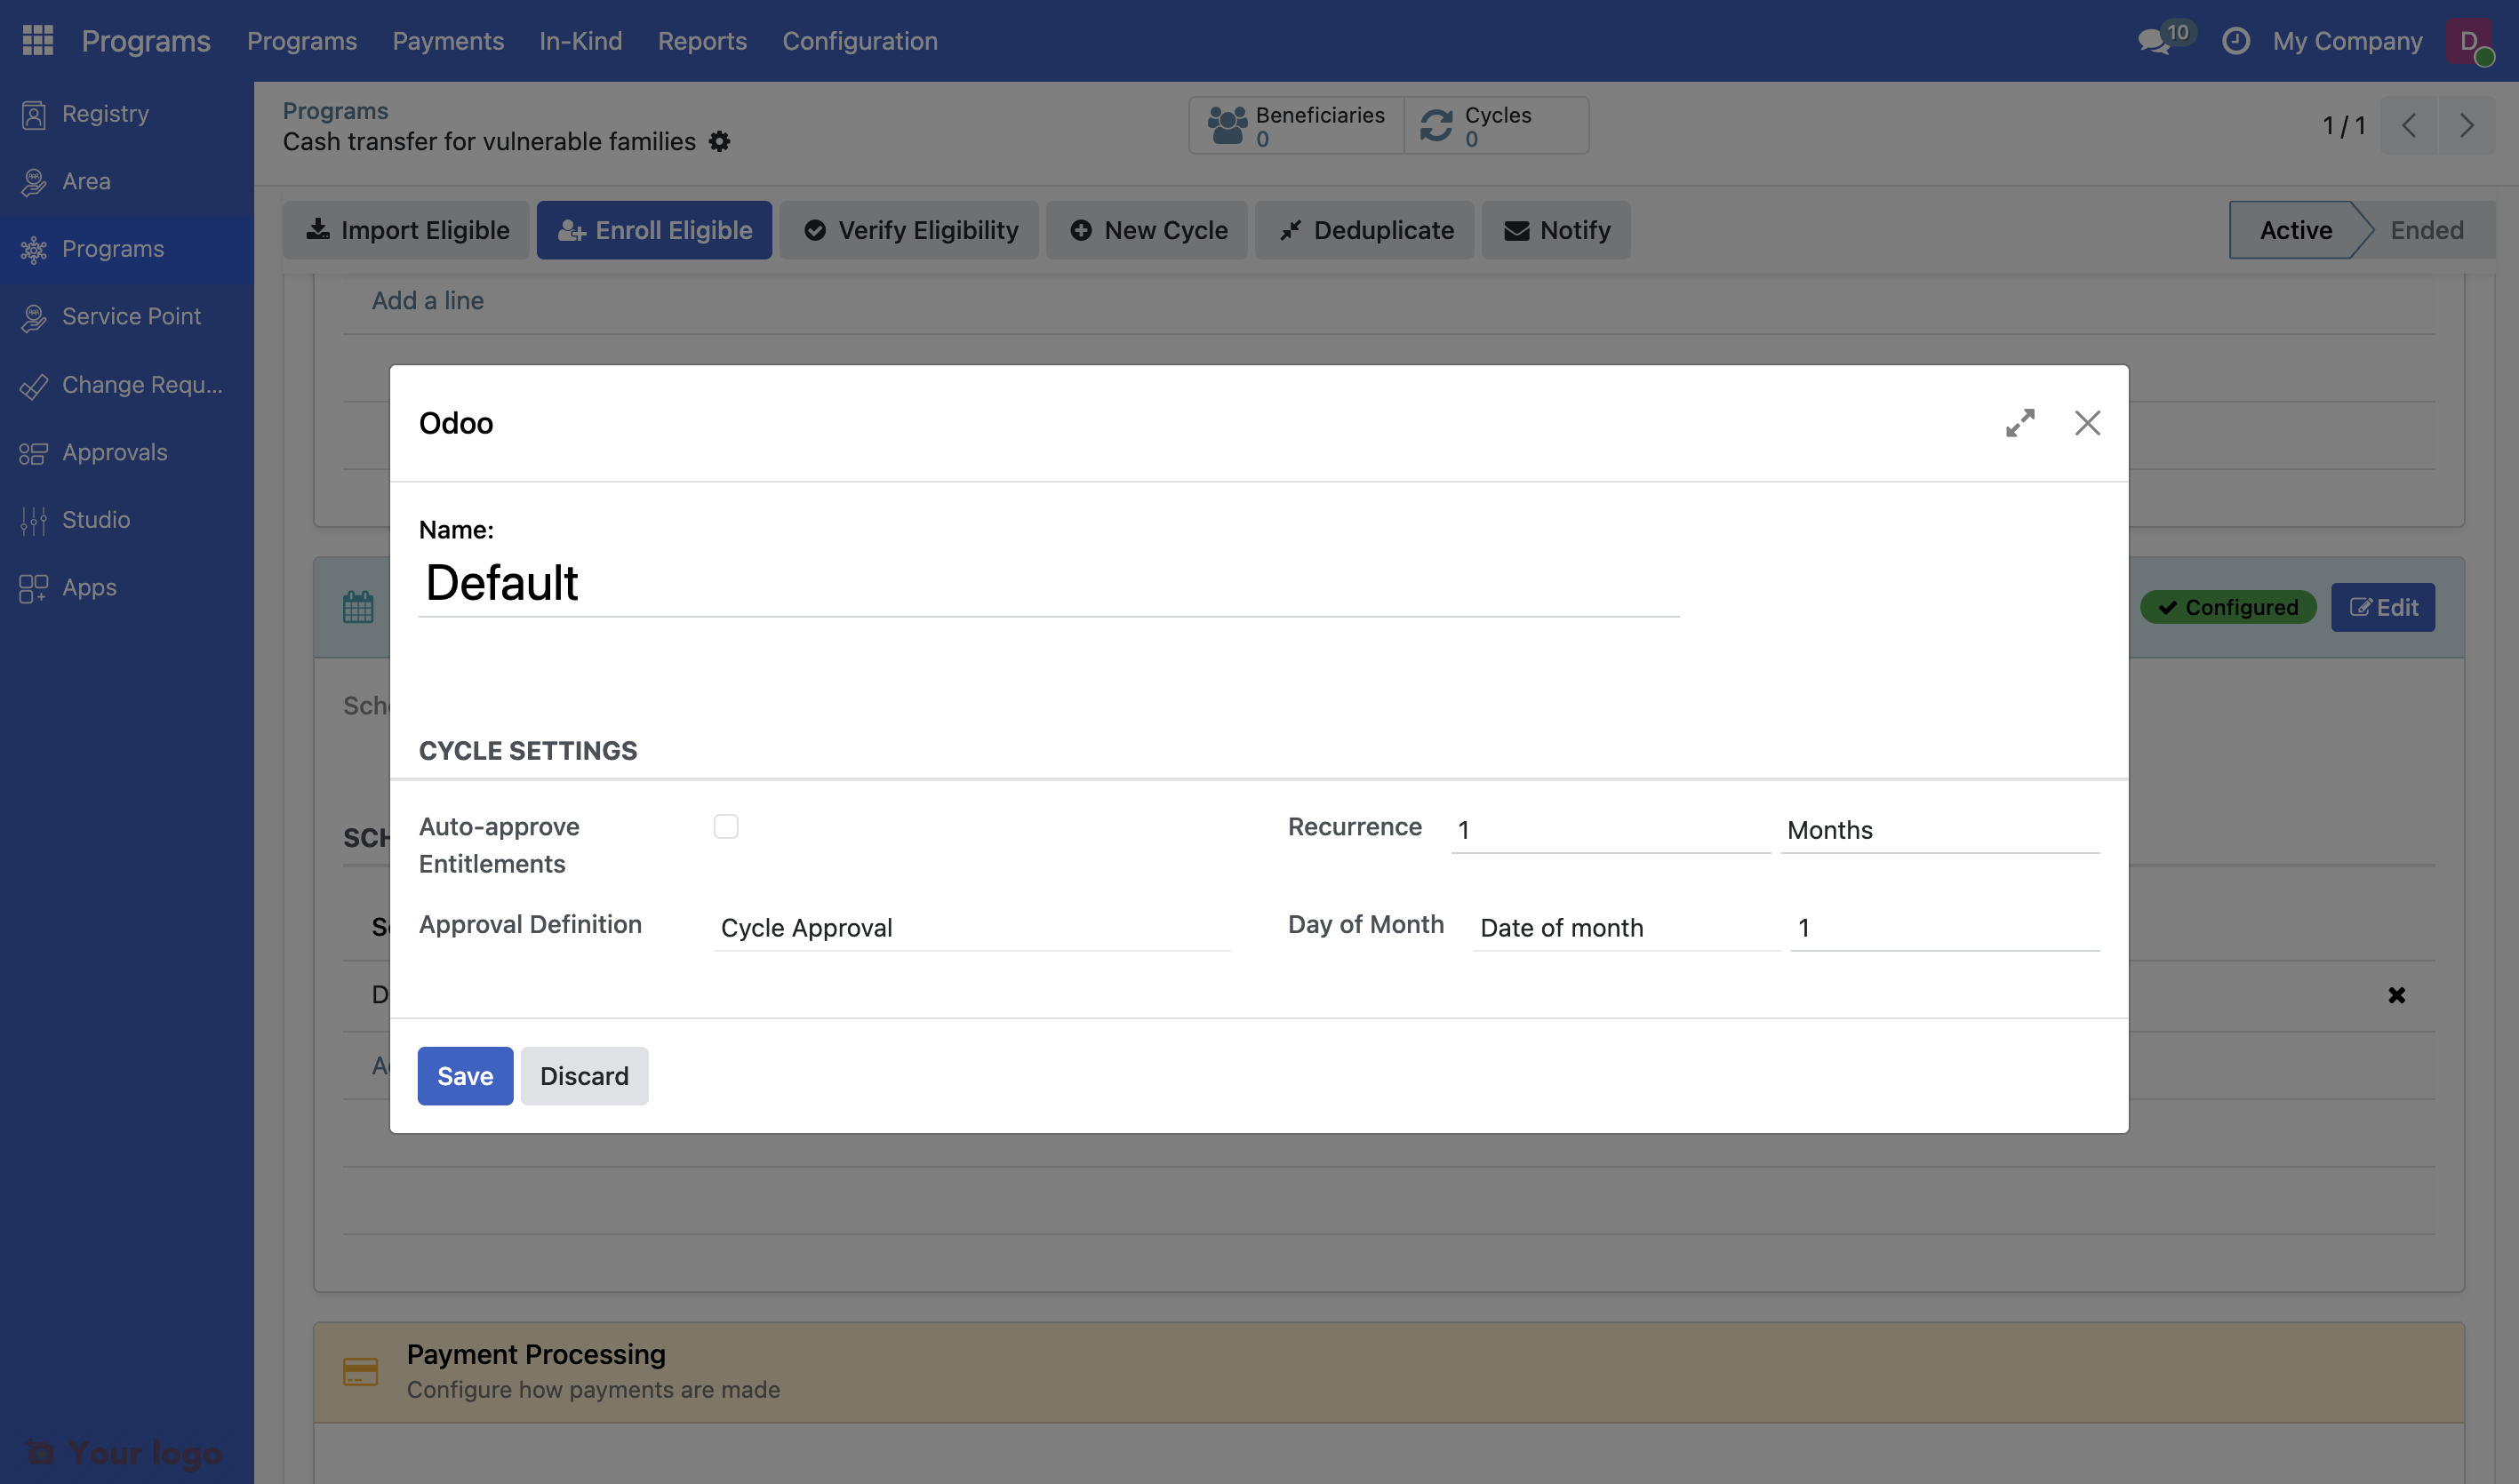
Click on tab Schedule.
In this scenario we want the distribution to be performed once every month, therefore select the option Monthly. Also note that the dropdown for Cycle Approval has the option Cycle Approval preselected.
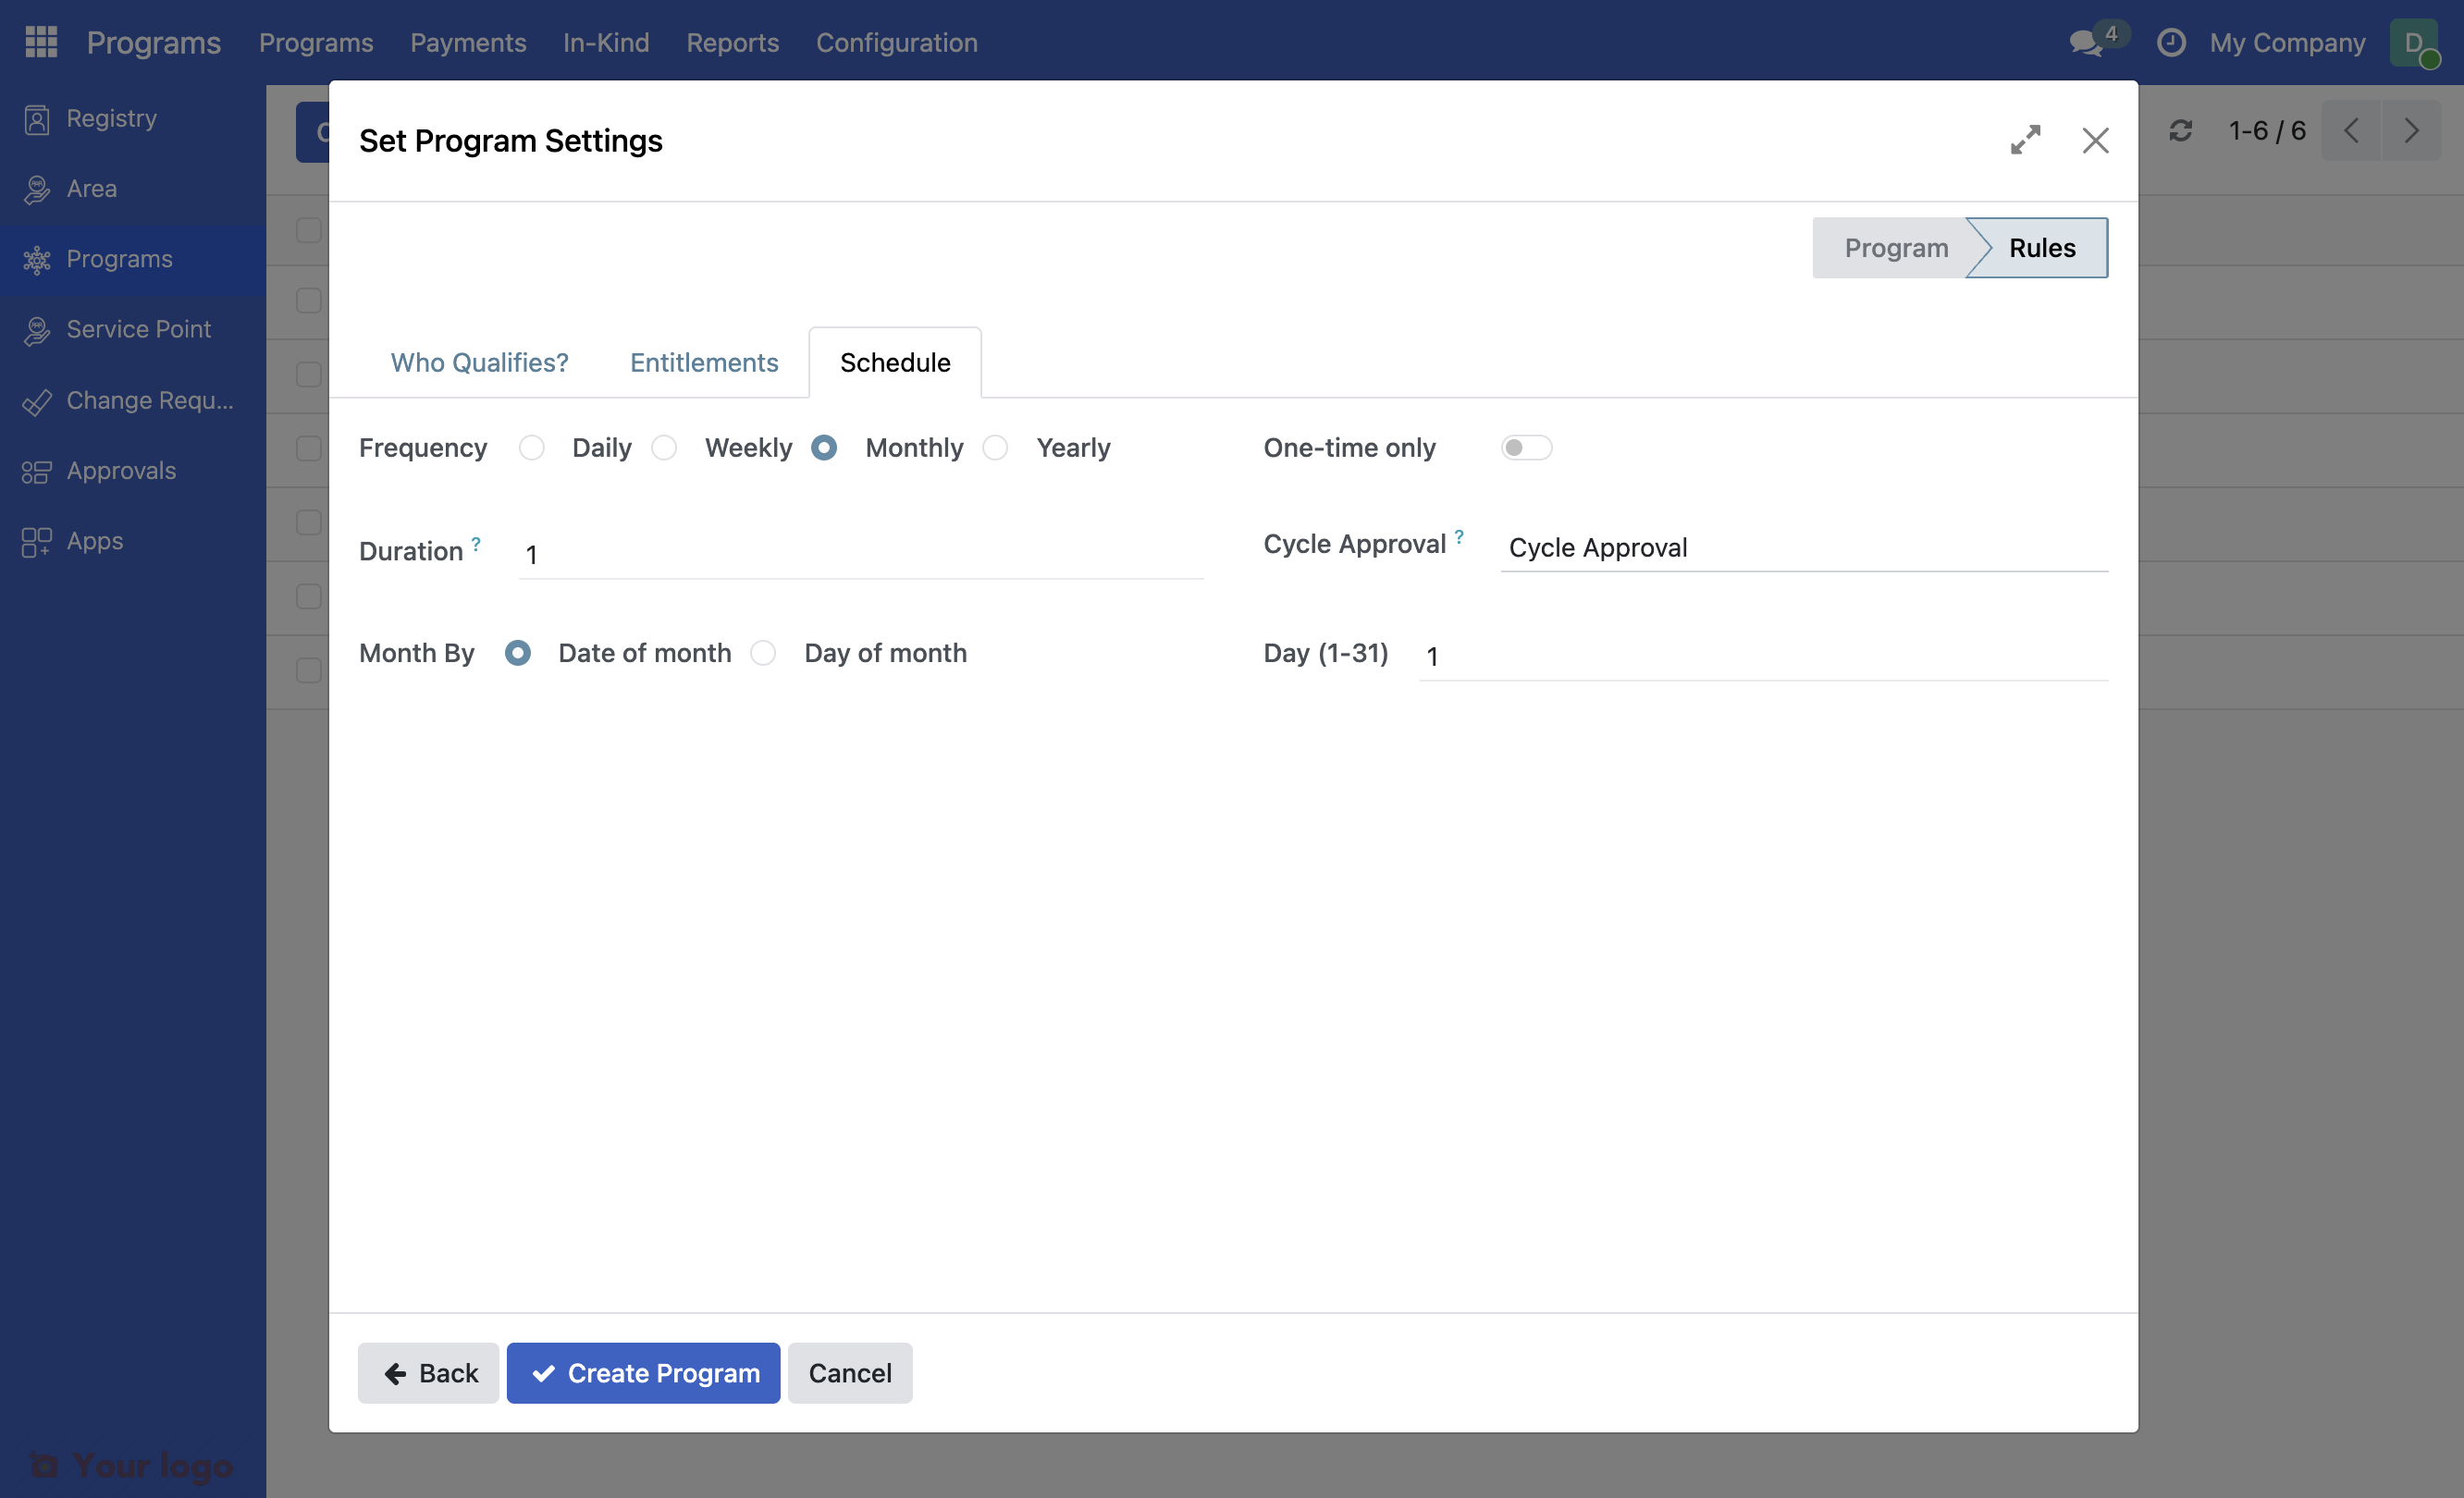
Note
Cycle Approval: The role selected in the Cycle Approval dropdown is the one who can approve the program cycle. Only users with that role see the Approve button; for others it is hidden.
10. Complete creation of program#
Click the Create Program button at the bottom to create your program.
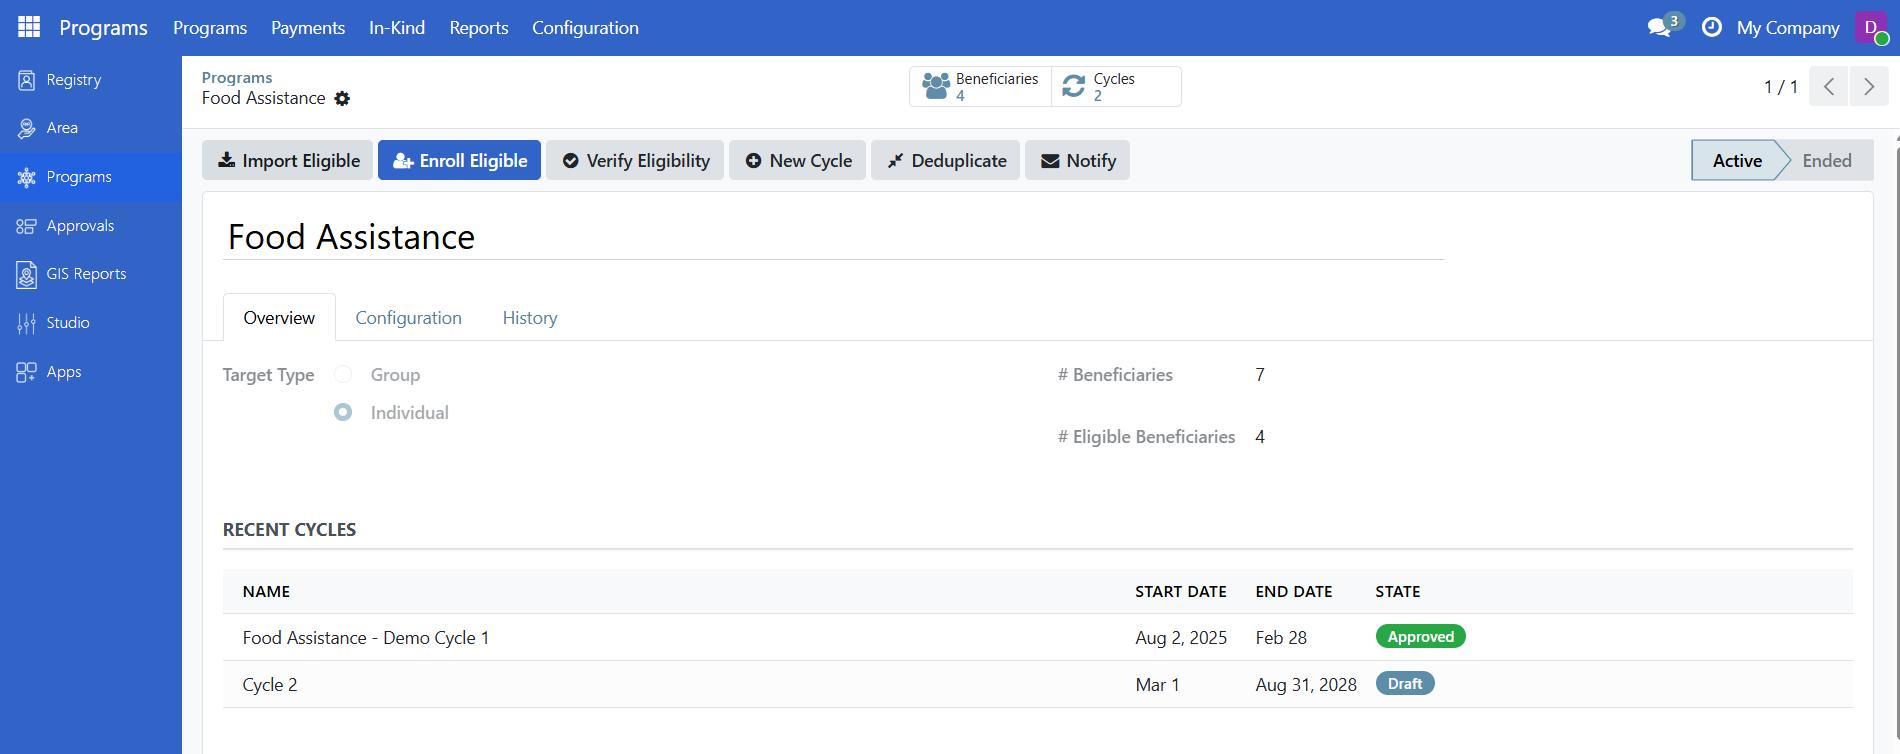
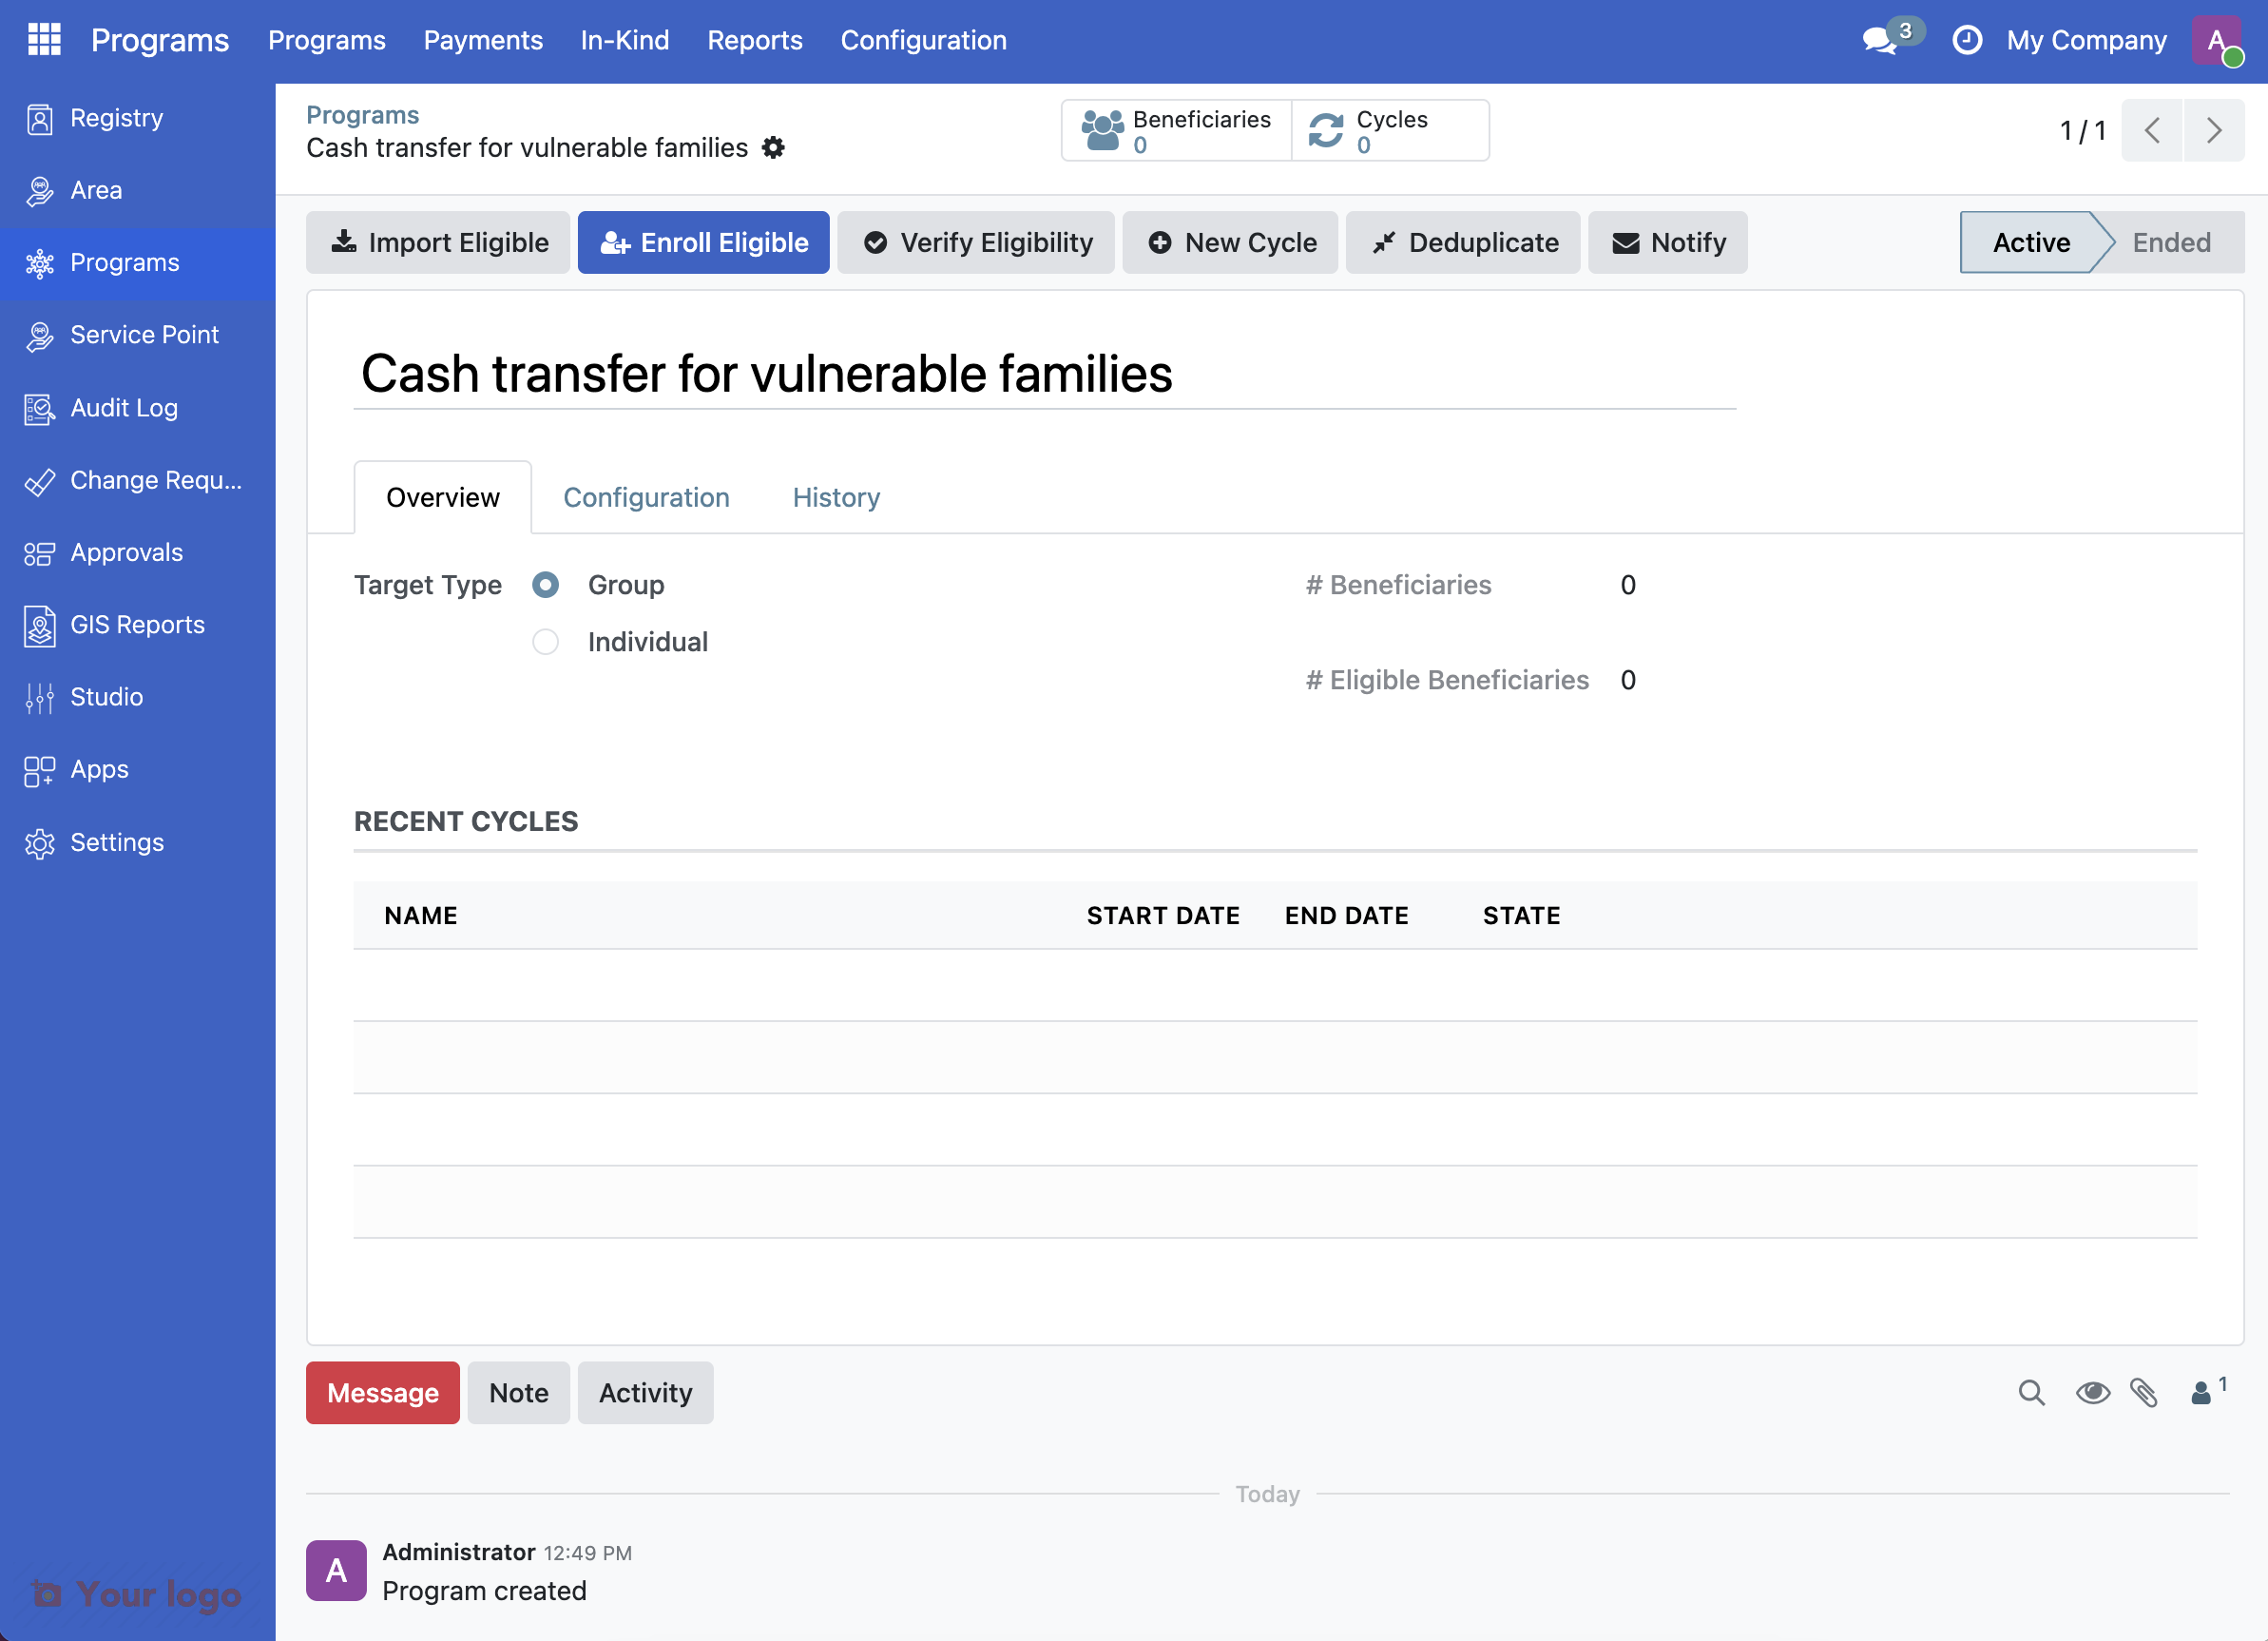
After saving, you'll be redirected to the program page. Notice:
The program name appears at the top
The status shows Active
11. Verify the created program#
Click the tab Configuration. This will display one section each for :
Who Qualifies where you can review the eligibility criteria previously entered.
What Do They Receive? where you can review what is being distributed
Program Schedule where you can review the frequency of the distribution
Payment Method where you can review the payment method (not configured in this example)
In order to verify the configuration, click the cogwheel for the line you wish to review.
Click the cogwheel on the line under the section Who Qualifies.
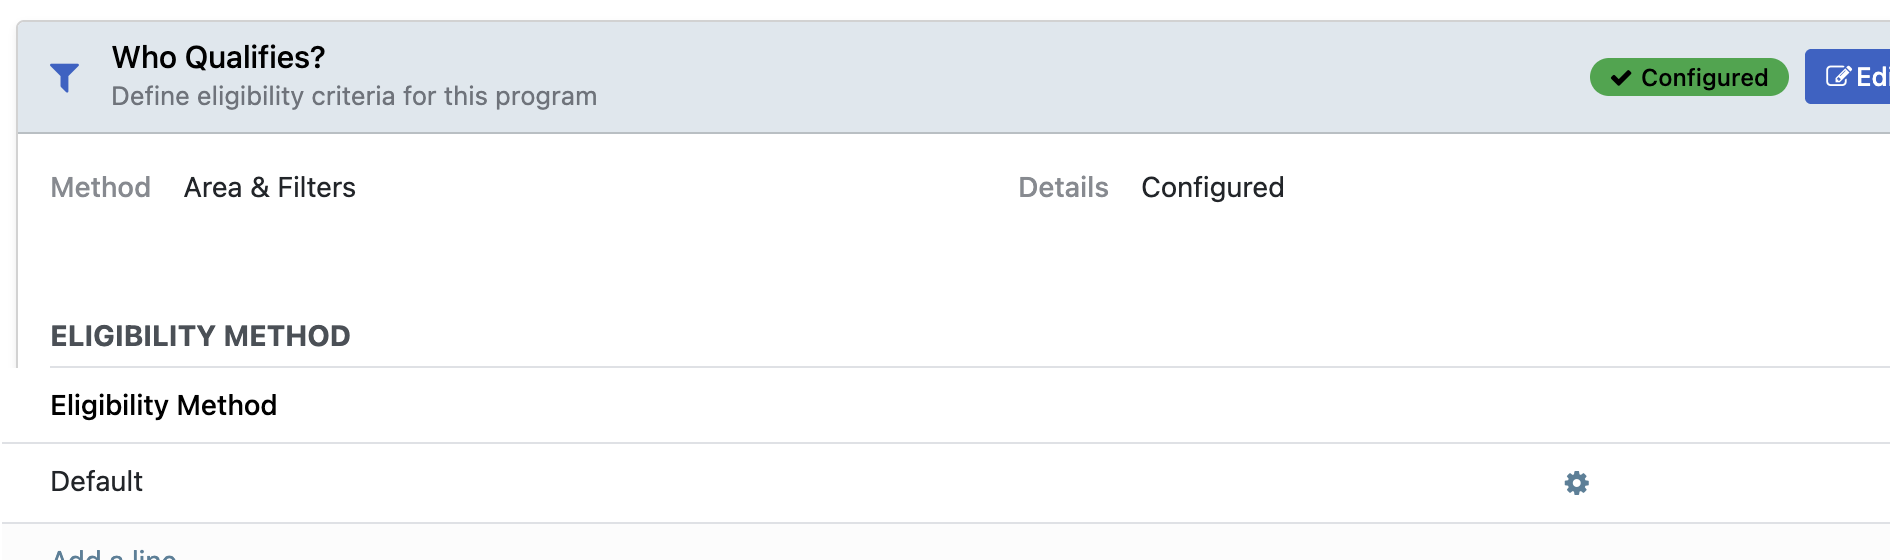
Note that it displays the previously entered eligibility criteria.

Click the cogwheel on the line under the section What Do They Receive?.
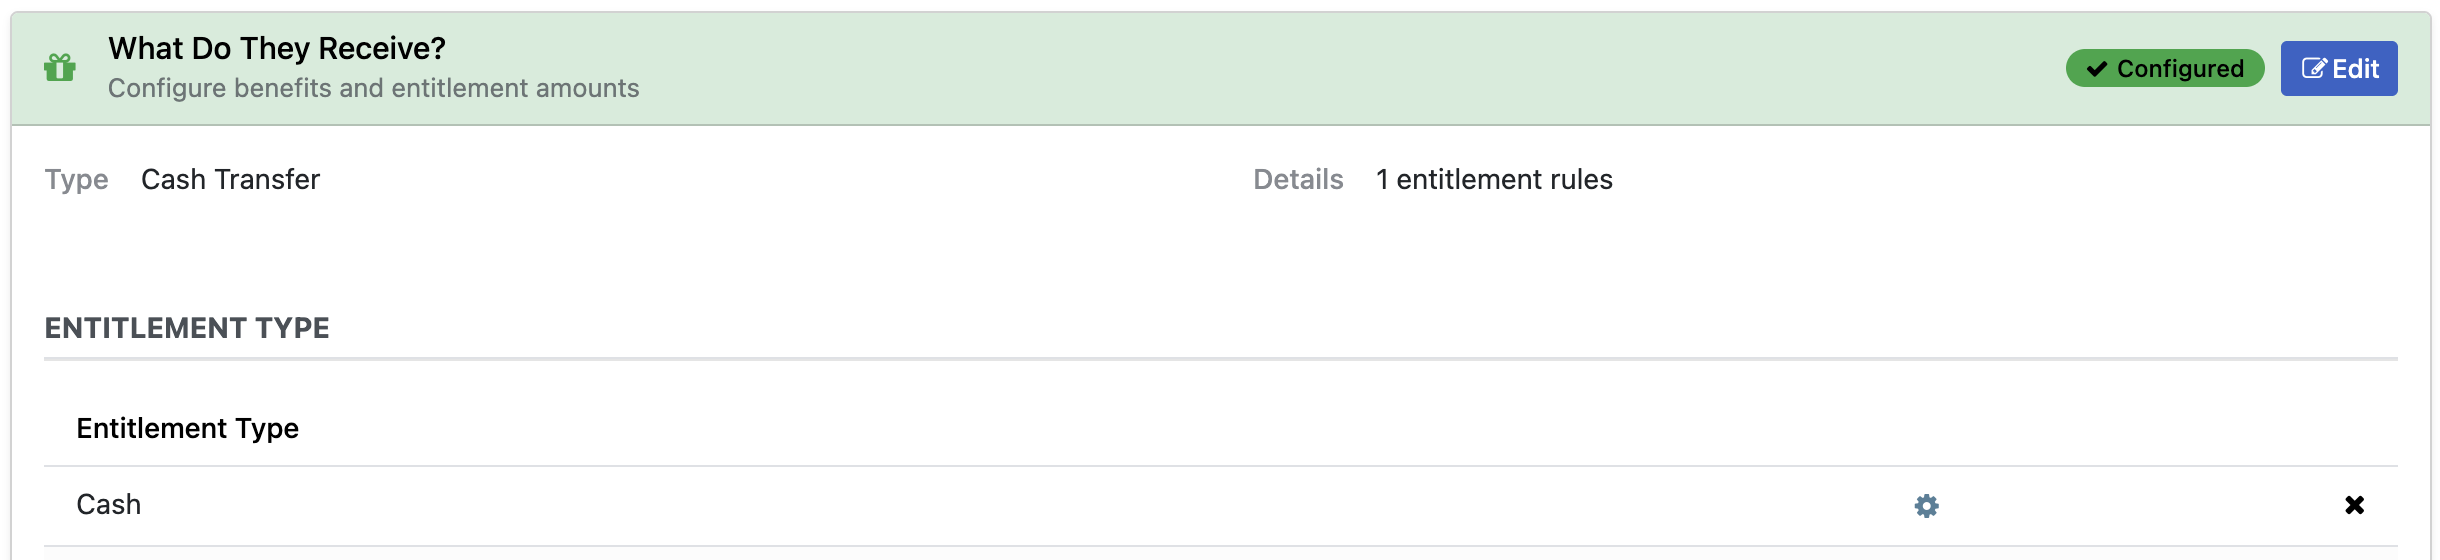
Note that it displays the previously entered amount.
Click the cogwheel on the line under the section Program Schedule.
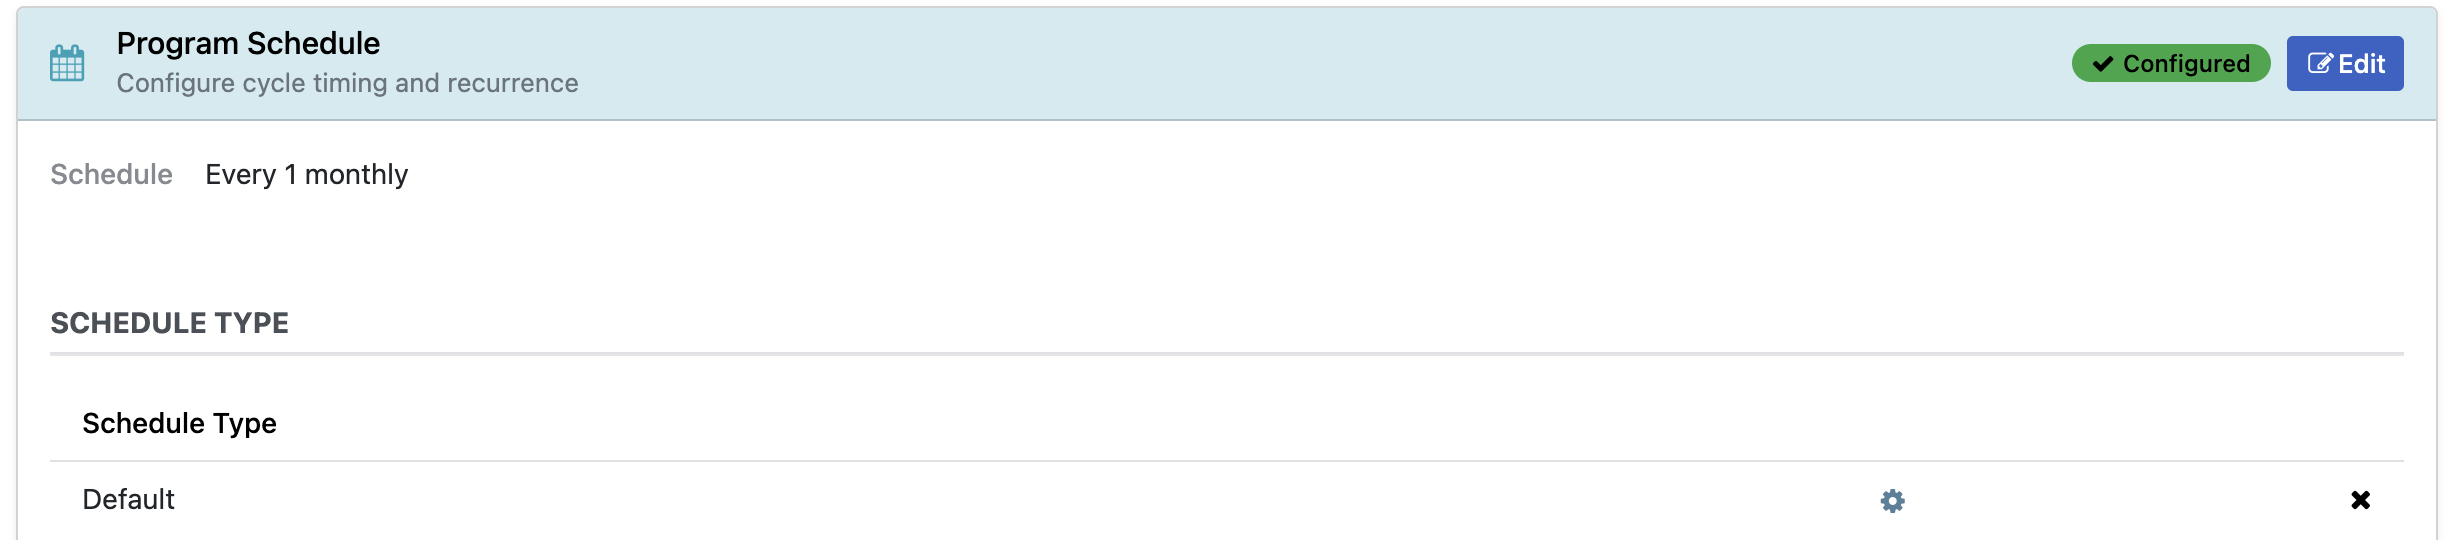
Note that it displays the previously entered frequency, once monthly.
Note that there is no cogwheel on the line under the section Payment Method since nothing has been configured.

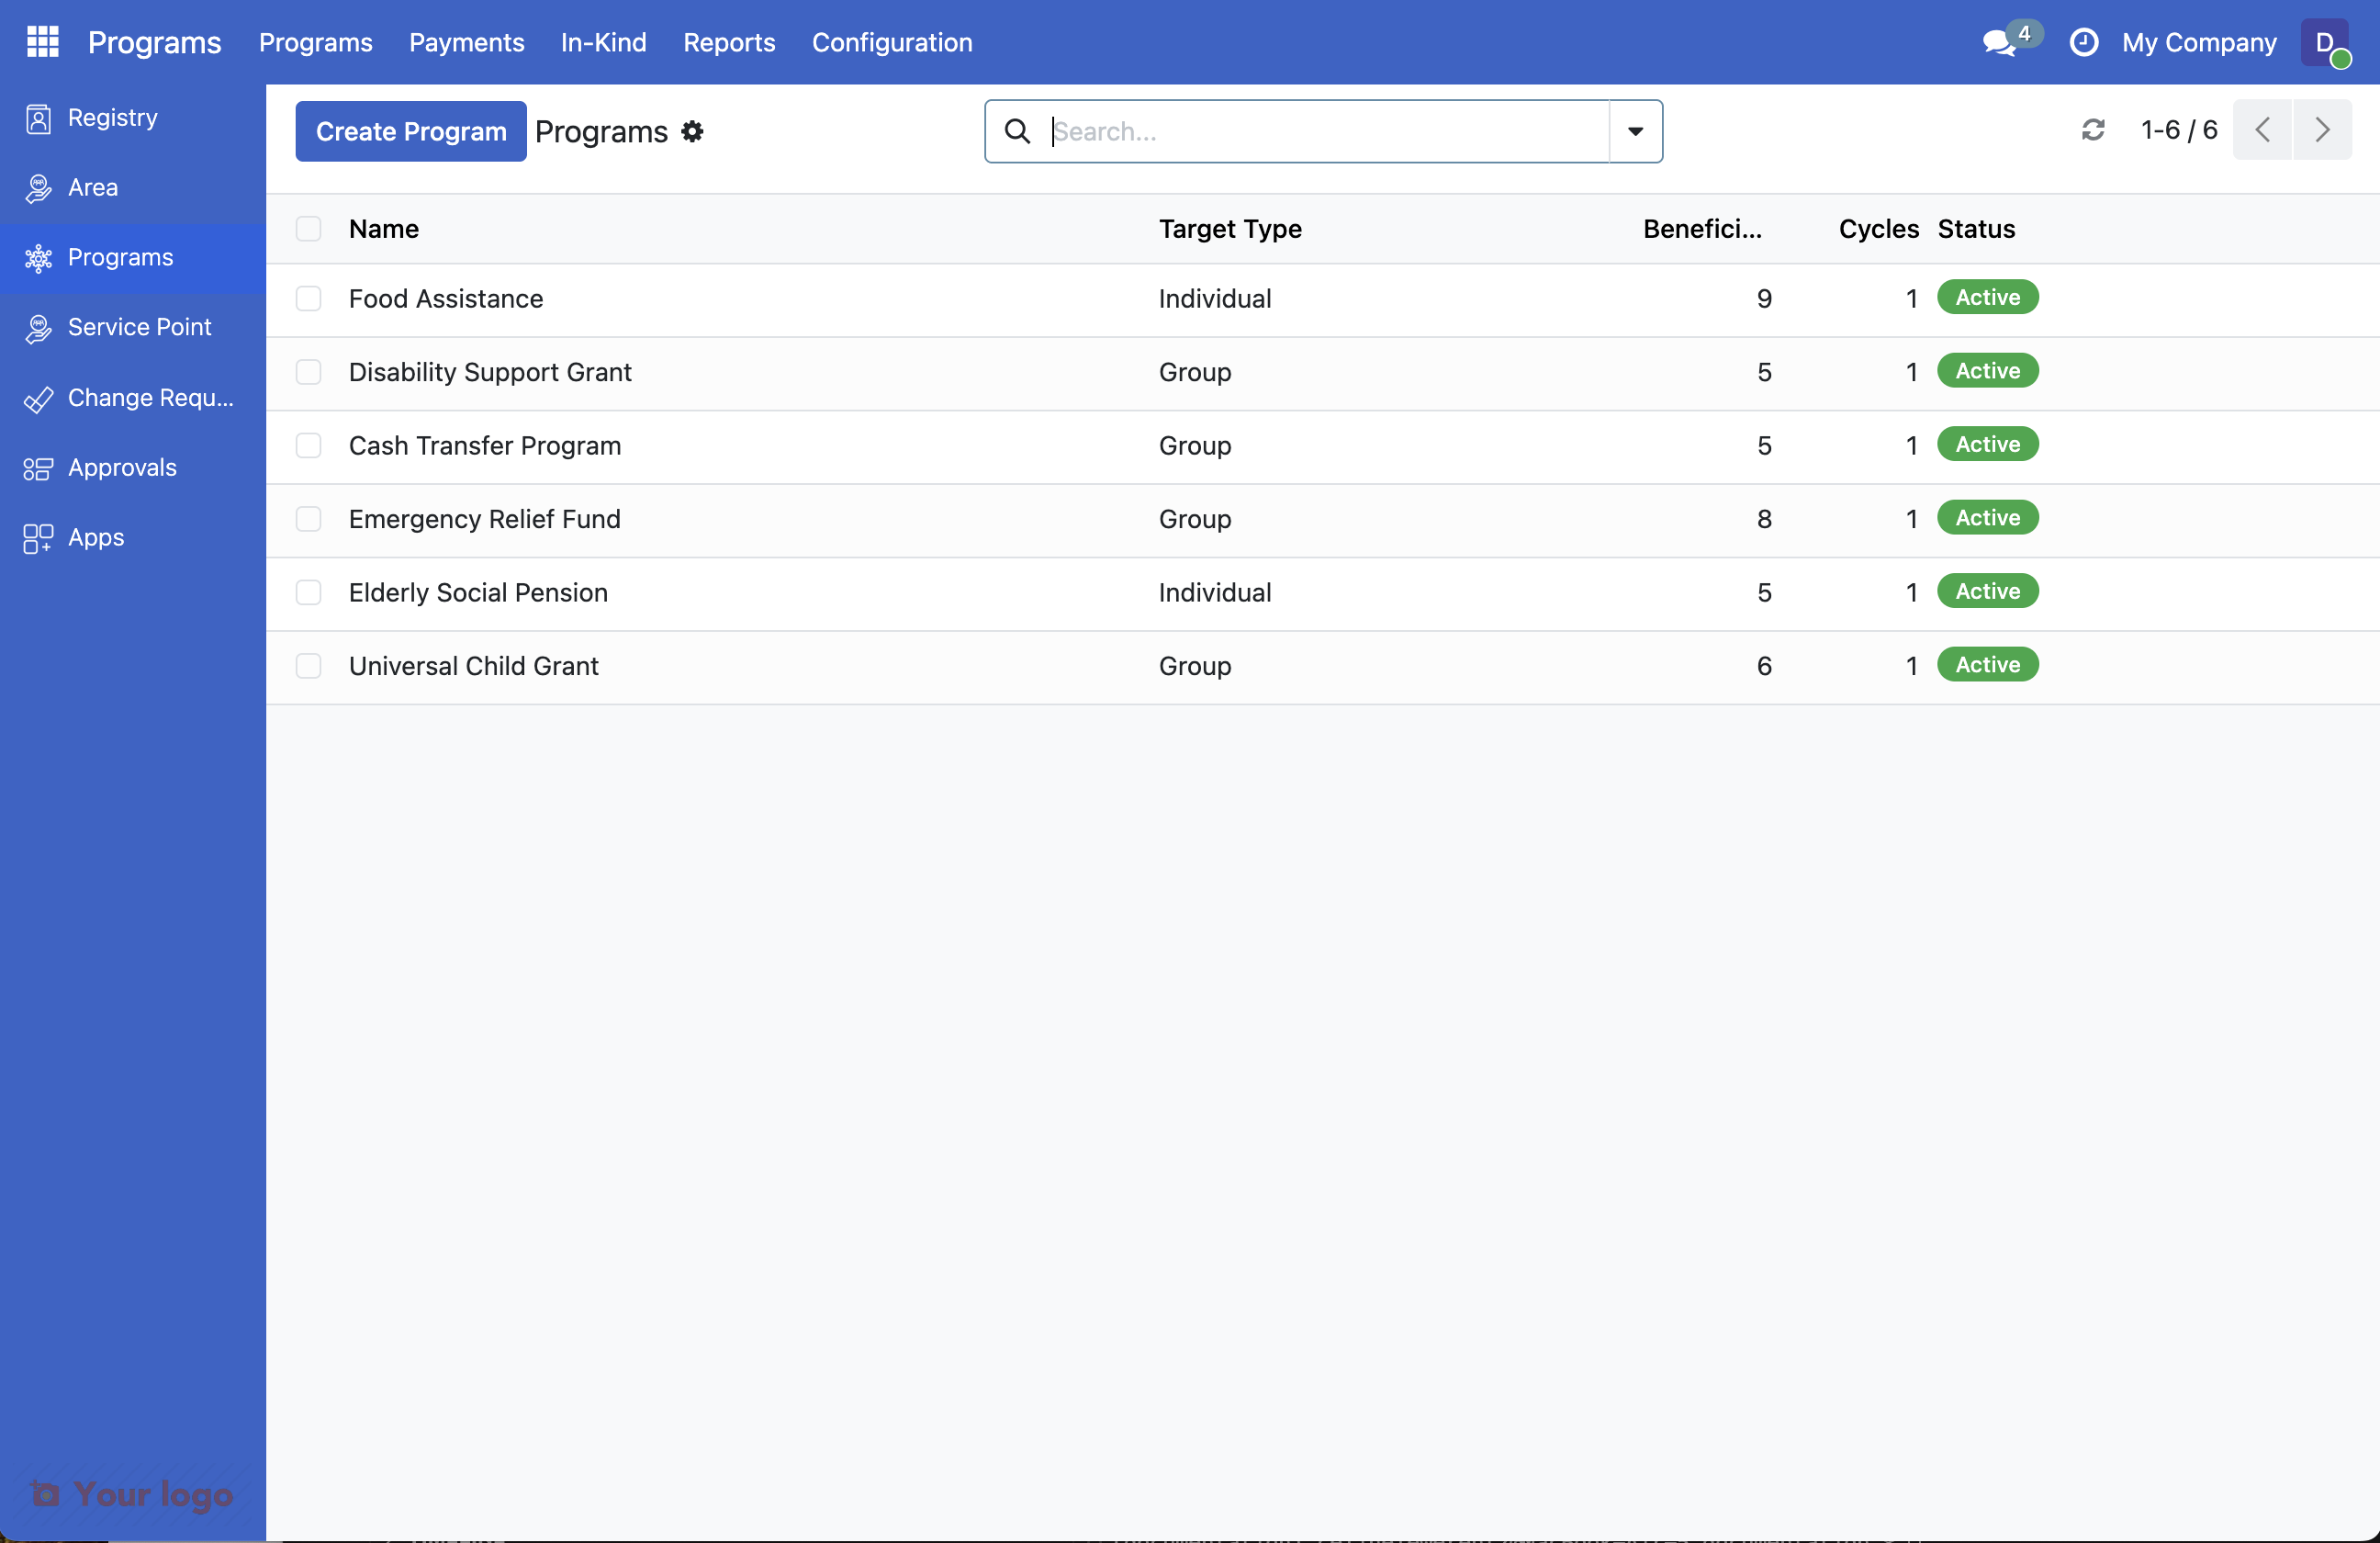
12. Check the programs list#
Click Programs in the breadcrumb navigation or return to the Programs menu. You should see your new program in the list.
13. Allocate funds#
As part of configuring the program, the necessary funds should be allocated.
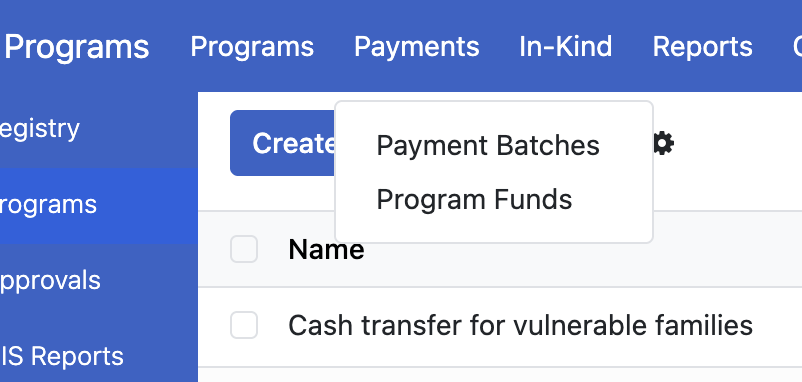
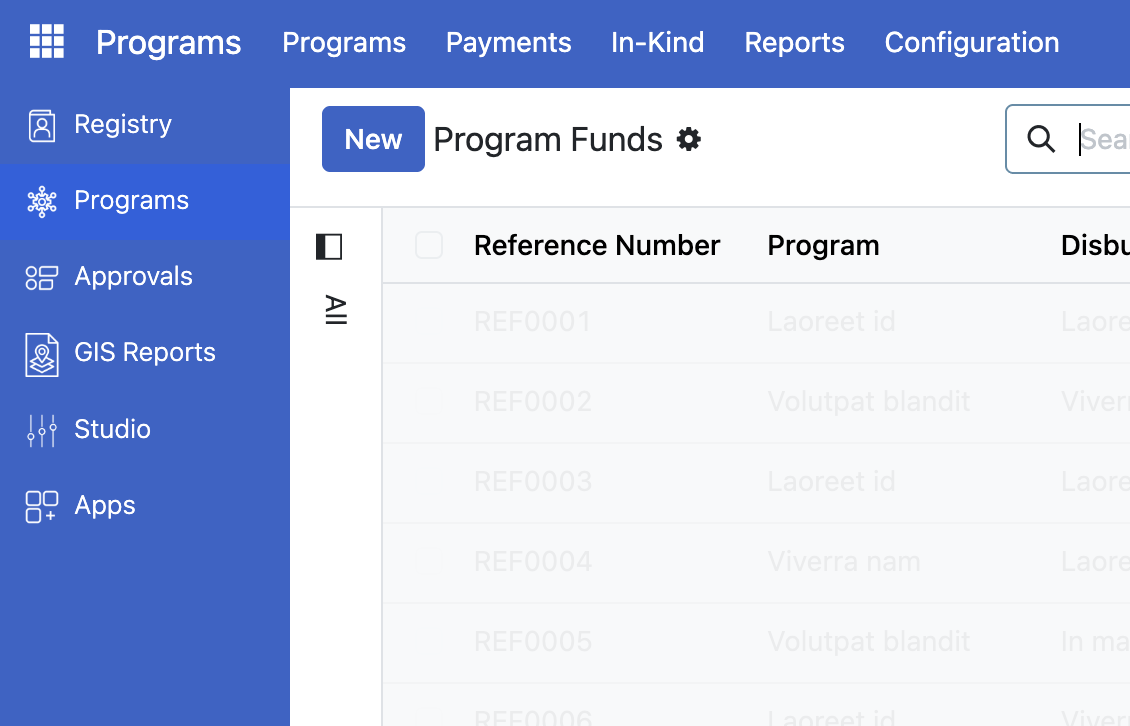
Click Payments and select Program Funds.
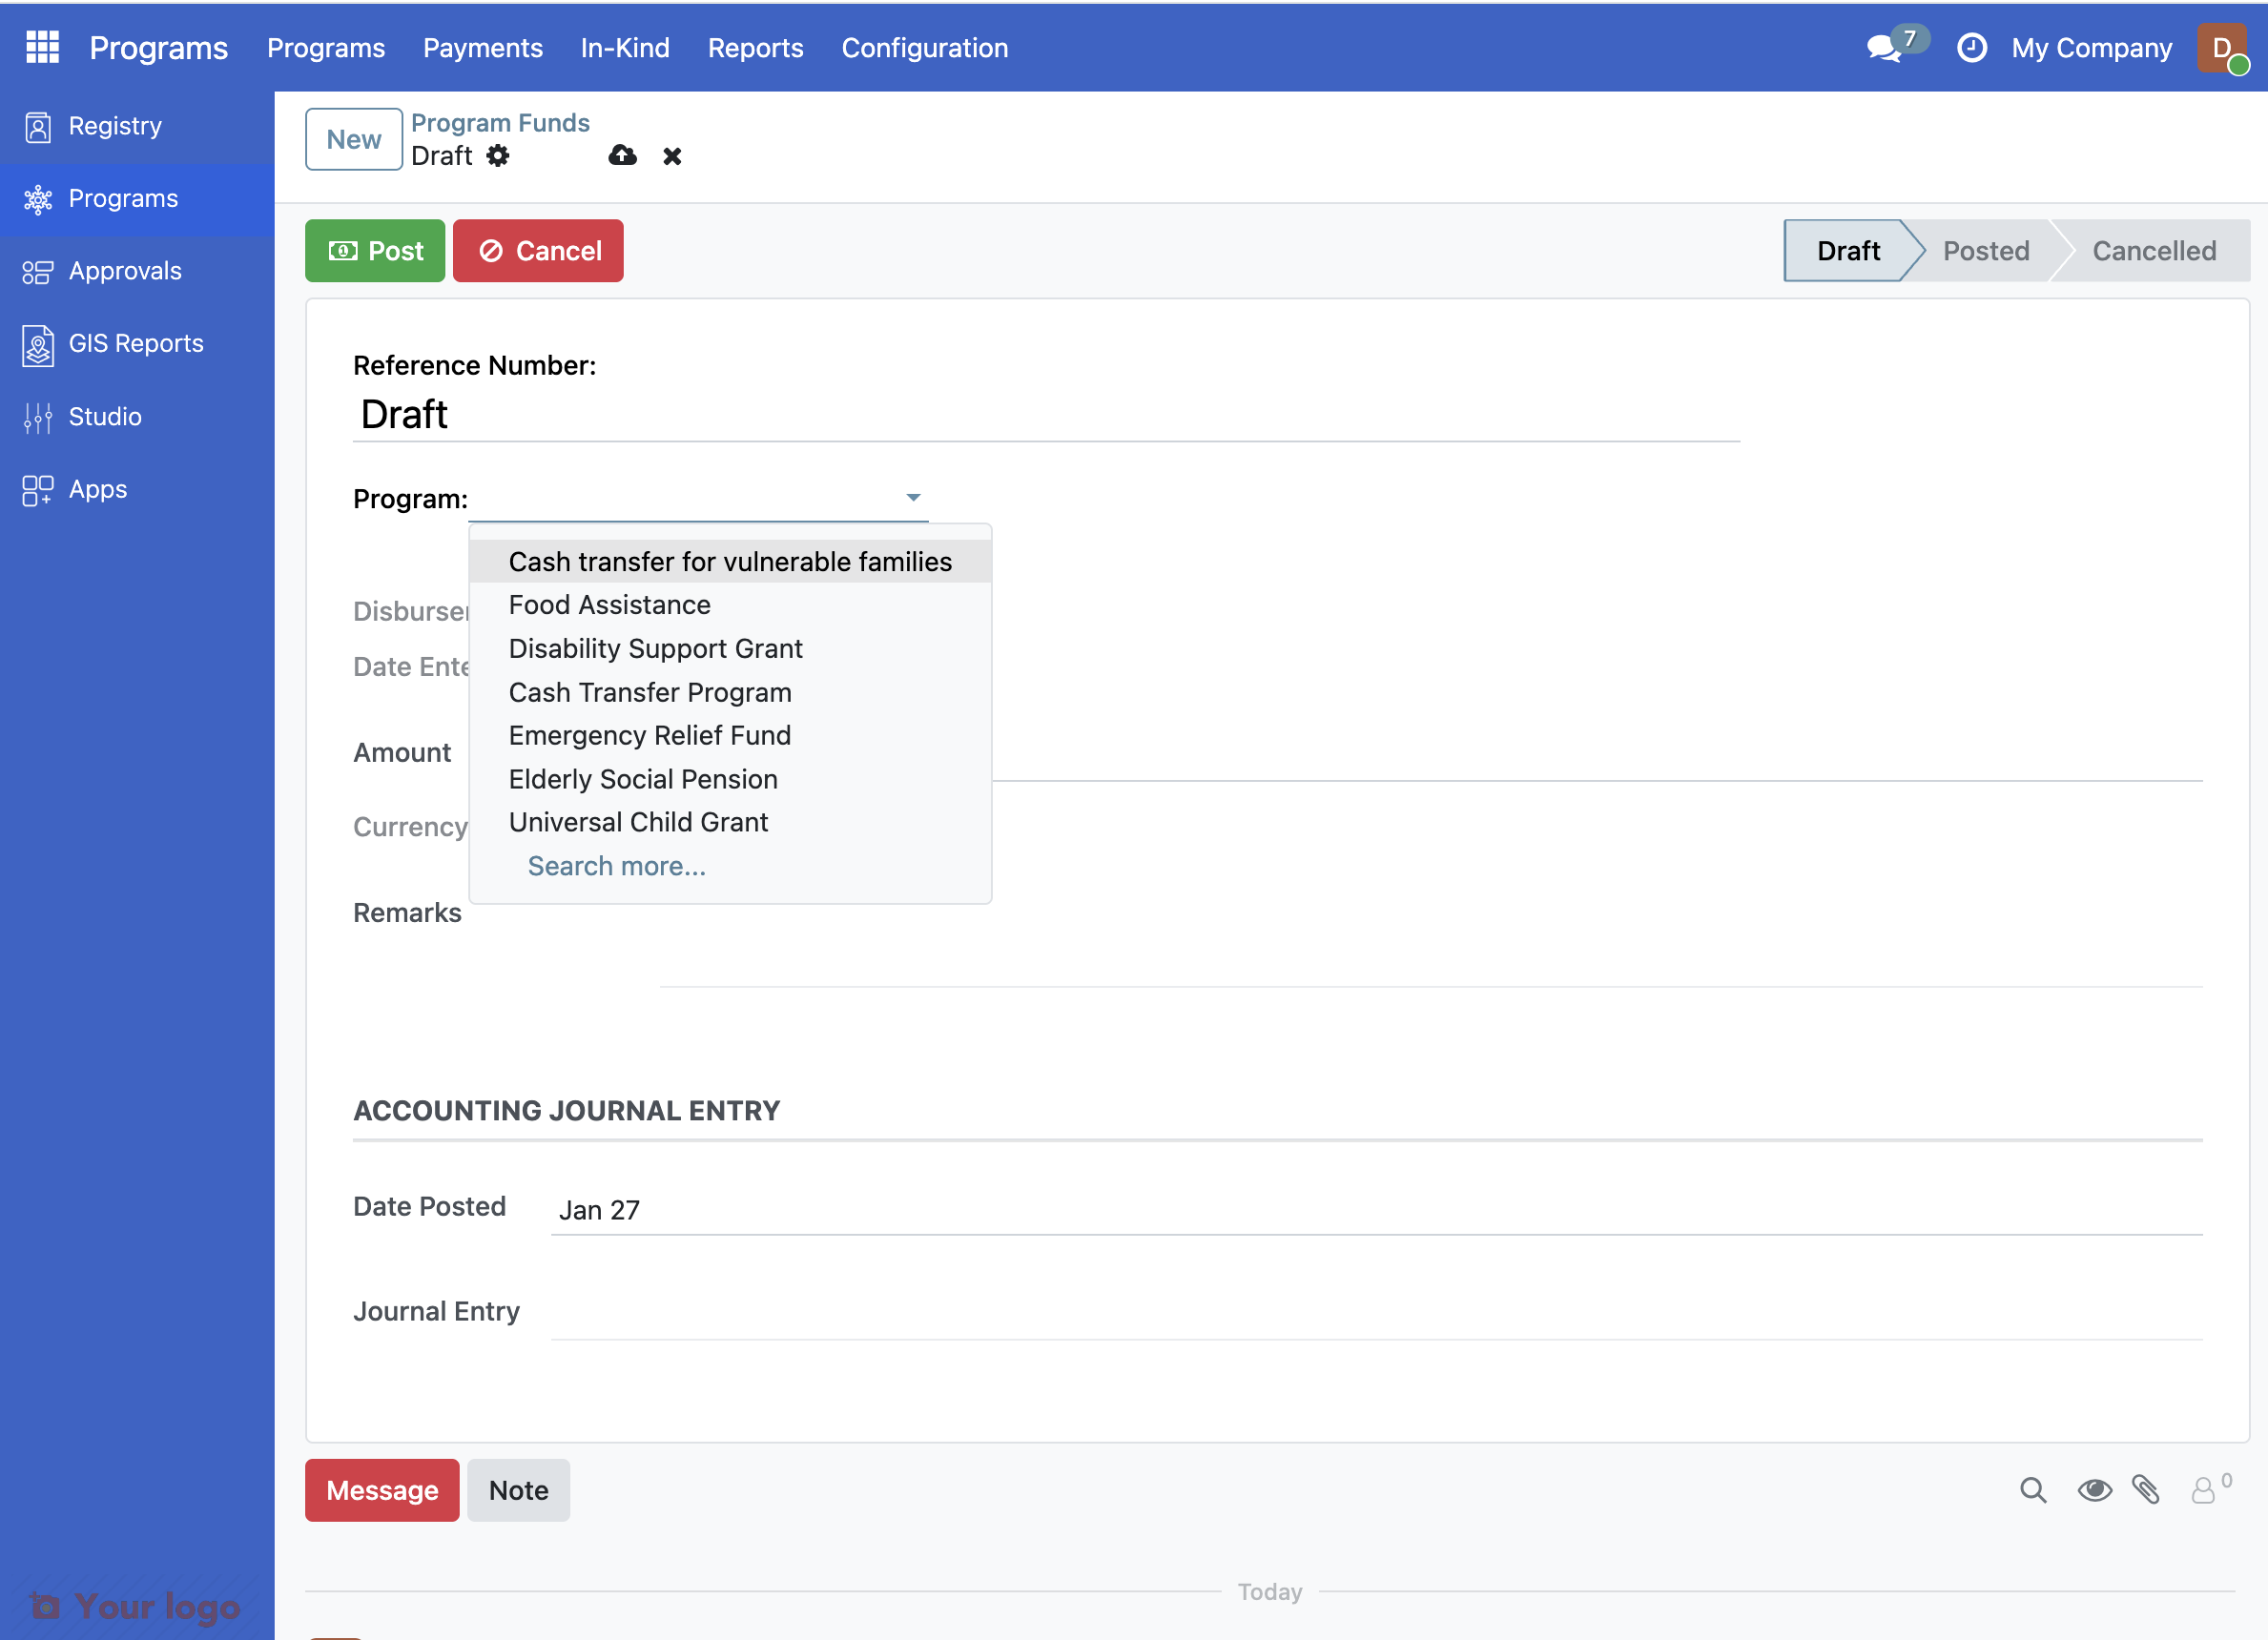
Click New to create a Program Fund entry.
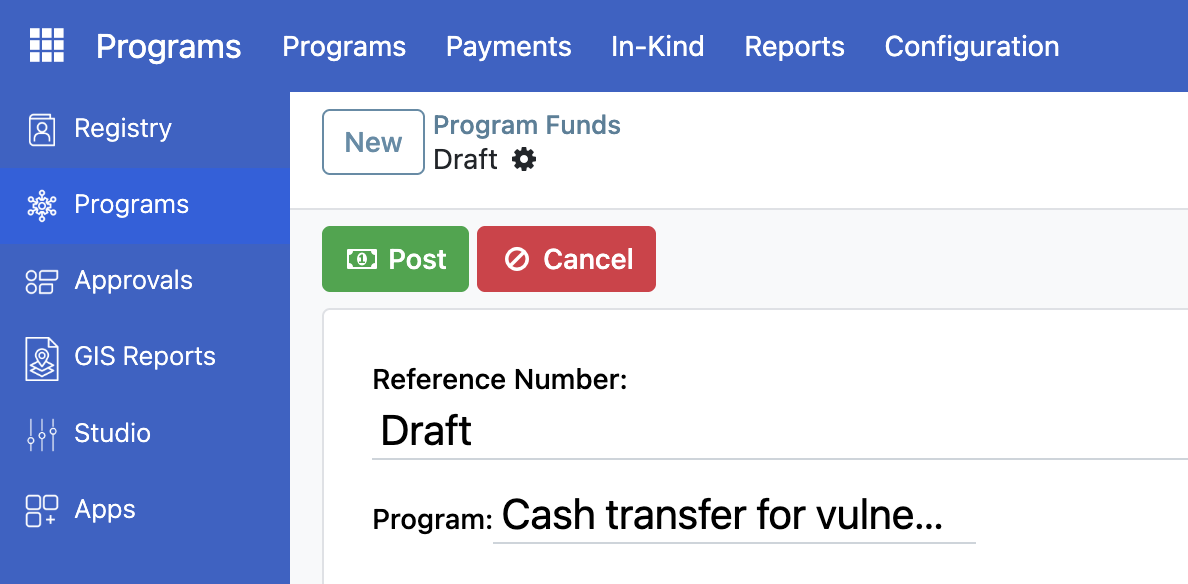
Click the arrow for Program and select the program Cash transfer for vulnerable families.
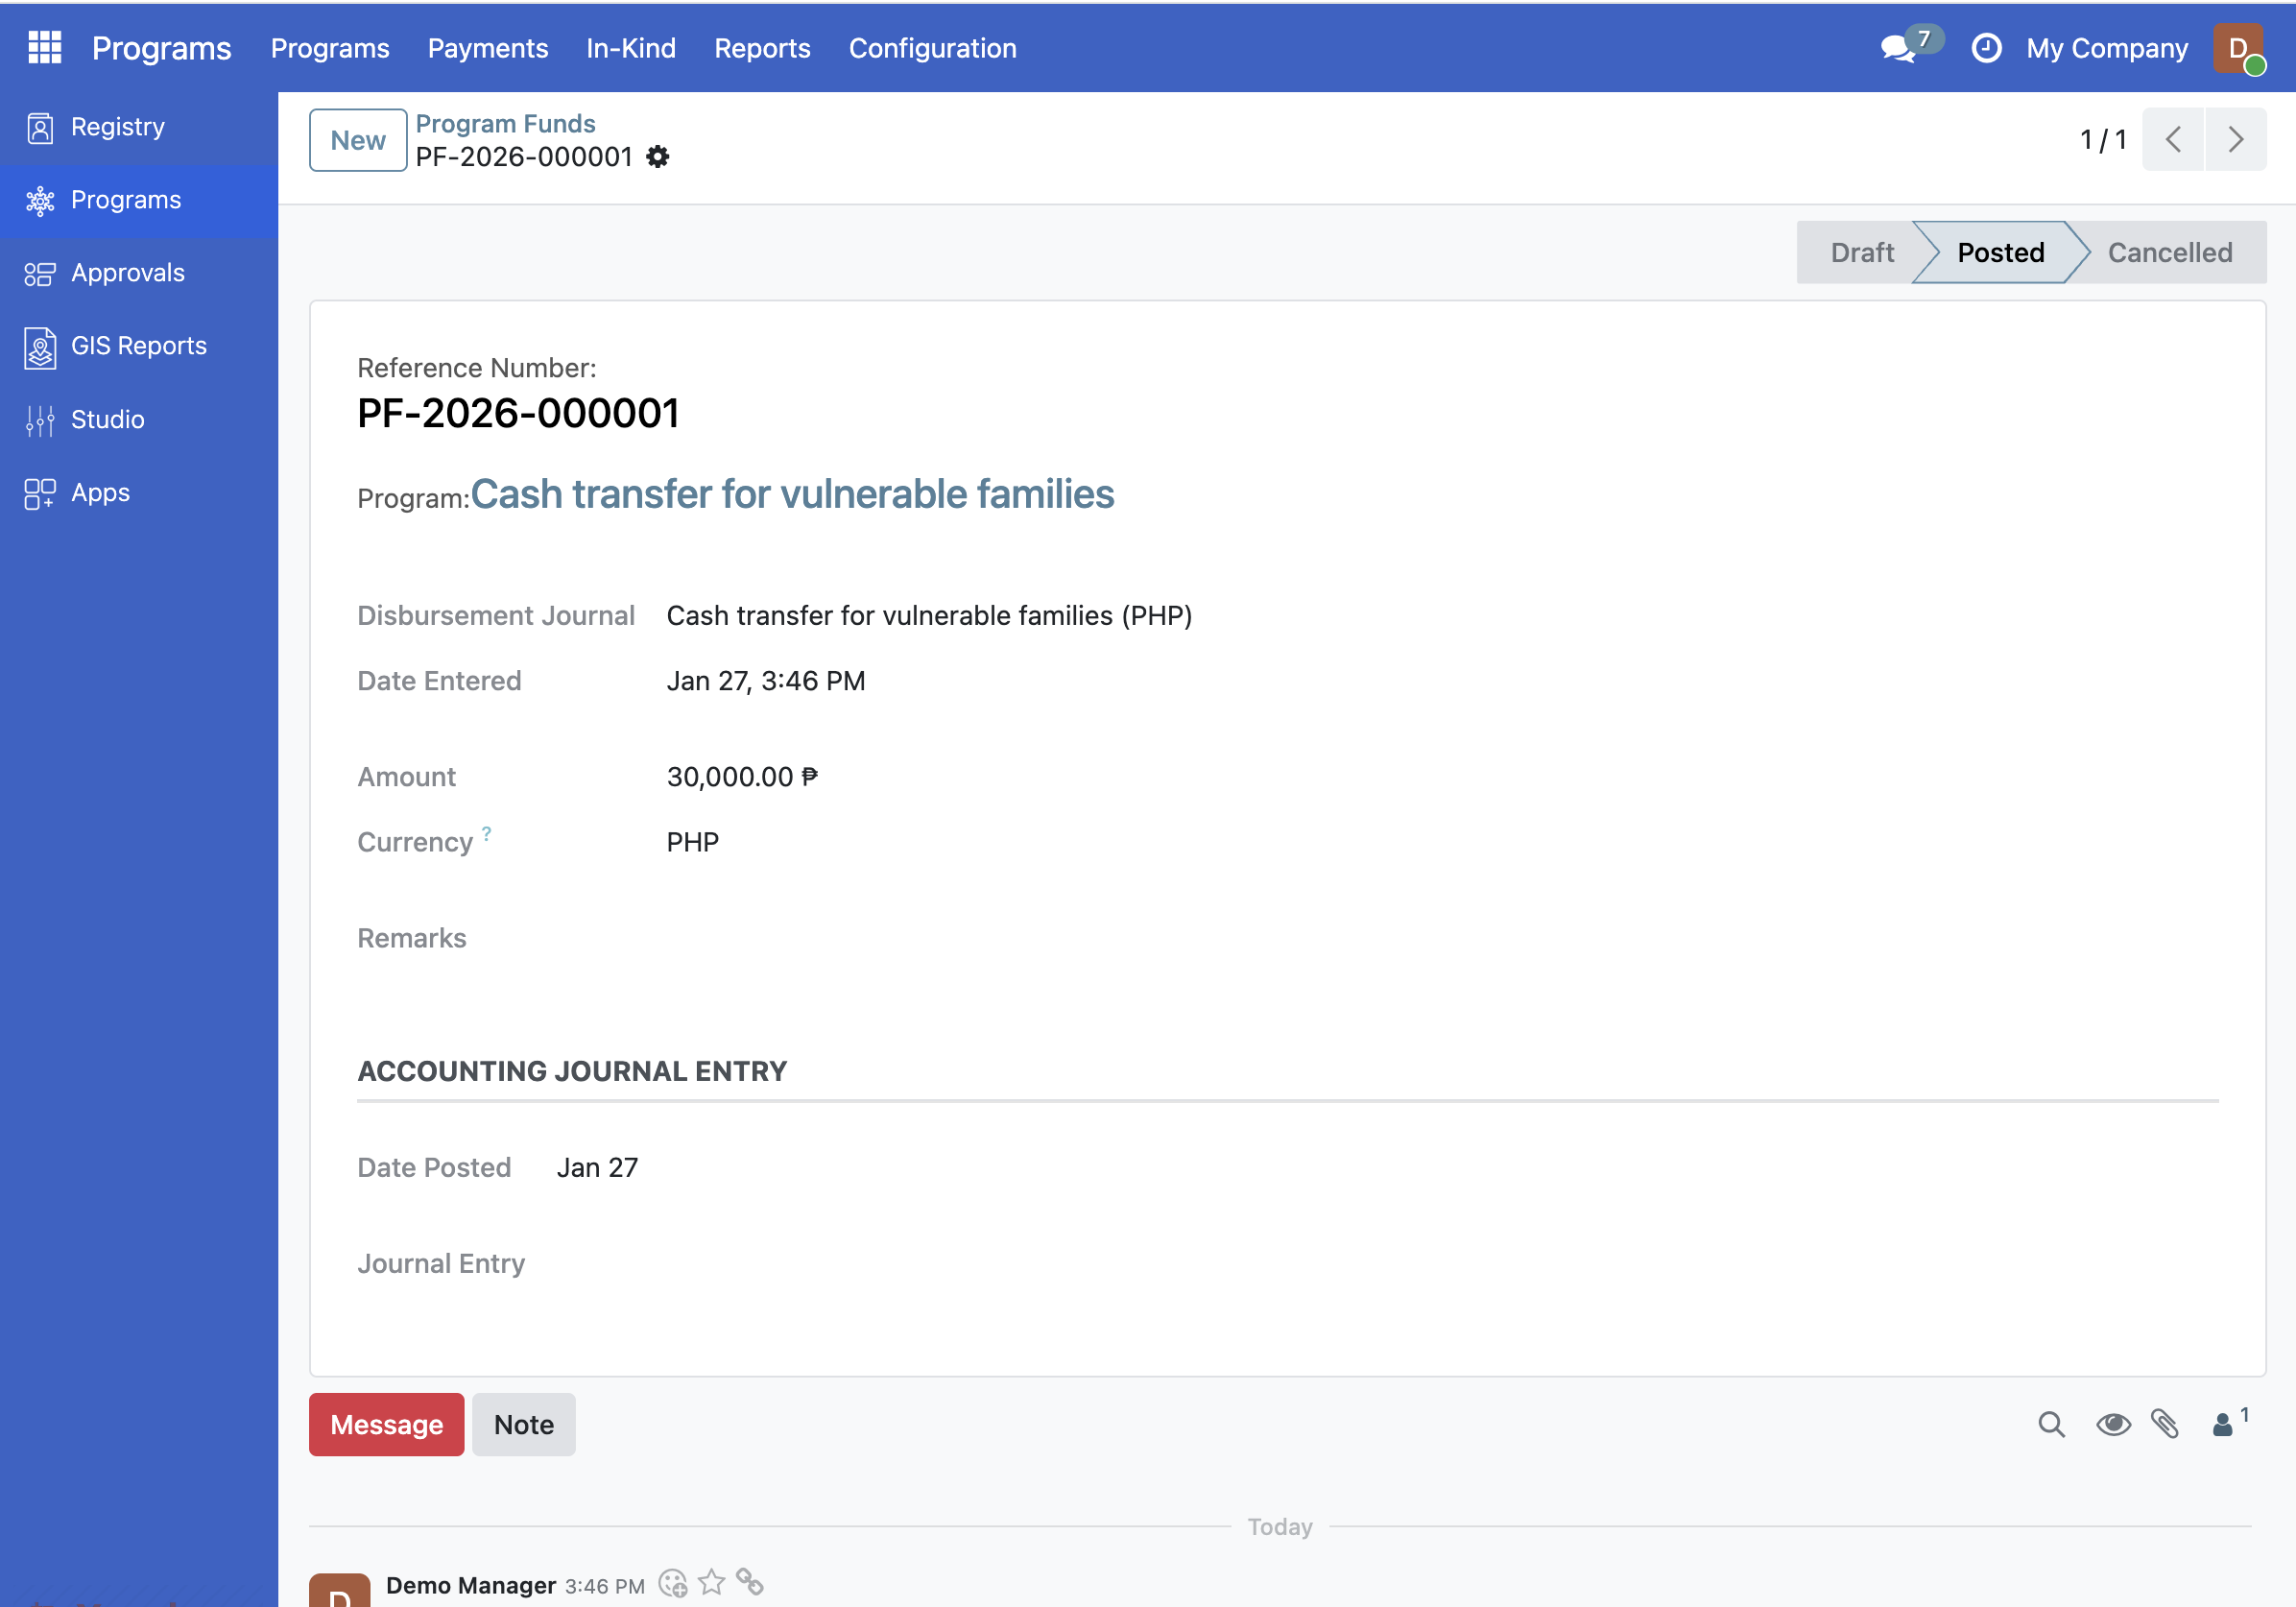
Enter the amount that should be allocated in the field Amount.

Click button Post to allocate the funds.
Note that the status is now updated to Posted.
What you accomplished#
You've successfully created your first social protection program with:
Program Name: Cash Transfer for Vulnerable Families
Target Type: Group (evaluating families, not individuals)
Currency: PHP (Philippine Peso)
Status: Active
You've successfully configured eligibility criteria for your program:
Income Rule: Families earning less than 10,000 PHP per month qualify
Children Rule: Families with at least one child under 5 qualify
Combined Logic: Families must meet BOTH rules to be eligible
You've successfully allocated funds for your program.
Are you stuck?#
Can't find the Programs menu? Make sure you're logged in with System Administrator or Program Manager role. Only users with these roles can create programs.
Create button is grayed out? You may not have the right permissions. Contact your system administrator.
Not sure whether to select Group or Individual as Target Type? Use Group when you want to evaluate entire families/households for eligibility (like this cash transfer program). Use Individual when benefits are for specific people regardless of their family (like an elderly pension program).
Don't see PHP in the currency list? Your OpenSPP installation may not have Philippine Peso enabled. You can use any currency available in the list - the process is the same. Common alternatives: USD (US Dollar), EUR (Euro), or your local currency.
The Save button doesn't work? Make sure you've filled in the required fields (marked with red text if missing):
Program Name
Target Type
Next step#
Now that your program exists, you need to add the registrants that are eligible to receive benefits. Continue to Step 3: Import and enroll beneficiaries.