Event Type Designer
Contents
Event Type Designer#
This guide is for implementers creating event types to capture field data and survey responses. You should be familiar with form design concepts, but you don't need programming knowledge.
What is Event Type Designer?#
Event Type Designer lets you create custom data collection forms for recording time-based observations about registrants. Define fields, validation rules, and approval workflows without writing code.
When to use Event Type Designer#
Use this tool when you collect data that changes over time or comes from field visits:
Use case |
Example event type |
|---|---|
Vulnerability assessments |
"PMT Survey" with scoring fields |
Field visits |
"Monthly Household Visit" tracking |
Verification surveys |
"Household Verification" checklist |
Program monitoring |
"Compliance Check" for conditional programs |
Health assessments |
"Nutrition Survey" for mother-child programs |
Mental model: events vs registry fields#
Registry fields |
Event data |
|---|---|
Permanent characteristics |
Time-based observations |
Name, birthdate, gender |
Survey responses, visit notes |
Changes rarely |
Changes regularly |
One value at a time |
Multiple records over time |
Examples: "Date of Birth" |
Examples: "Monthly Income Assessment" |
Rule of thumb: If you need to track history ("What was the value in June?"), use an event type. If you just need the current value, use a registry field.
Before you start#
Prerequisites#
Studio Editor or Studio Manager permissions
Understanding of what data you need to collect
Planning your event type#
Decide:
Name: Clear, descriptive name (e.g., "Vulnerability Assessment")
Target: Individuals, Groups, or both
Fields: What data to collect and their types
Multiple events?: Can a registrant have multiple events of this type?
Approval: Do events need review before becoming active?
Creating an event type#
There are two ways to create an event type:
Form view (default): Full configuration on one page with tabs
Wizard (alternative): Guided 3-step process
Method 1: Using the form view (recommended)#
Step 1: Open Event Type Designer#
Click Studio in the main menu
Click Event Types (under Forms & Fields)
Click the New button
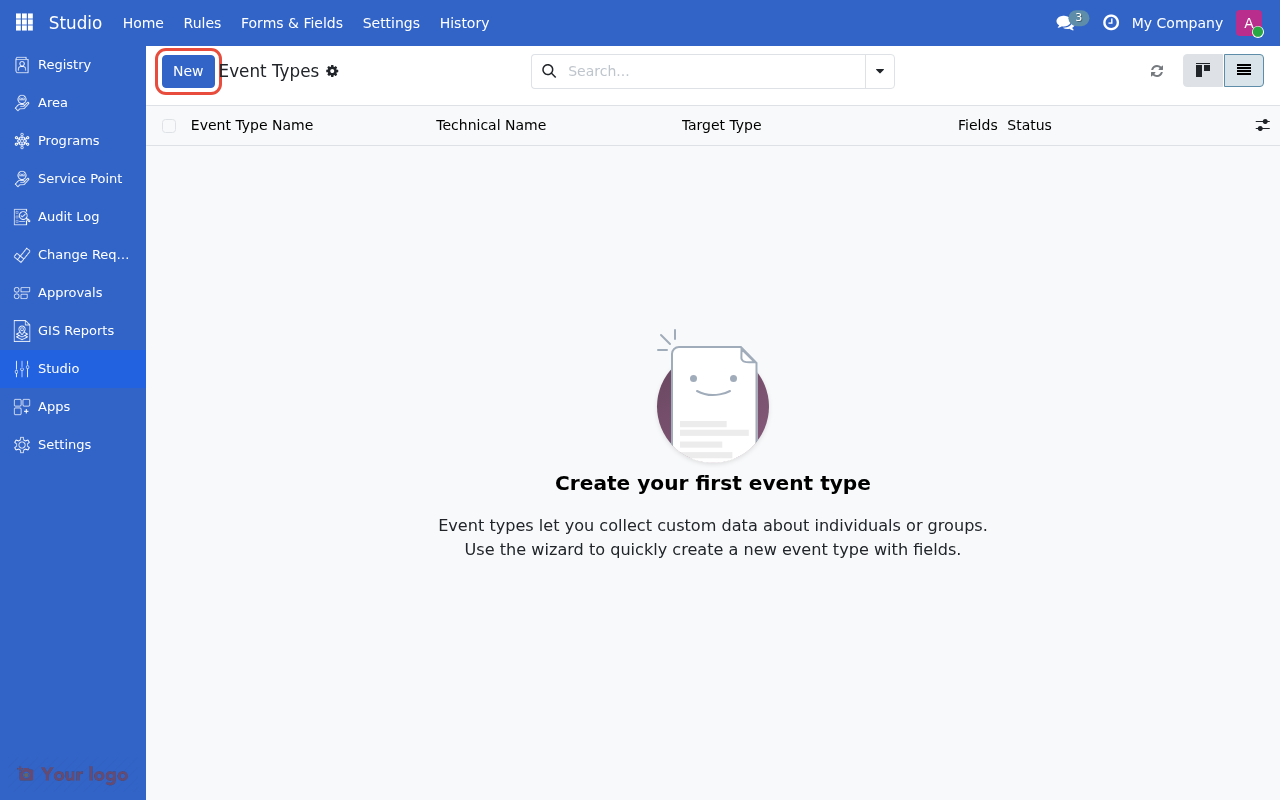
Click New to create a new event type.#
Step 2: Enter basic information#
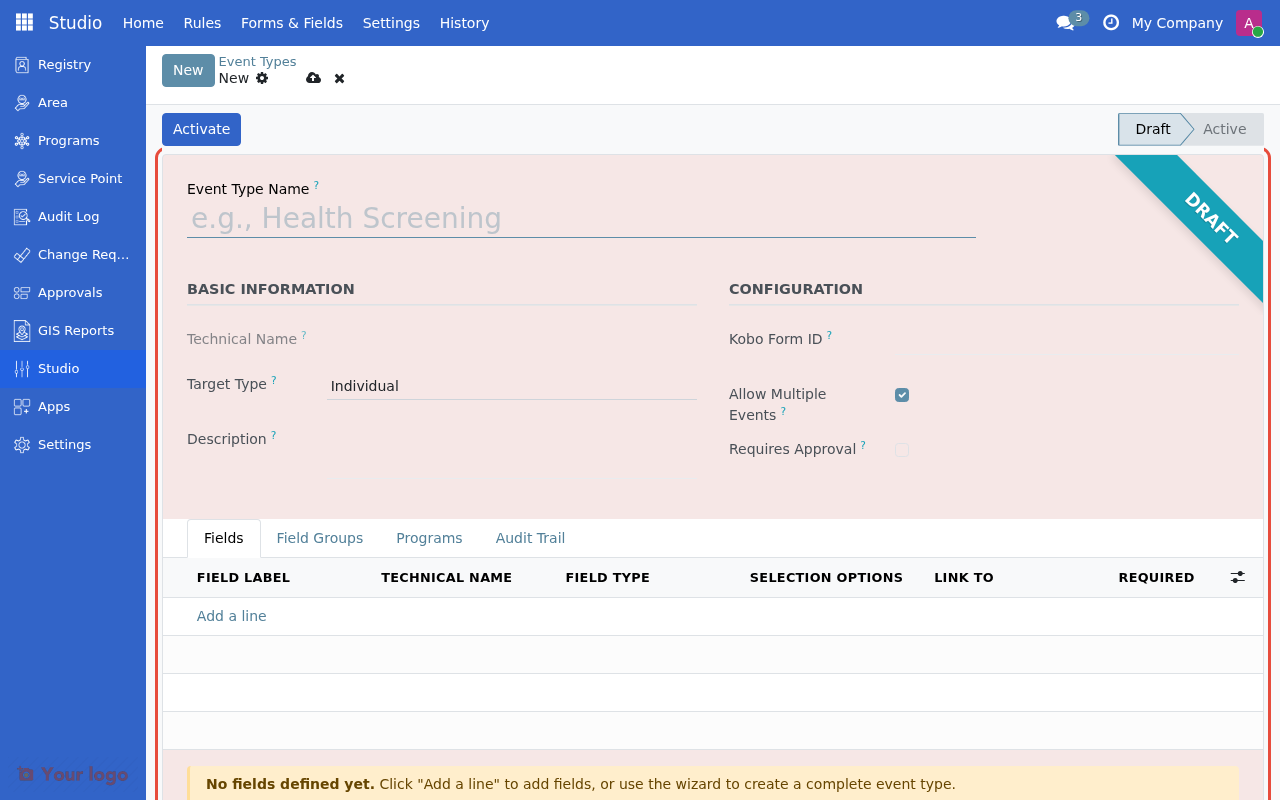
The event type form with Basic Information and Configuration sections.#
Field |
What to enter |
Example |
|---|---|---|
Event Type Name |
Descriptive name |
"Vulnerability Assessment" |
Technical Name |
Auto-generated code (read-only) |
|
Target Type |
Who this event applies to |
Individual, Group, or Both |
Description |
Optional explanation |
"Annual household vulnerability survey" |
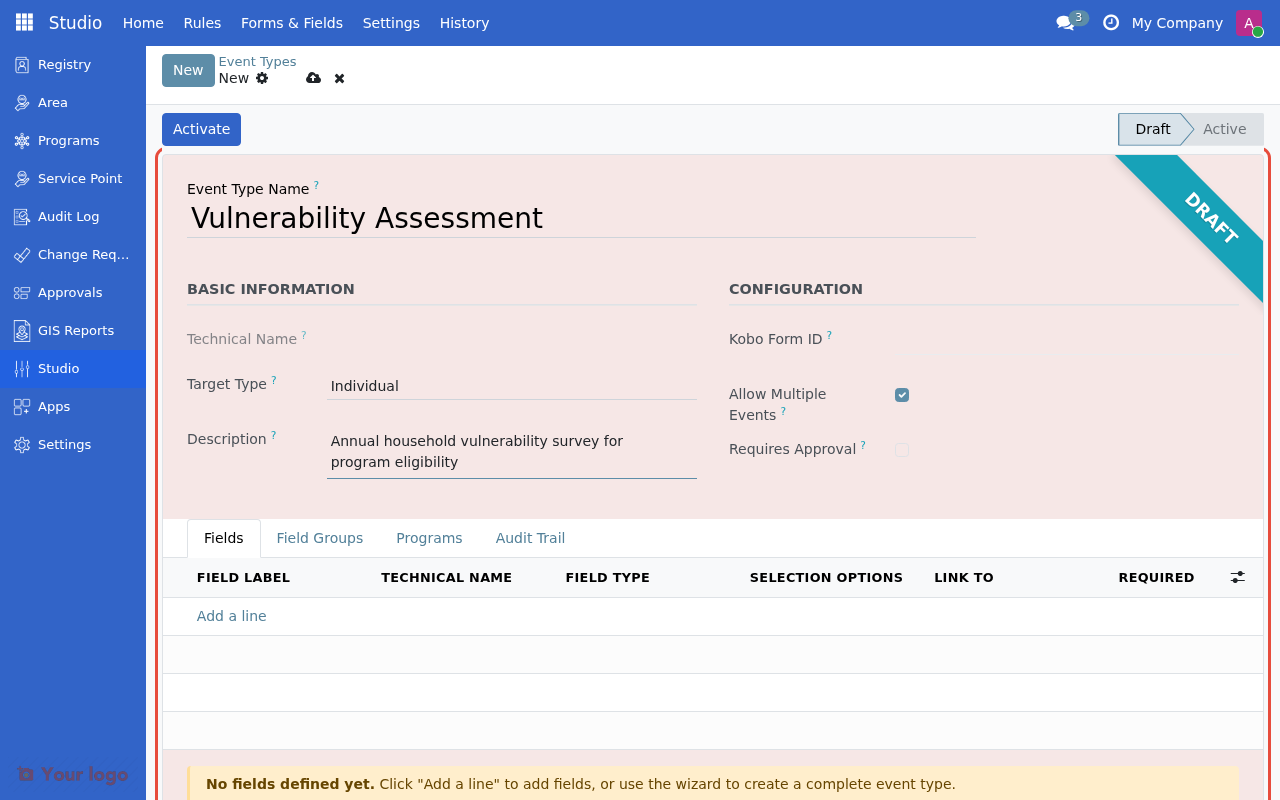
Enter the event type name, target type, and description.#
Step 3: Configure options#
Field |
What it does |
Default |
|---|---|---|
Kobo Form ID |
Link to a KoBoToolbox form (optional) |
Empty |
Allow Multiple Events |
If checked, a registrant can have multiple events of this type |
Checked |
Requires Approval |
If checked, events need review before activation |
Unchecked |
Tip: Uncheck "Allow Multiple Events" if only the latest assessment matters (e.g., vulnerability scores where only the most recent is relevant).
Step 4: Define fields#
Click the Fields tab to add your data collection fields.
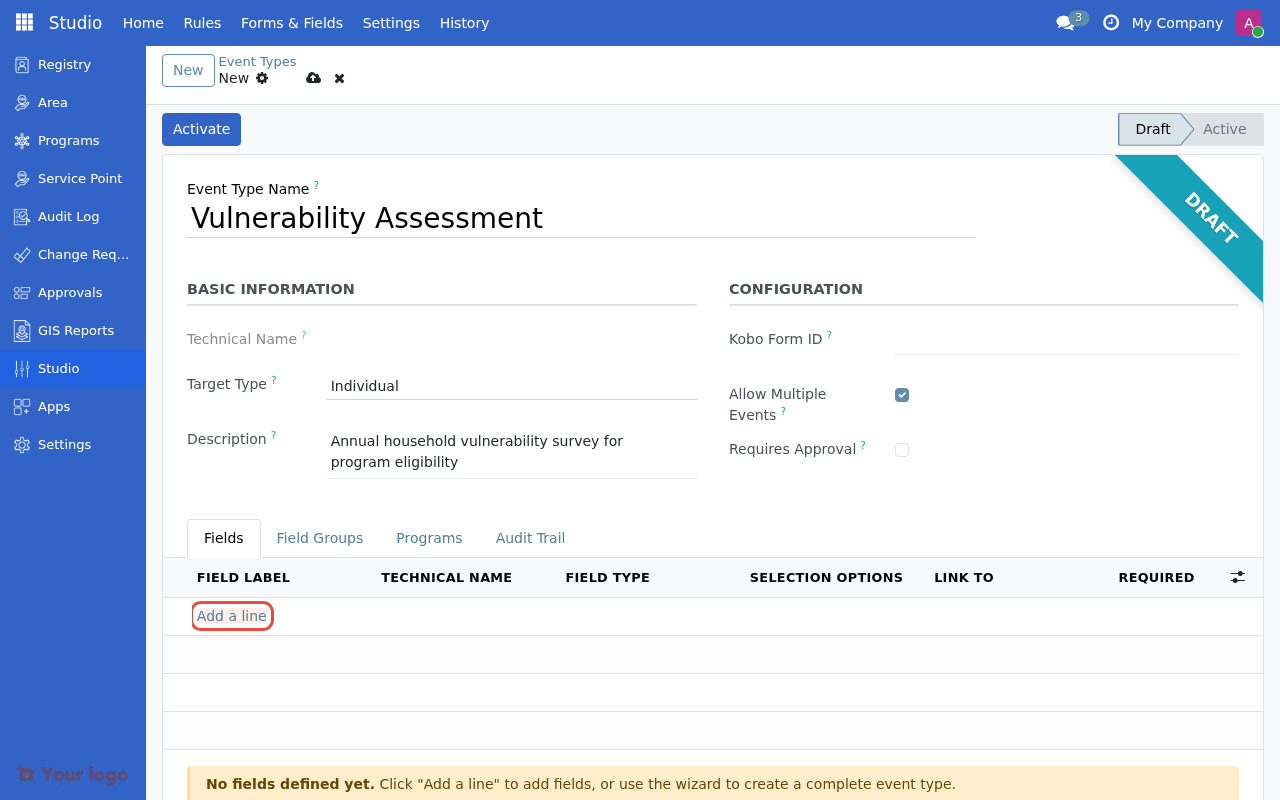
Click Add a line to start adding fields to your event type.#
Click Add a line to create each field:
Setting |
What to enter |
|---|---|
Field Label |
What users see (e.g., "Monthly Income") |
Field Type |
Type of data (see table below) |
Required |
Check if field must be filled |
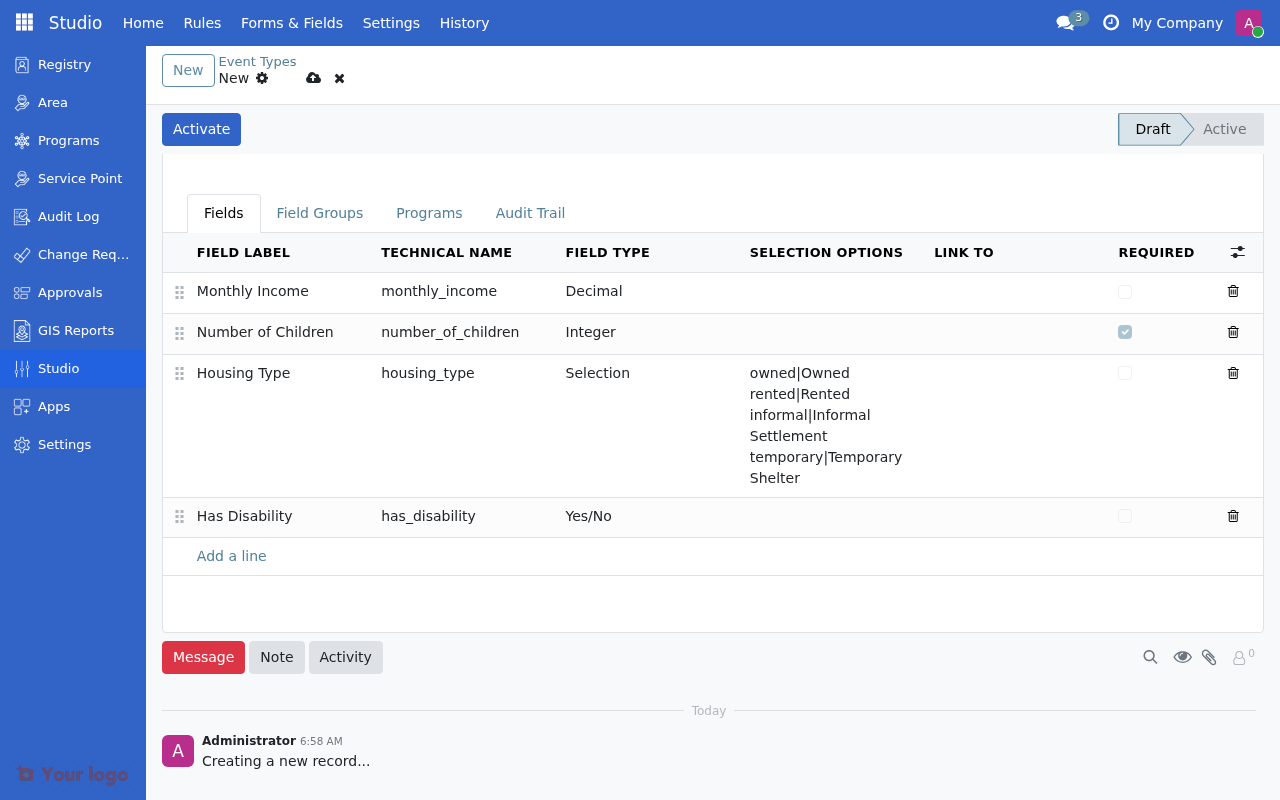
Fields added to the event type with labels, types, and options configured.#
Available field types#
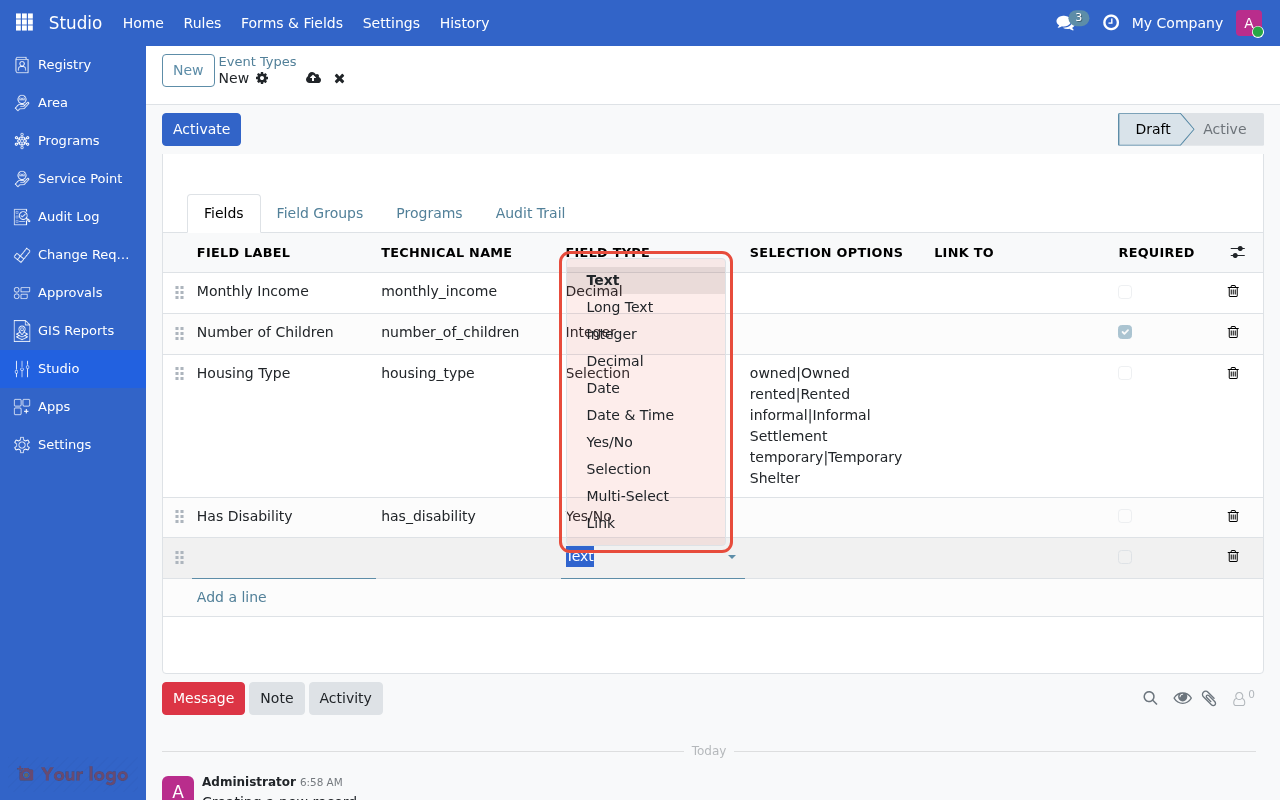
Select the field type from the dropdown.#
Type |
Use for |
Example |
|---|---|---|
Short Text |
Names, codes, short answers |
"Household ID" |
Long Text |
Notes, descriptions, comments |
"Visit observations" |
Whole Number |
Counts, quantities |
"Number of children" |
Decimal Number |
Amounts, measurements |
"Monthly income" |
Date |
Calendar dates |
"Assessment date" |
Date & Time |
Timestamps |
"Visit timestamp" |
Yes/No |
True/false, checkboxes |
"Household present?" |
Single Choice |
Dropdown selection |
"Housing type" |
Multiple Choice |
Multi-select options |
"Income sources" |
Link to Record |
Reference another record |
"Assigned case worker" |
Configuring selection fields#
For Single Choice and Multiple Choice fields, enter options in the Selection Options column:
value1|Label 1
value2|Label 2
value3|Label 3
Example for "Housing Type":
owned|Owned
rented|Rented
informal|Informal Settlement
temporary|Temporary Shelter
Adding validation rules (optional)#
Click on a field row to open the field details form where you can configure:
Validation type |
Use for |
Example |
|---|---|---|
None |
No validation |
Default |
Value Range |
Min/max for numbers |
Income between 0 and 1,000,000 |
Pattern Match |
Regex for text |
Phone number format |
Configuring conditional visibility (optional)#
Show or hide fields based on other field values:
Setting |
What it does |
|---|---|
Visibility |
Always Visible or Conditional |
Show When Field |
Which field to check |
Condition |
Is Set, Is Not Set, Equals, Does Not Equal |
Value |
Value to compare (for Equals/Does Not Equal) |
Example: Show "Disability Type" field only when "Has Disability" is Yes.
Step 5: Organize with field groups (optional)#
Click the Field Groups tab to organize fields into tabs in the data entry form.
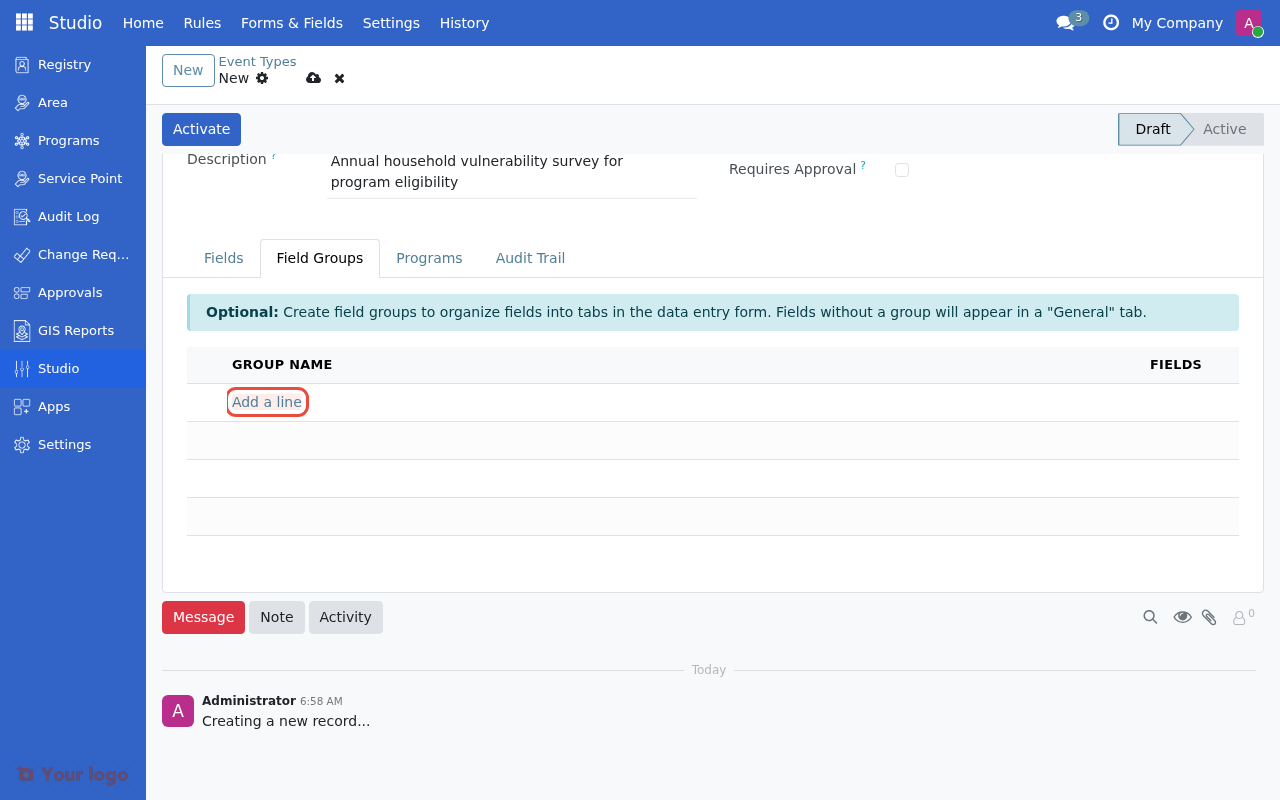
Click Add a line to create field groups for organizing fields into tabs.#
Click Add a line to create a group
Enter a group name (e.g., "Demographics", "Economic Status")
In the Fields tab, assign fields to groups using the Group column

Field groups organize fields into separate tabs in the data entry form.#
Fields without a group appear in a "General" tab.
Step 6: Save as draft#
Click Save to create the event type in Draft state.
Note
Event types are created in Draft status by default. Draft event types can be edited freely but are not available for data entry until activated.
Method 2: Using the wizard#
The wizard provides a guided 3-step process:
Basic Info: Name, target type, description
Add Fields: Define fields inline
Review: Summary and final options
To access the wizard, look for "use the wizard" in the empty state message or access it from the Action menu.
Event type lifecycle#
Event types follow a three-state lifecycle:
Draft ──► Active ──► Inactive
  ▲                     │
  └─────────────────────┘
      (can reactivate)
State |
Can edit fields? |
Can edit settings? |
Can be used? |
Actions available |
|---|---|---|---|---|
Draft |
Yes |
Yes |
No |
Activate |
Active |
No (locked) |
Limited |
Yes |
Deactivate, Enter Event |
Inactive |
No (locked) |
Limited |
No |
Reactivate, Set to Draft |
Why these restrictions? Once active, changing fields would break existing event records. To modify structure: deactivate, create a new version, and migrate data (requires developer assistance).
Activating an event type#
Open the event type in Draft state
Click Activate (requires Studio Manager permission)
The event type becomes available for data entry
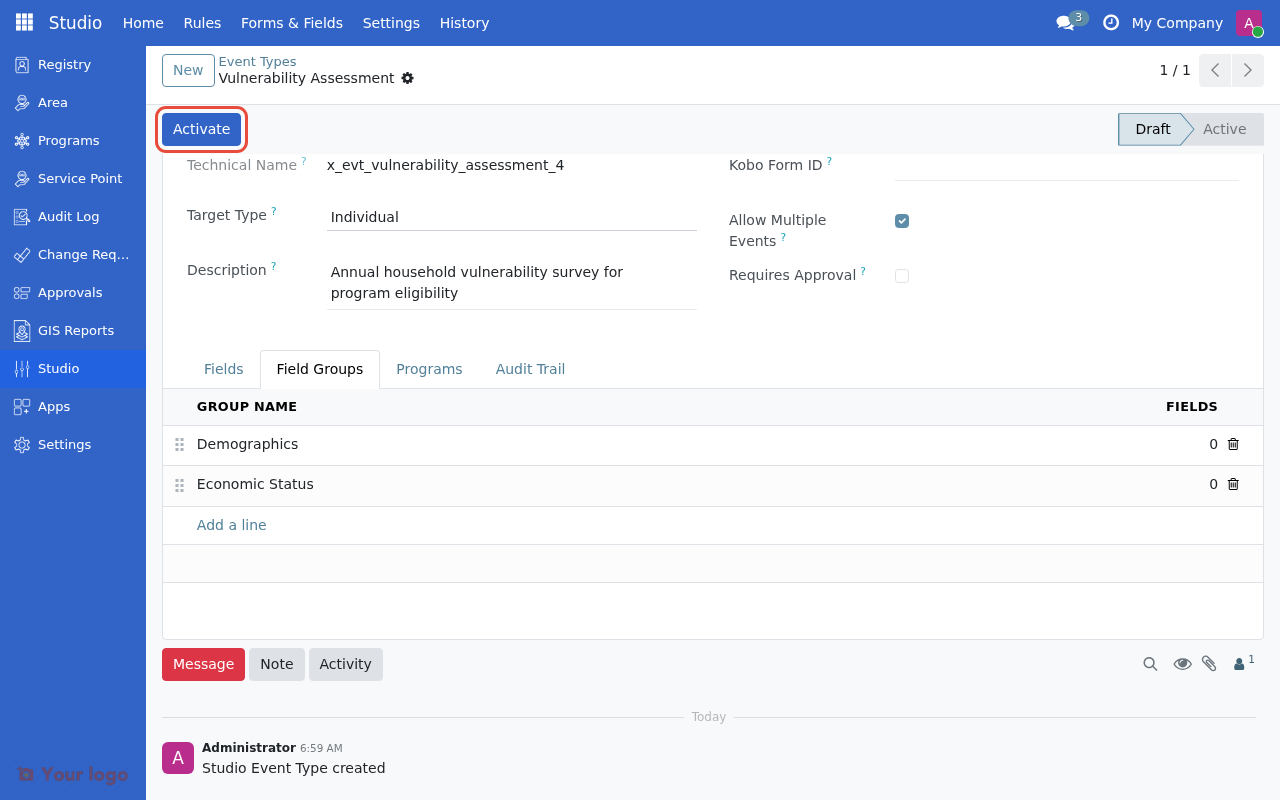
Click Activate to make the event type available for data entry.#
Deactivating an event type#
Open an Active event type
Click Deactivate
Existing events remain but no new events can be created
Reactivating an event type#
Open an Inactive event type
Click Reactivate to make it Active again
Or click Set to Draft to allow editing (if no events exist)
Using event types#
Entering event data#
Once an event type is active:
Go to Registry and open an individual or group record
Look for the Events tab
Click to add a new event
Select the event type and fill in the fields
Save
Viewing events#
From a registrant record:
The Events tab shows all recorded events
Click an event to view details
From the event type:
Click View Events to see all events of this type
Use filters to find specific records
Kobo integration (optional)#
If you collect data using KoBoToolbox, you can link an event type to a Kobo form:
Enter the Kobo Form ID in the event type configuration
This is for reference only - manual data entry is still required
Note
Automatic synchronization with KoBoToolbox is not currently implemented. The Kobo Form ID field allows you to document which Kobo form corresponds to this event type.
Managing event types#
View all event types#
Studio > Event Types shows all event types:
Column |
Shows |
|---|---|
Name |
Event type name |
Technical Name |
Internal code |
Target Type |
Individual, Group, or Both |
Fields |
Number of fields defined |
State |
Draft, Active, or Inactive |
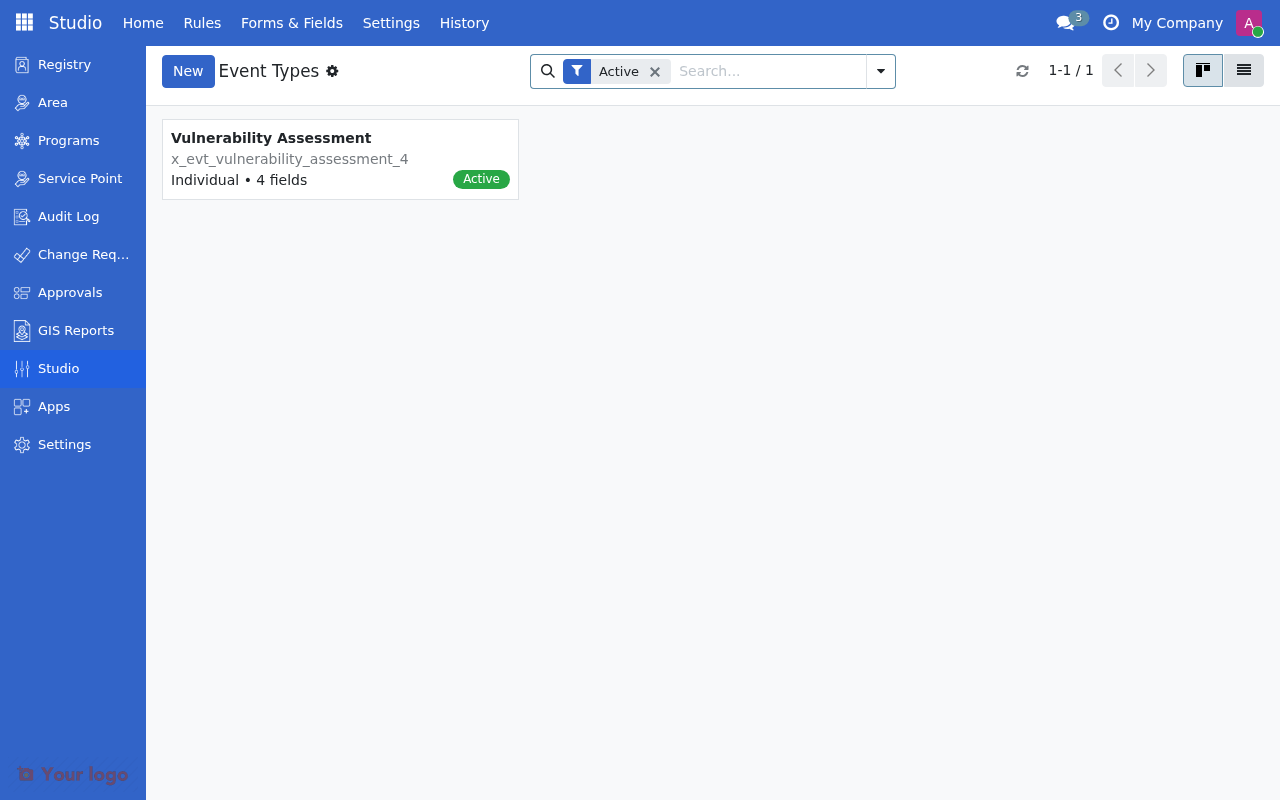
The event type now shows Active status in the Event Types list.#
Filtering event types#
Use the search and filter options:
Filter by state: Draft, Active, Inactive
Filter by target: Individual, Group, Both
Search by name: Find specific event types
Are you stuck?#
Can't see the Activate button?
You need Studio Manager permission
The event type must have at least one field defined
Check that you're viewing a Draft event type
Can't edit fields on an active event type?
Active event types have locked field definitions
Deactivate first, then edit (note: this affects data entry)
Or create a new version of the event type
Selection options not saving correctly?
Use the format:
value|Label(one per line)The value (before |) is stored; the label (after |) is displayed
Don't include spaces around the pipe character
Field not appearing in data entry form?
Check that the field is not set to "Conditional" visibility
If conditional, verify the condition is being met
Ensure the event type is Active
Want to change fields after activation? This is difficult because existing events use the current structure. Options:
Create a new event type with the updated fields
Deactivate the old type (existing data remains)
Contact a developer for data migration
How do I export event data? Event data export is not part of Studio. Contact your administrator for reports or data exports.
What if registrants have multiple events? Depends on the "Allow Multiple Events" setting:
Checked: All events remain active and visible
Unchecked: Only the latest event is shown as current
Next steps#
Define eligibility rules using event data: CEL expressions
Add custom registry fields: Custom Fields (Registry Field Builder)
Return to Studio overview: Studio Overview