Outgoing email configuration
Contents
Outgoing email configuration#
Used for sending system notifications, user invitations, password resets, and other communications from OpenSPP to users and beneficiaries. Configuring an outgoing email server also allows OpenSPP to send emails using your organization's own email service. This ensures better deliverability, branding, and control over your email communications.
Prerequisites#
To configure an outgoing email server, you will need:
A user account with System Admin role. For details on user roles and access levels, refer to the User access documentation.
The connection details for your SMTP email server:
SMTP server address (e.g.,
smtp.youremailserver.com)SMTP port (e.g., 587, 465, or 25)
Connection security type (None, SSL/TLS, or STARTTLS)
Username and password for the email account that will be used to send emails.
Objective#
After completing this section, you will be able to configure OpenSPP to reliably send emails using your own custom SMTP server.
Process#
The process involves activating developer mode, navigating to the outgoing email server settings, creating a new configuration, and testing it to ensure it works correctly.
Activate developer mode#
To access the technical settings required for email configuration, you must first activate developer mode.
Click on the menu icon in the top-left corner and select Settings.
Scroll to the bottom of the Settings page.
Click Activate the developer mode.
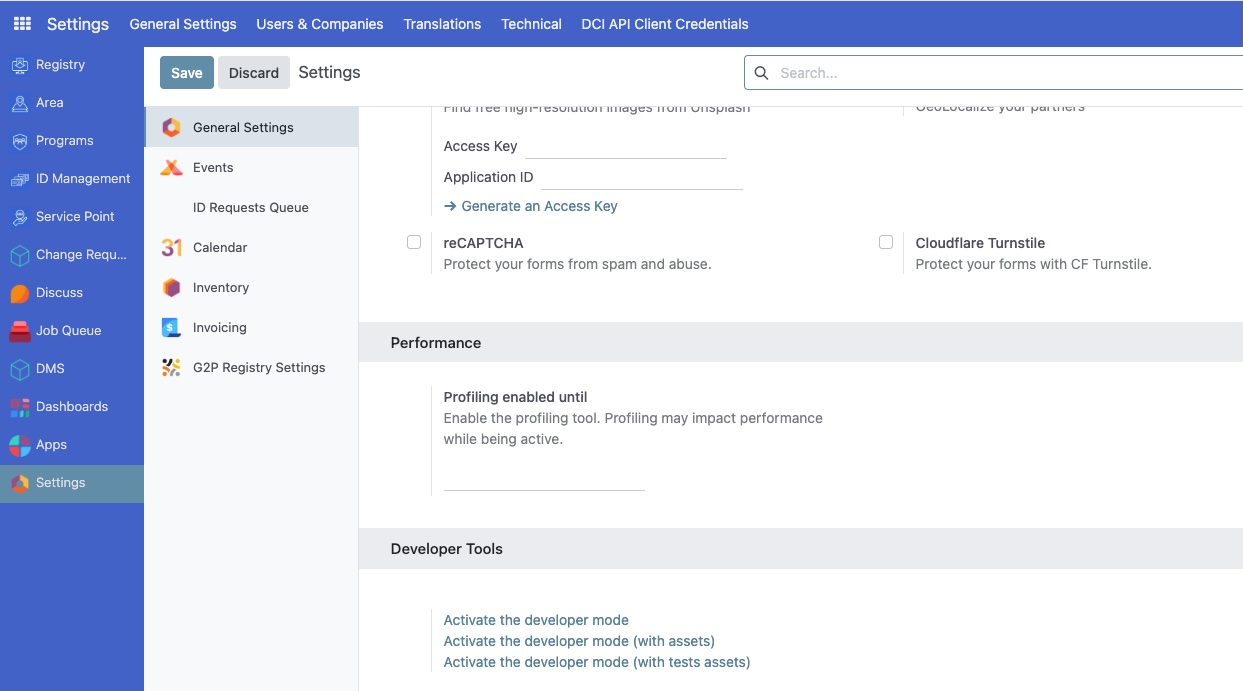
Once activated, a bug icon will appear in the top-right corner of the header, and new technical menus will become available.
Navigate to outgoing email servers#
With developer mode active, you can now access the menu for configuring outgoing email servers.
Go back to the main Settings page.
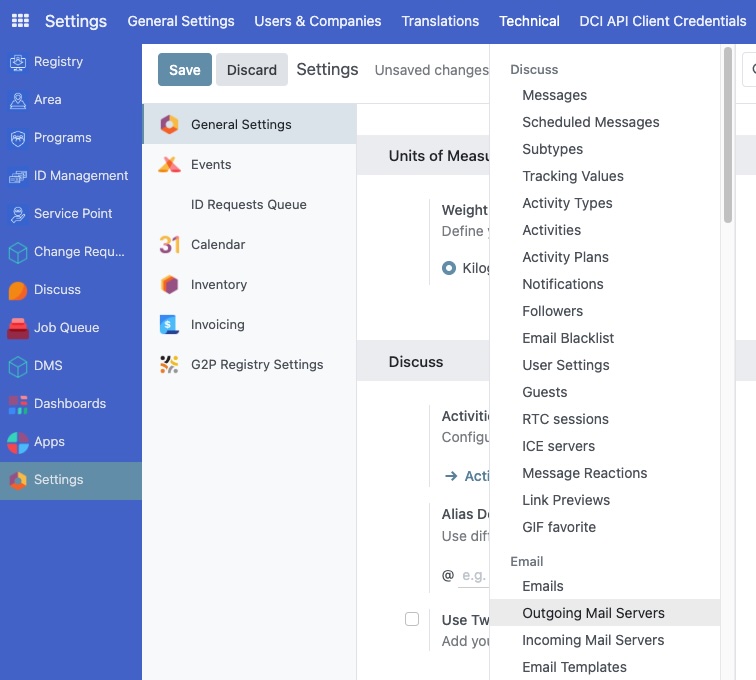
Click on the Technical menu in the header.
Under the Email section, click on Outgoing Email Servers.
Create a new server configuration#
On the Outgoing Email Servers page, you will see a list of any existing servers.
Click the New button to create a new configuration.
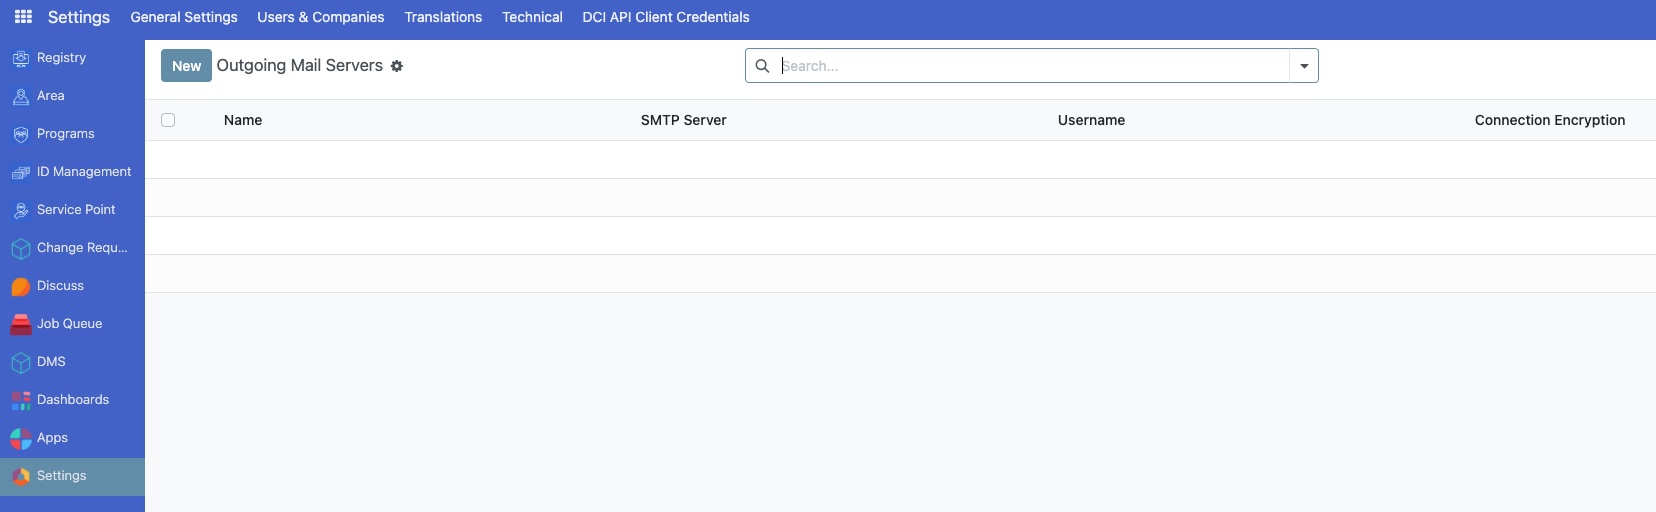
This will open a new form where you can enter your SMTP server details.
Fill in server details#
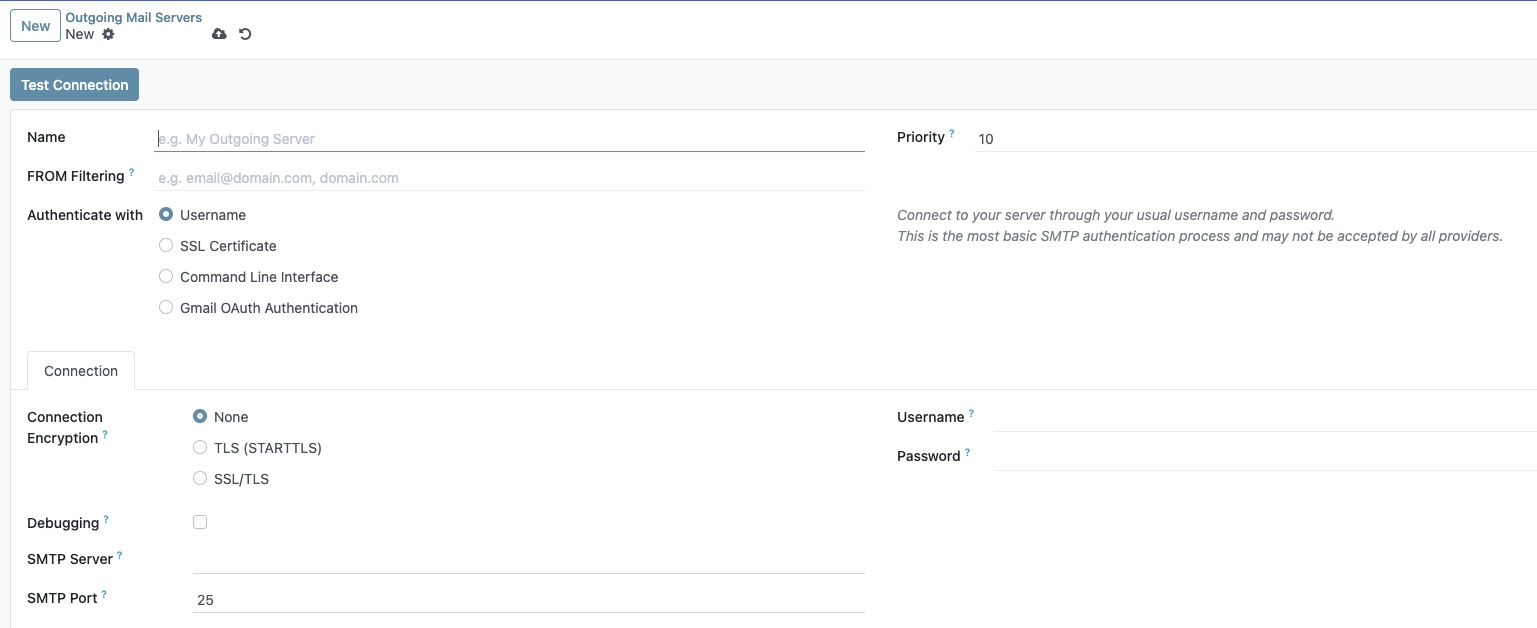
Now, fill in the form with the details from your email provider.
Name: Enter a user-friendly name for this configuration, such as
My Organization's Email Server.Priority: Set this to a low number, like
1. Odoo uses the server with the lowest priority number as the default.Connection Encryption: Select the appropriate security protocol.
TLS (STARTTLS)is a common and secure choice.Username: Enter the full email address of the account you are using to send mail.
Password: Enter the password for the email account. It is recommended to use an "App Password" if your provider supports it.
SMTP Server: Enter your server's address. For this guide, we'll use
smtp.youremailserver.com.SMTP Port: Enter the port number.
587is common for STARTTLS.
Test and save the configuration#
After filling in all the details, it's crucial to test the connection to ensure everything is correct.
Click the Test Connection button at the top of the form.
If the configuration is correct, you will see a confirmation message.
If you see an error, double-check your server details, username, and password.
Once the test is successful, click the Save button.