Custom fields
Contents
Custom fields#
Custom fields are a powerful feature in OpenSPP that allow administrators to add new data fields to registrant profiles without requiring developer intervention. They can be used to capture additional information that is specific to a program's needs, such as a secondary contact number, a disability status, or any other piece of data not included in the standard OpenSPP setup.
This guide provides step-by-step instructions on how to create a simple custom field using the Custom Fields UI. We will create a field to store a "Secondary Phone Number" for an individual.
Note
The Custom Fields UI is designed for creating straightforward, user-defined fields for direct data entry. For fields that require automatic calculation or complex logic, see the Indicator fields guide.
Prerequisites#
To create and manage custom fields, you need:
A user account with the System Admin role. For more details, see the User access guide.
The OpenSPP Custom Fields (spp_custom_field) and OpenSPP Custom Fields UI (spp_custom_fields_ui) modules must be installed and activated in your OpenSPP instance. For more details, see the Module installation guide.
Objective#
After completing this tutorial, you will understand how to create, configure, and verify a custom field in OpenSPP.
Process#
The process involves navigating to the Custom Fields menu, defining the properties of the new field, and verifying its presence on the individual records.
Navigate to Custom Fields#
First, access the Custom Fields management interface.
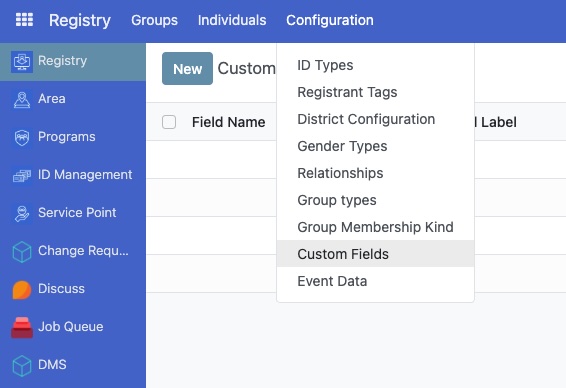
Click on the menu icon in the top-left corner and select Registry.
In Registry, click the Configuration menu.
Click on the Custom Fields sub-menu.
Create a new field#
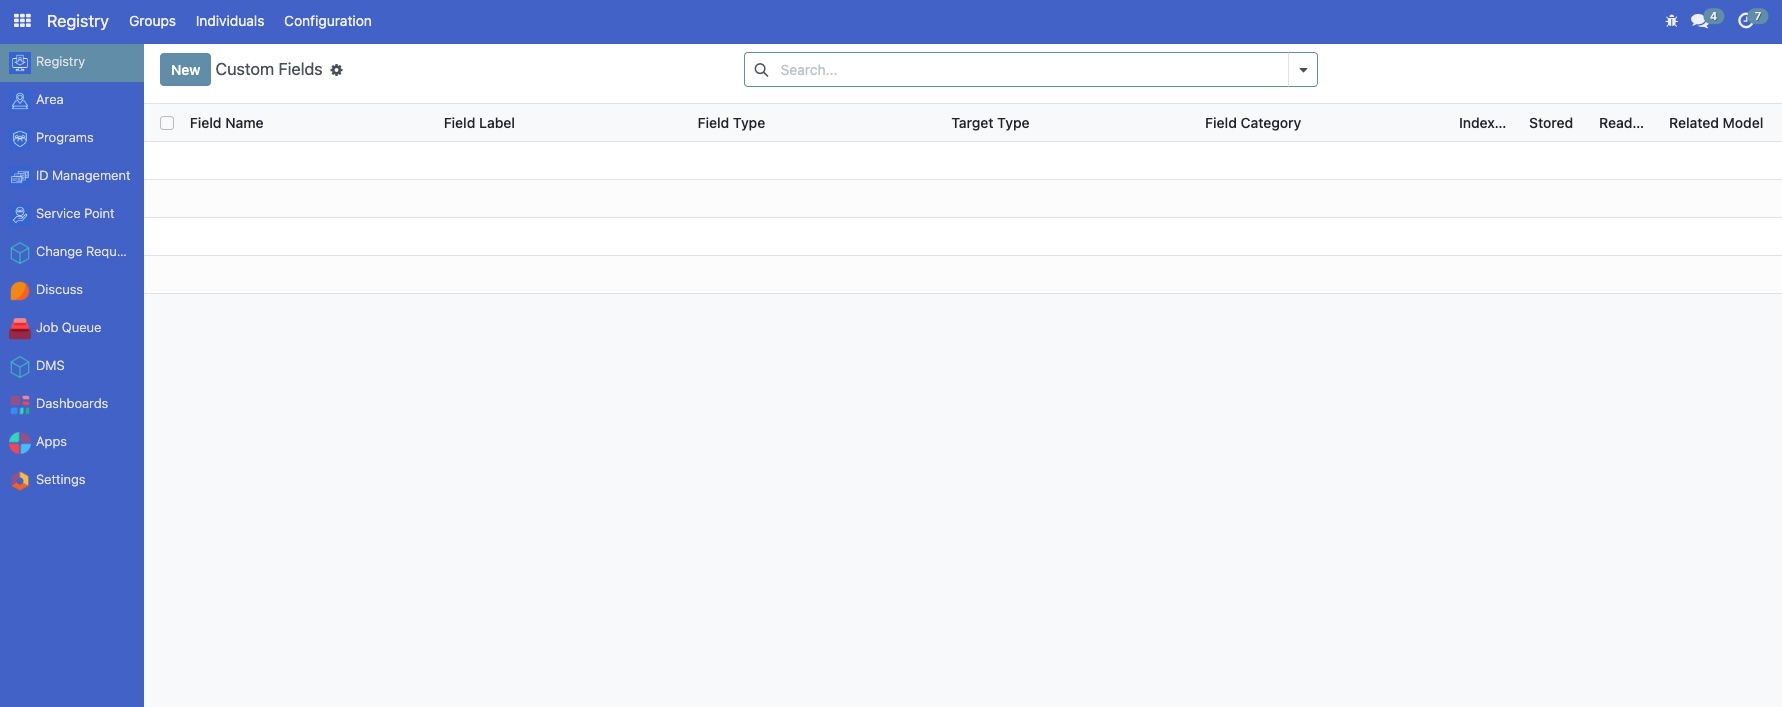
On the Custom Fields page, you will see a list of existing custom fields.
Click the New button to start creating a new custom field.
The Custom Fields form view will appear.
Configure basic properties#
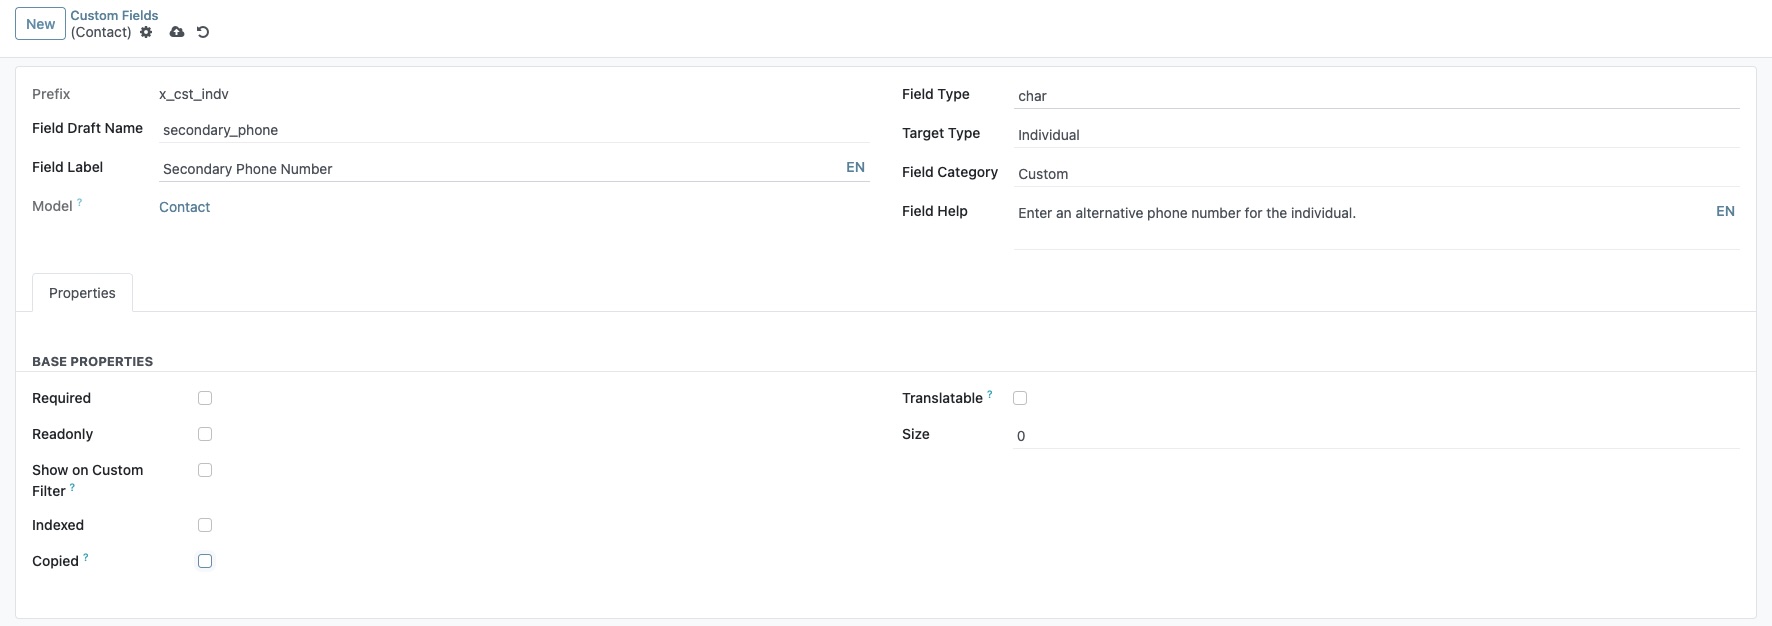
Now, define the basic characteristics of your new custom field. For this example, we are adding a secondary phone number field for individuals.
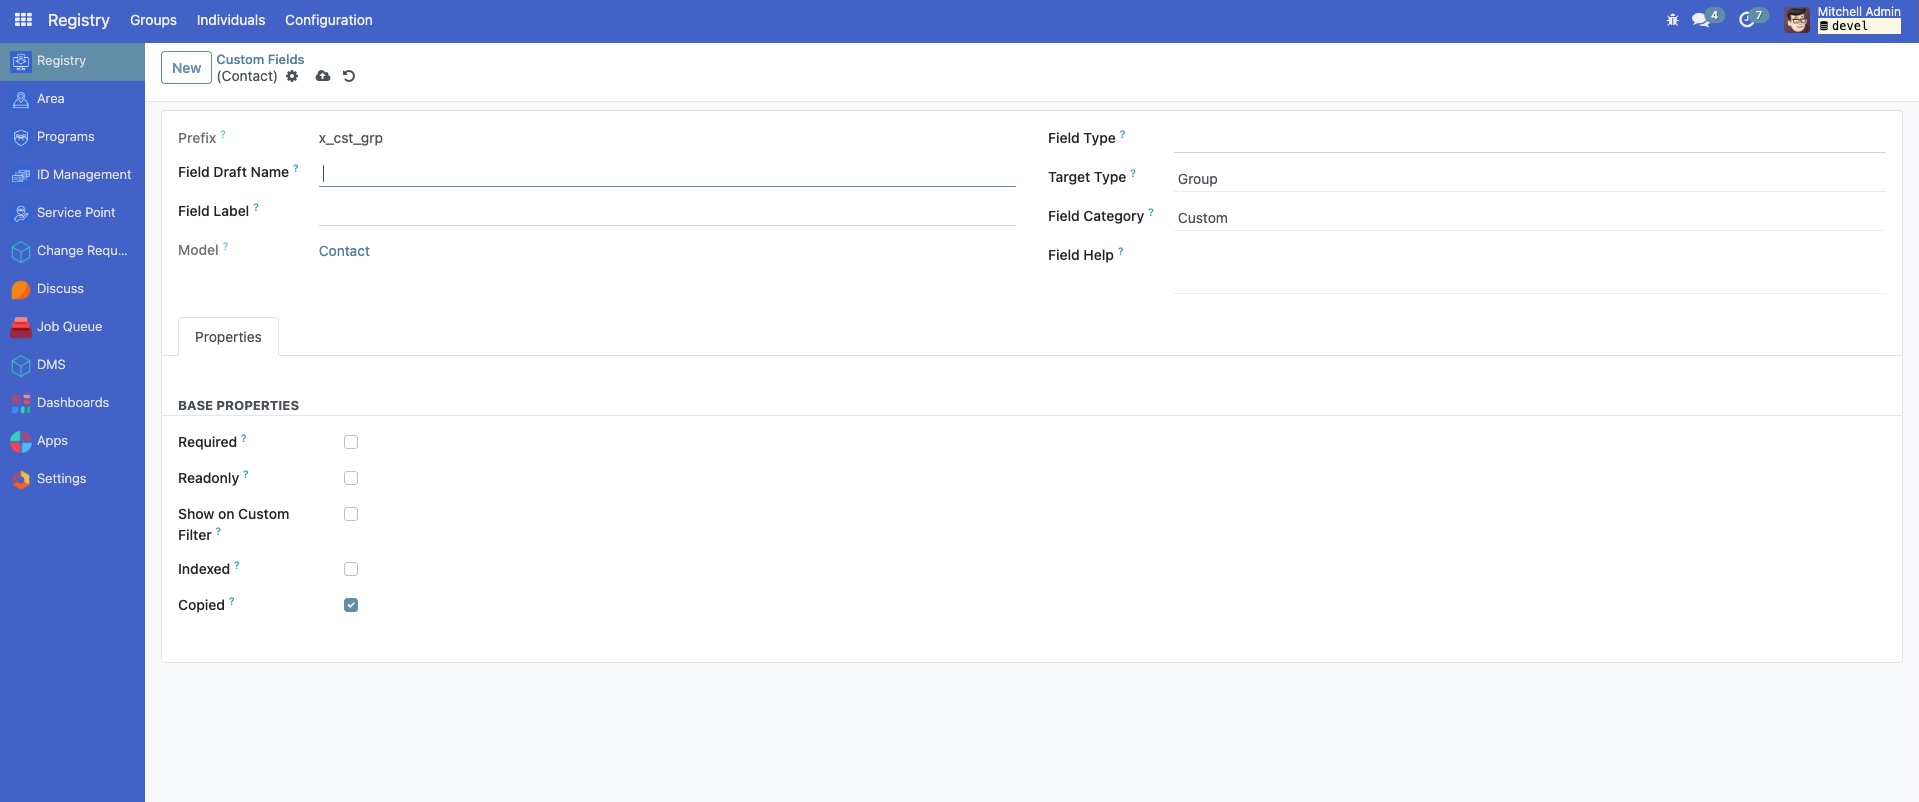
Field Draft Name: Enter a technical name for the field, such as
secondary_phone. This name should be unique and follow standard naming conventions (lowercase with underscores).Field Label: Provide a user-friendly label, like
Secondary Phone Number. This is what users will see on the interface.Field Type: Select
Char, as a phone number is best stored as a text string.Target Type: Choose
Individual, because the field will be added to each individual's record.Field Category: Select
Custom. This designates the field as a standard data entry field.Field Help: Specify a text that will appear as a tooltip or description for the field, for example, "Enter an alternative phone number for the individual."

Configure properties (Optional)#
Since this is a standard custom field, you do not need to provide computation logic. However, you can configure its behavior in the Properties tab.
Required: Check this box if you want to make this field mandatory for all records.
Read-only: Check this box to prevent users from editing the field's value through the user interface.
Index: Check this box to create a database index on this field. This can improve performance for filtering and searching on large datasets. This option should typically be managed by a developer or system administrator.
Copied: Determines if the value of this field is copied when a record is duplicated.
For our example, we will leave these options unchecked.
Save and open an individual record#
Once all properties are configured, save the new field.
Click the Save button. OpenSPP will create the new field in the database.
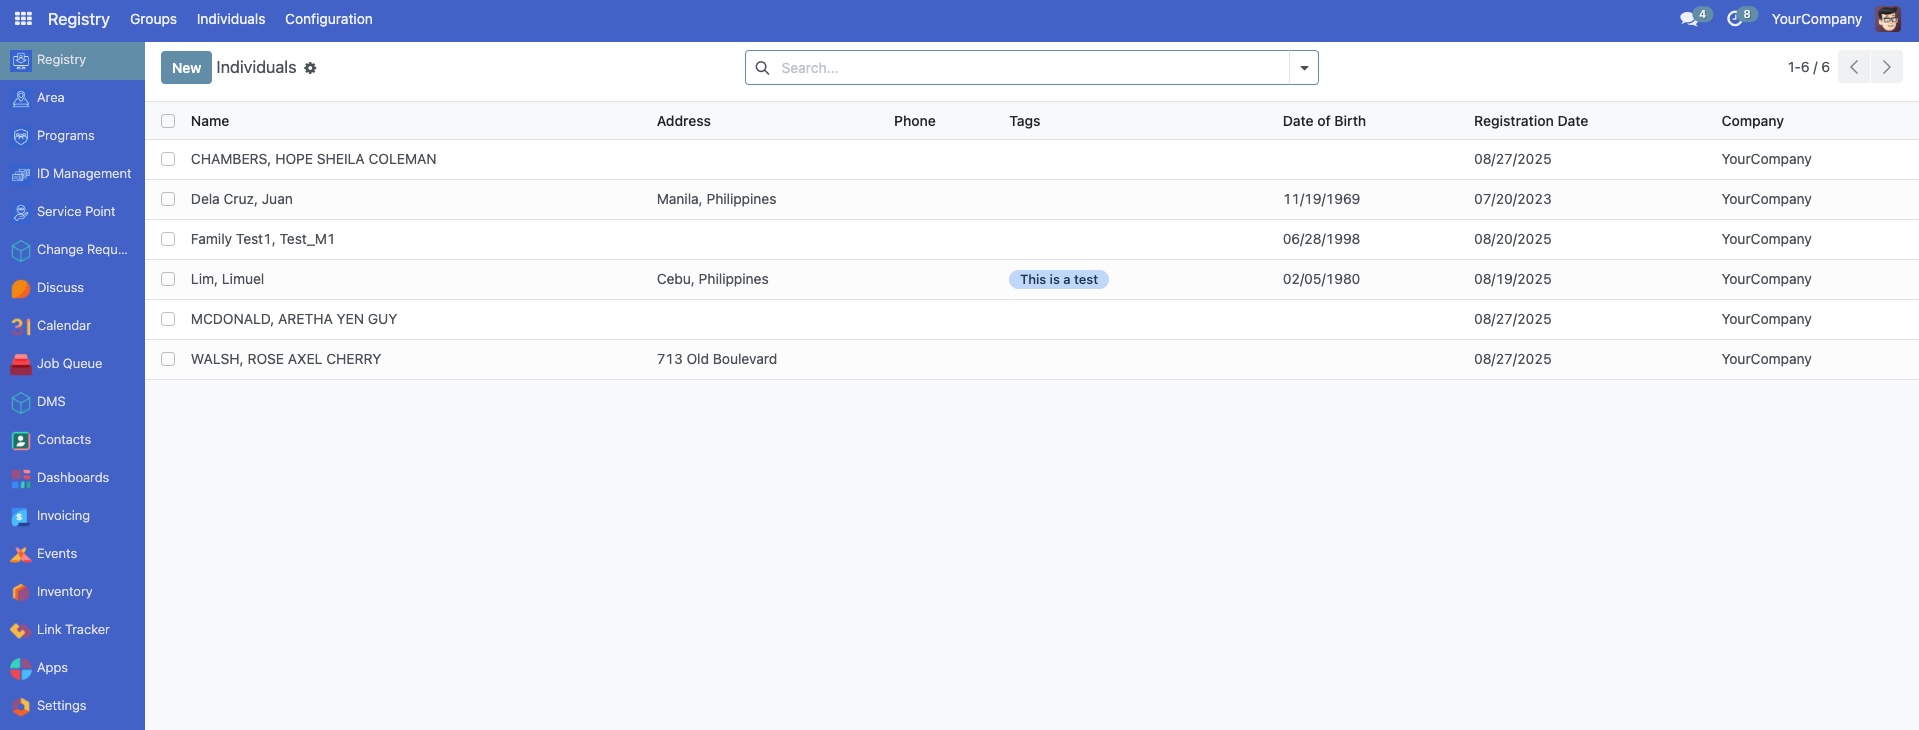
Navigate to the Registry and click the Individuals menu.
Verify the custom field#
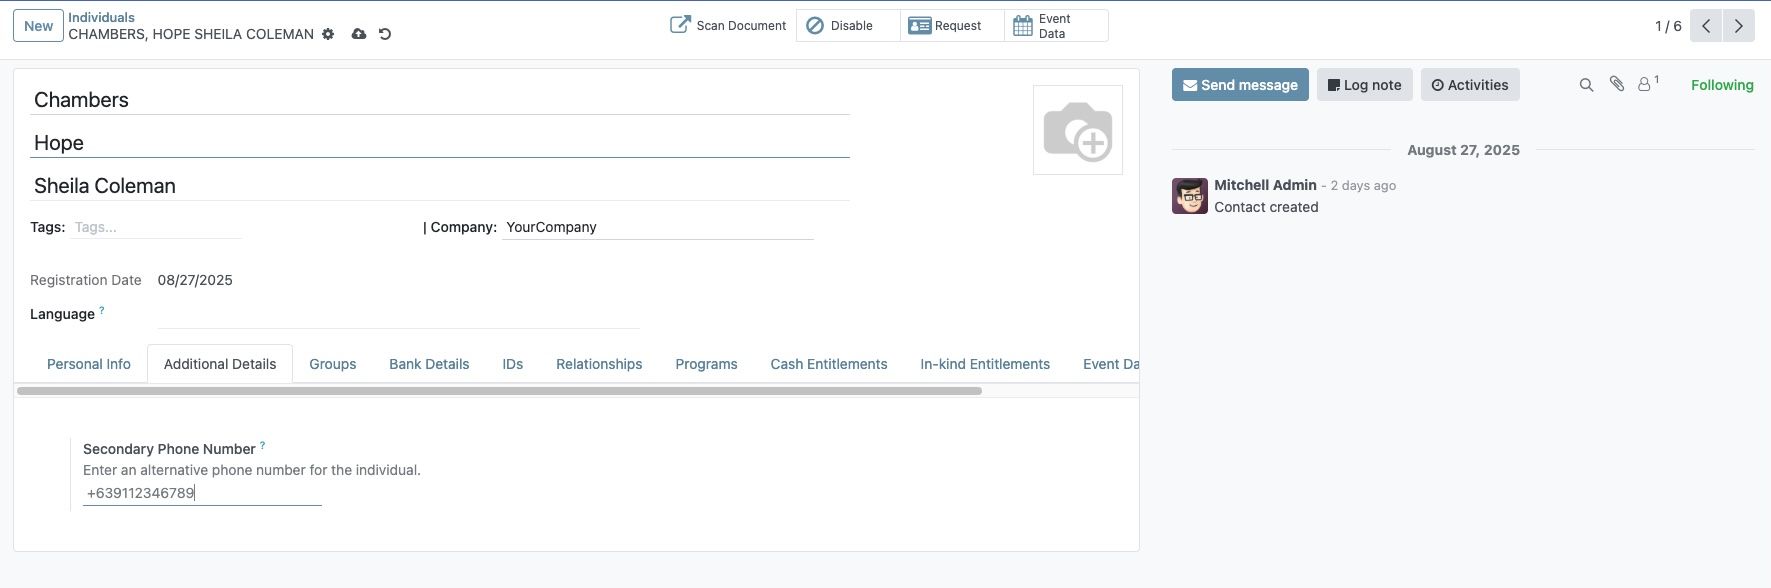
To verify that the field was created, open any record in the Individuals list view.
A new tab named Additional Details will appear on the form. Click on it.
You should see your new "Secondary Phone Number" field, ready for data entry.